6 Steps to Your First SOLIDWORKS Simulation
SOLIDWORKS Simulation has been around for years, tracing its roots back to 1982 and the Structural Research and Analysis Corporation (SRAC). SOLIDWORKS Simulation used to be called COSMOSWorks, and since its early days, the Finite Element Analysis program has strived to be powerful, accurate, and EASY to use.
Part of SOLIDWORKS Simulation’s ease of use is the simple 6 steps that every simulation study shares.
Step 1: Define your study: static, thermal, frequency, etc.
Step 2: Assign your materials
Step 3: Apply the boundary conditions (Free Body Diagram)
Step 4: Mesh the model
Step 5: Run the analysis (solve)
Step 6: View the results
Left to right on the CommandManager or top down in the Simulation Feature Tree, these six steps are visible.

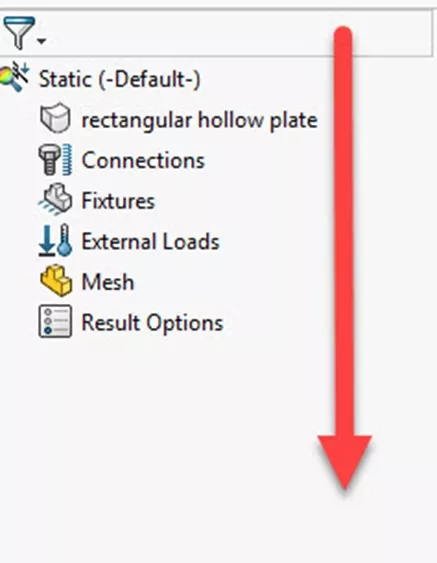
First, choose New Study and the study type that applies to your analysis needs. In this example, a Static Study is specified.
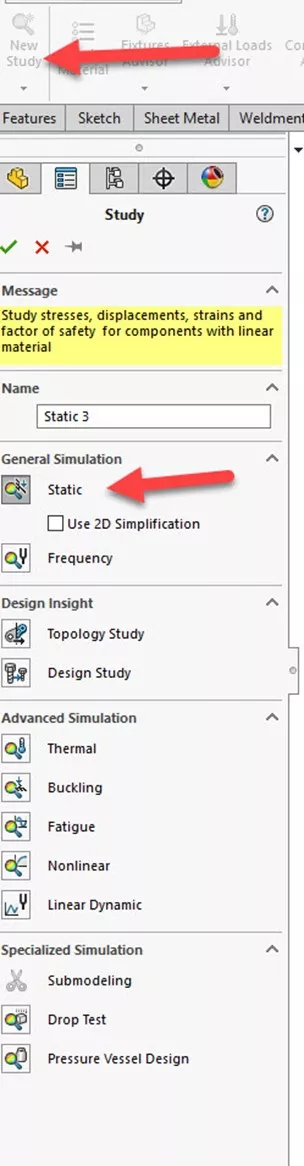
Step 1
Once the study type has been chosen, the Simulation Feature Tree opens below the SOLIDWORKS FeatureManager Design Tree. Step two can be taken by a right mouse button on the part or selecting the material from the CommandManager.
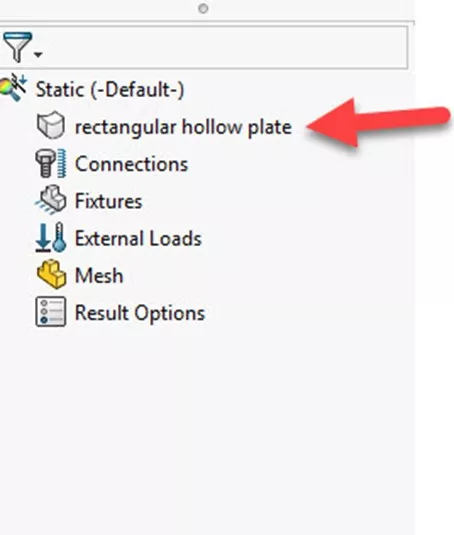
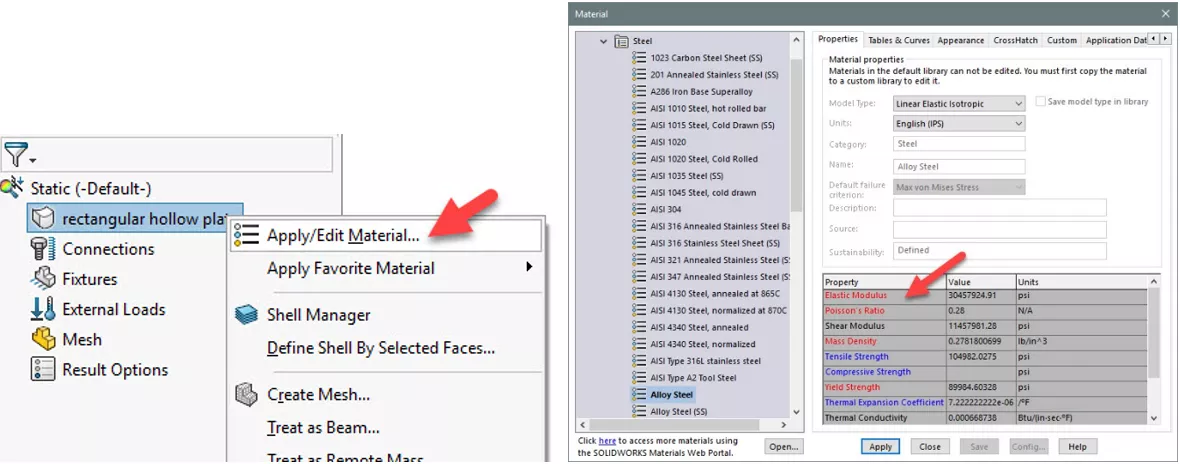
Step 2
The material database is the same as the SOLIDWORKS material library, so the material can carry over from the SOLIDWORKS model. The mechanical properties required to solve the specific analysis type are highlighted in red.
The third step is the Free Body Diagram step, and tells Simulation how the model behaves in the real world. This is the most important step in the process and consists of assigning the Loads, Fixtures, Contacts, and Connectors.
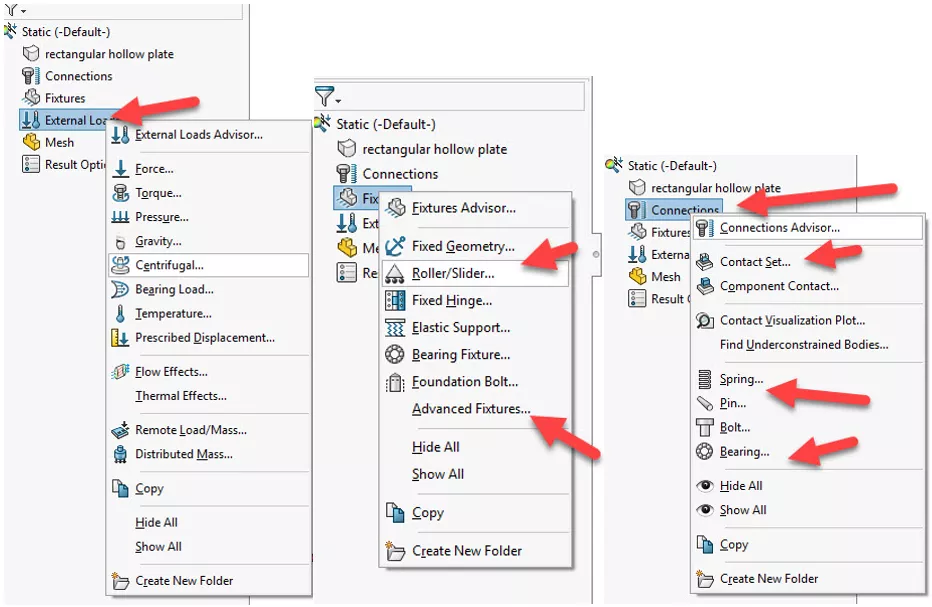
Step 3
The fourth step is to discretize or mesh the model. SOLIDWORKS offers a host of mesh options, including Solid, Shell, and Beam.
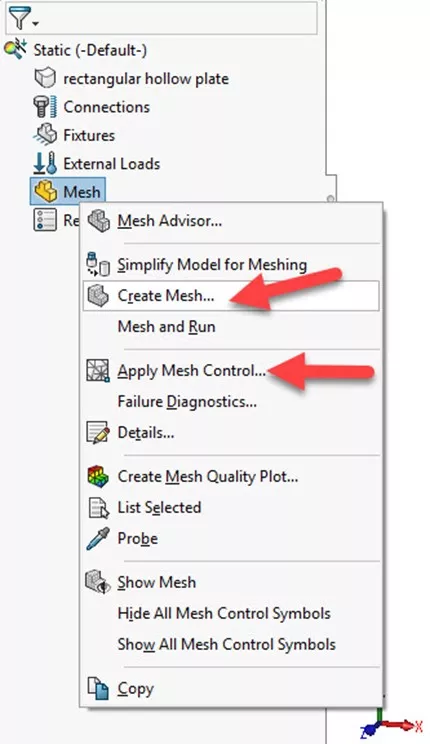
Step 4
The fifth step is where the computer does the heavy lifting. Running or solving the analysis can be done individually or in a batch.
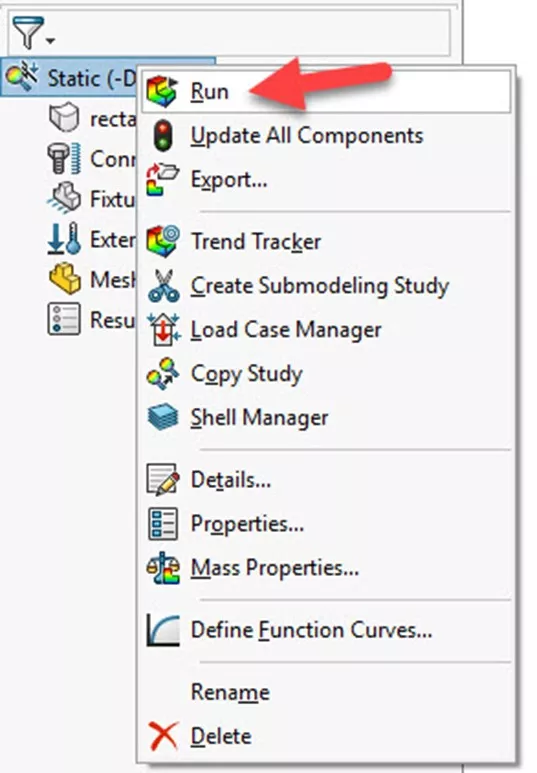
Step 5
The sixth and final step is to review the results. Stress, Displacement, Strain, and Factor of Safety are among the most common; however SOLIDWORKS Simulation provides a wide range of result options.
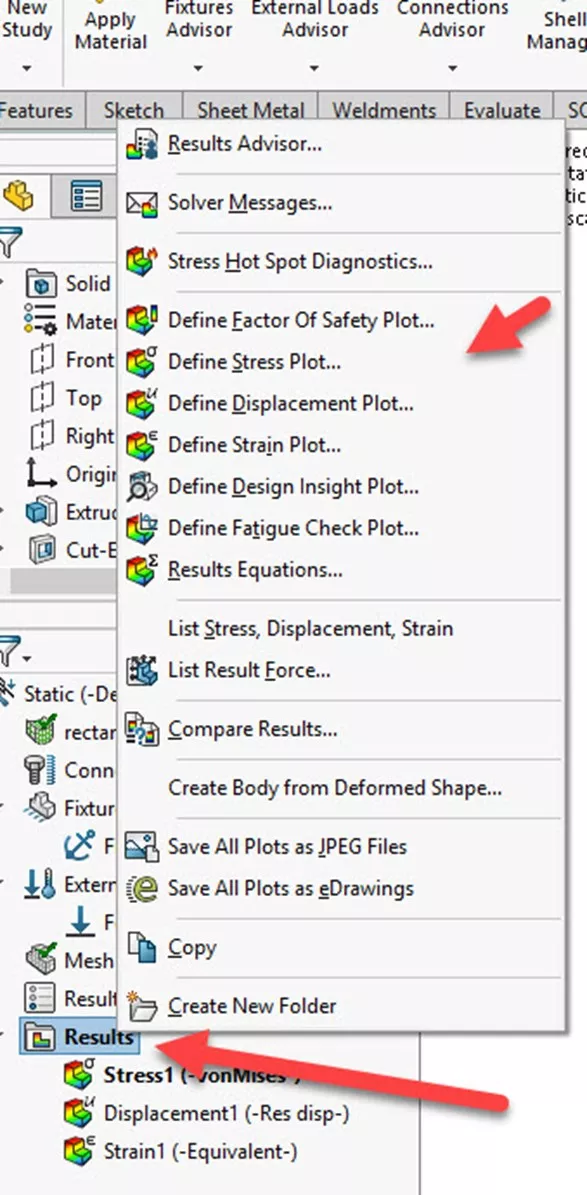
Step 6
Steps 1-4 are preprocessing, and steps 5-6 are post-processing. No matter what type of analysis you choose to perform, these same six steps will guide you from start to finish.
Want to learn more? Check out more tips and tricks below. Additionally, join the GoEngineer Community to participate in the conversation, create forum posts, and answer questions from other SOLIDWORKS users.
Learn More
SOLIDWORKS Simulation 2025 - What's New
Comparing All SOLIDWORKS Simulation Packages: Basic to Advanced
SOLIDWORKS Simulation Degrees of Freedom and Fixtures
SOLIDWORKS Simulation Fixture Preview Icons Explained
SOLIDWORKS Simulation Iso Clipping Tool: PropertyManager Walkthrough

About Robert Warren
Robert Warren is a Mechanical Engineer based out of Cleveland, Ohio. He earned his Bachelor of Science, Mechanical Engineering degree from the University of Akron. Robert has 8 years of industry experience, including heavy equipment, transportation, power generation, and consumer products. Robert’s roles included R&D Engineer, CFD Analyst, and Product Design Engineer. Robert is married with two children. He is a Jeep and Sasquatch Aficionado. Robert joined the reseller channel mid-January 2007, receiving his Elite AE award from SOLIDWORKS in 2012. Robert is currently a Simulation Specialist Manager at GoEngineer.
Get our wide array of technical resources delivered right to your inbox.
Unsubscribe at any time.