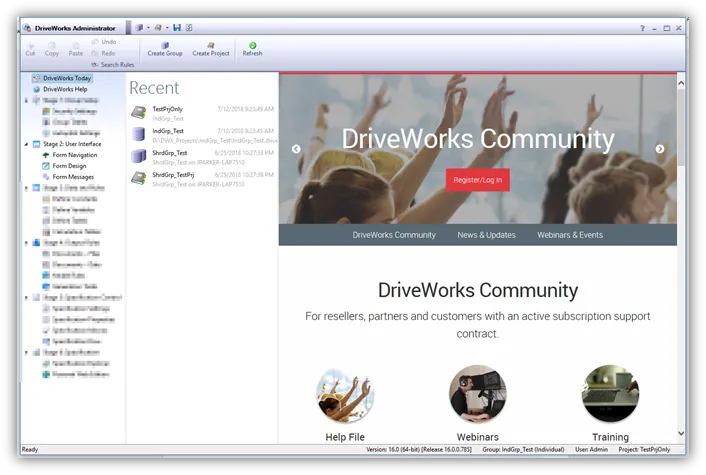
Figure #1 – DriveWorks Professional Administrator Dialog
Form Navigation:
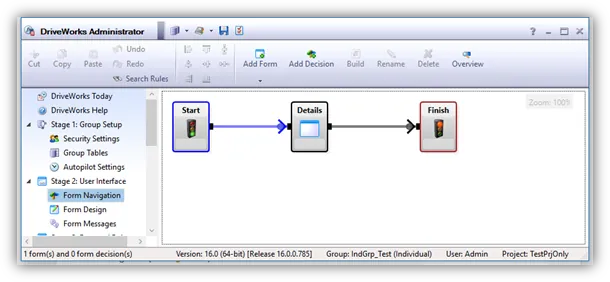
By using Decisions, you can selectively decide whether to show specific forms based on values the user has already entered. A “Details” form is created by default and automatically linked into the navigation (see Figure #2).
Figure #2 – Stage 2: User Interface – Form Navigation
In this section, you can create forms, add decisions between forms for navigation, build rules, rename, delete, and use the Overview window if your form layout is too large for your screen.
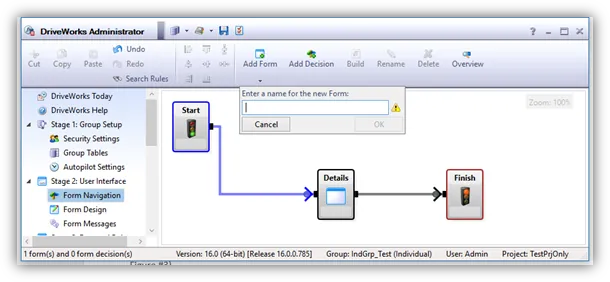
The “Add Form” button allows you to create a blank form (see Figure #3).
Figure #3 – Stage 2: User Interface – Add Blank Form
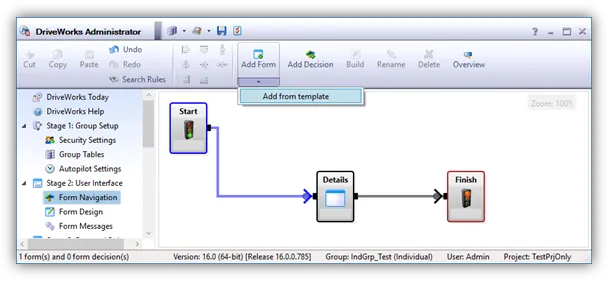
The “Add Form” pull-down menu allows you to insert a template instead of a blank form (see Figure #4).
Figure #4 – Stage 2: User Interface – Add Form Template
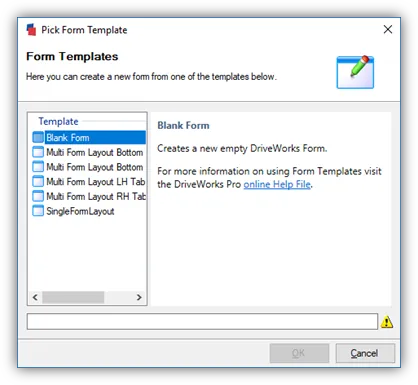
Selecting “Add Form Template” opens the following dialog (see Figure #5) which allows you to select from a collection of built-in templates.
Figure #5 – Stage 2: User Interface – New Form Template Dialog
In both dialogs “Add Form” & “Add Form Template”, you have to enter a name for the new form. The name cannot be the same as another form or contain any non-alphanumeric characters other than an underscore.
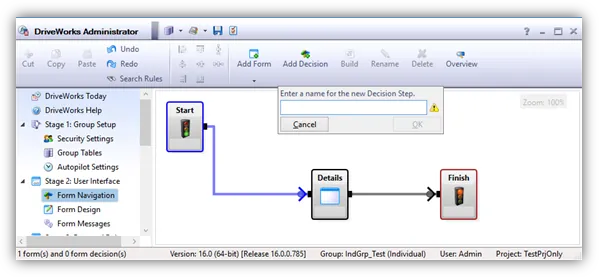
The “Add Decision” button allows you provide some logic into the form navigation similar to how an IF/THEN statement works (see Figure #6).
Figure #6 – Stage 2: User Interface – Add Decision
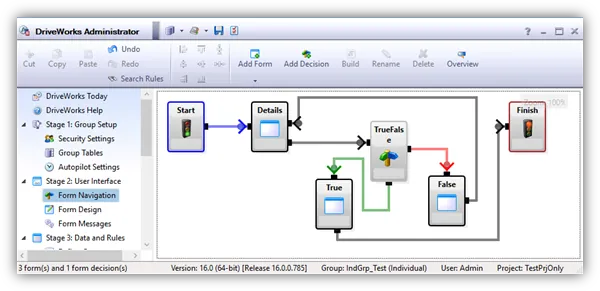
Once you provide a name for the decision, next step is to drag the True/False points in the decision to the appropriate form (see Figure #7).
Figure #7 – Stage 2: User Interface – Add Decision
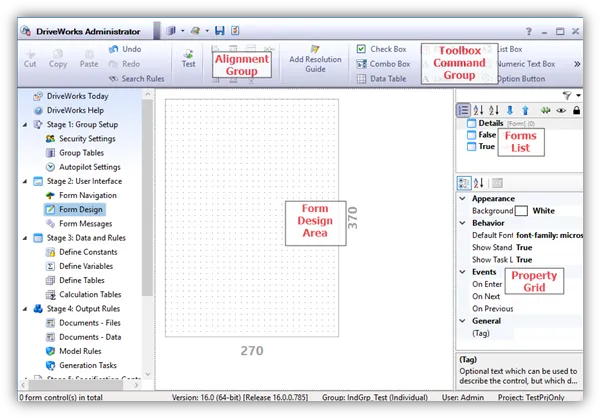
Form Design:
The Form Designer task allows you to create the interface for the users to work with. There is a large number of controls and flexibility in how the form interacts and shows information.
The following screenshot (see Figure #8) will show the areas of the form designer, but the specifics of the controls including adding, moving, aligning, and setting up will be covered in its own document.
Figure #8 – Stage 2: User Interface – Form Design Areas
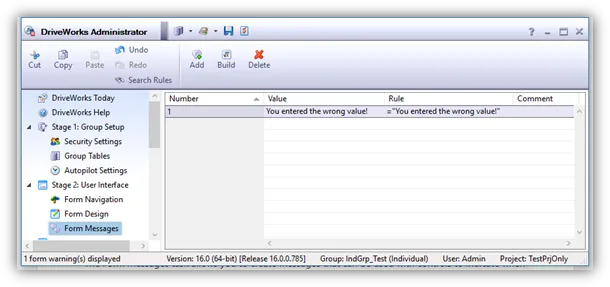
Form Messages:
The Form Messages task allows you to create messages that can be used with controls to indicate when users have typed in values which are invalid and provide details on the correct values required (see Figure #9).
You can add, delete, and build rules for each message. When using these with controls, just make sure that you double-check the message number as this is how you associate the message with the control.