SOLIDWORKS Enterprise PDM SQL 2014 Installation Guide
This article provides step by step instructions for installing Microsoft SQL 2014 for use with SOLIDWORKS Enterprise PDM.
Assumptions
- You are using the Microsoft SQL 2014 DVD included in your purchase of SOLIDWORKS Enterprise PDM
- This is the first installation of Microsoft SQL 2014 and no previous versions of Microsoft SQL have been installed on the machine
- This installation of Microsoft SQL 2014 is only for use with SOLIDWORKS Enterprise PDM
- All software prerequisites are installed and all system requirements are met
For SOLIDWORKS Enterprise PDM system requirements please visit the SOLIDWORKS PDM System Requirements page.
Installation
Insert the Microsoft SQL 2014 DVD provided in the SOLIDWORKS Enterprise PDM installation media kit.
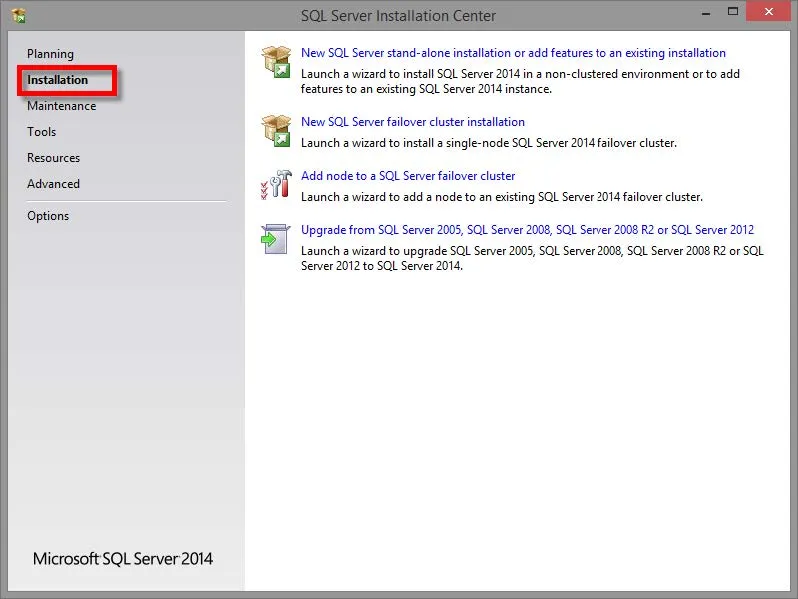
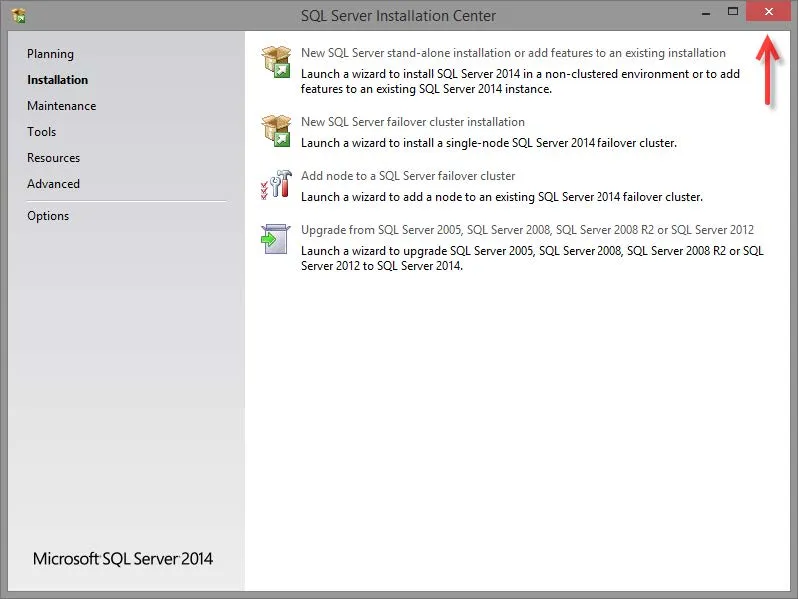
The SQL Server Installation Center window will appear automatically. If the window does not appear automatically, Auto-Run might be disabled on the machine. Double click on your DVD/CD device and or run the setup.exe application to start.
- Select Installation in the SQL Server Installation Center window.
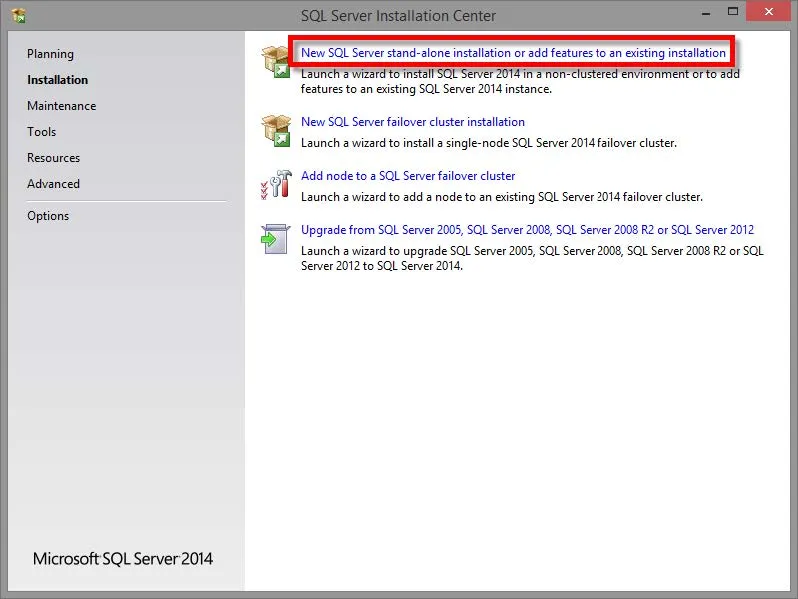
- Click New SQL stand-alone installation or add features to an existing installation.
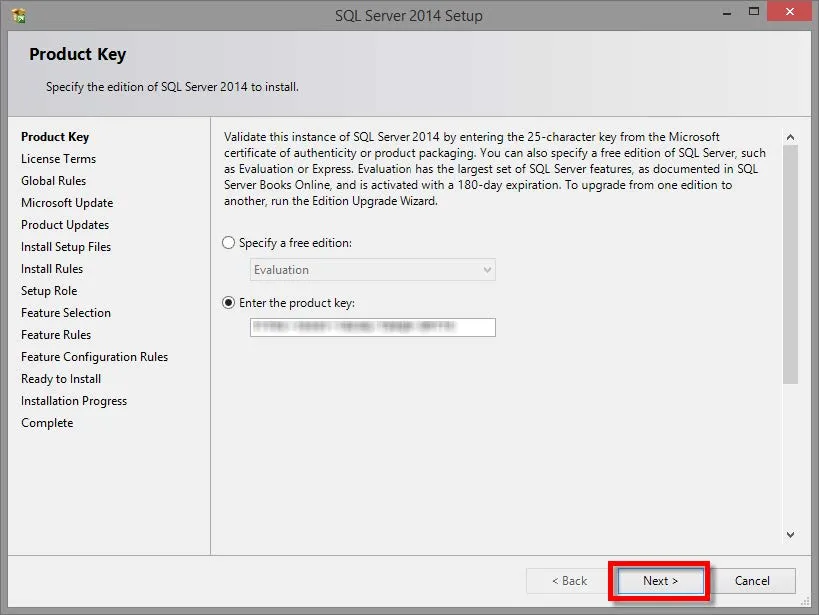
- On the Product Key window, your product key will be filled in automatically. Click Next.
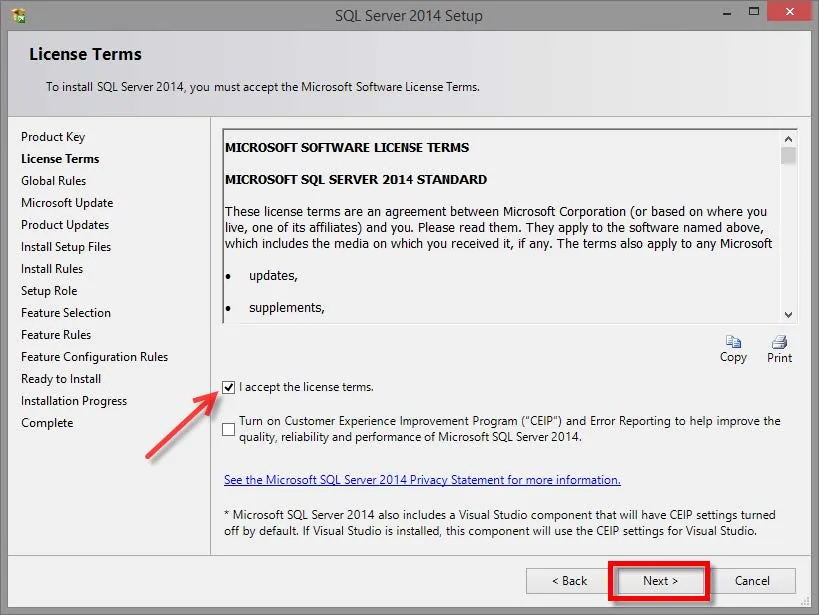
- Read the License Terms. Select I accept the license terms. Click Next.
- If the Global Rules wizard does not identify any problems, the wizard will automatically skip to the Microsoft Update section (step 6 below). However, this window will appear if there is an issue. You must correct the problem of any rules that did not pass and click Re-run. When finished, click Next.

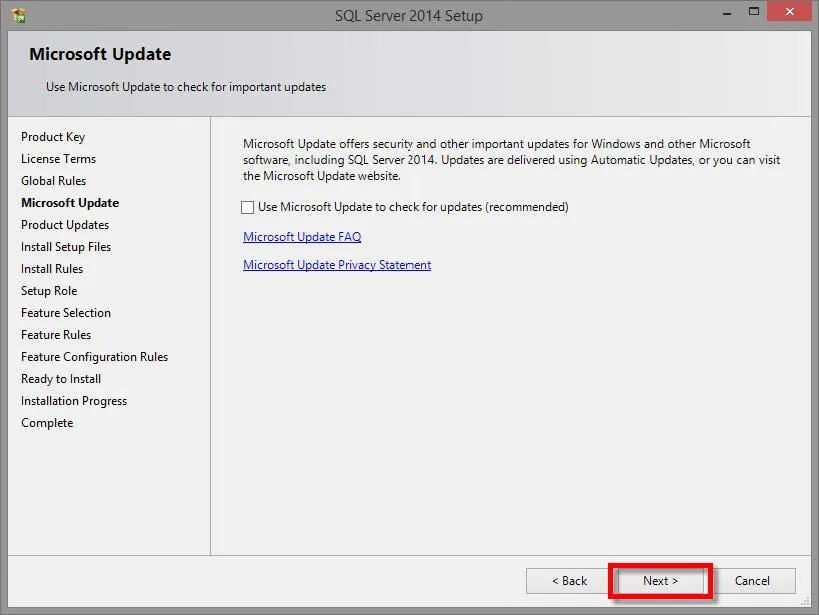
- Your choice here: decide if you would like to Use Microsoft Update to check for updates and click Next.
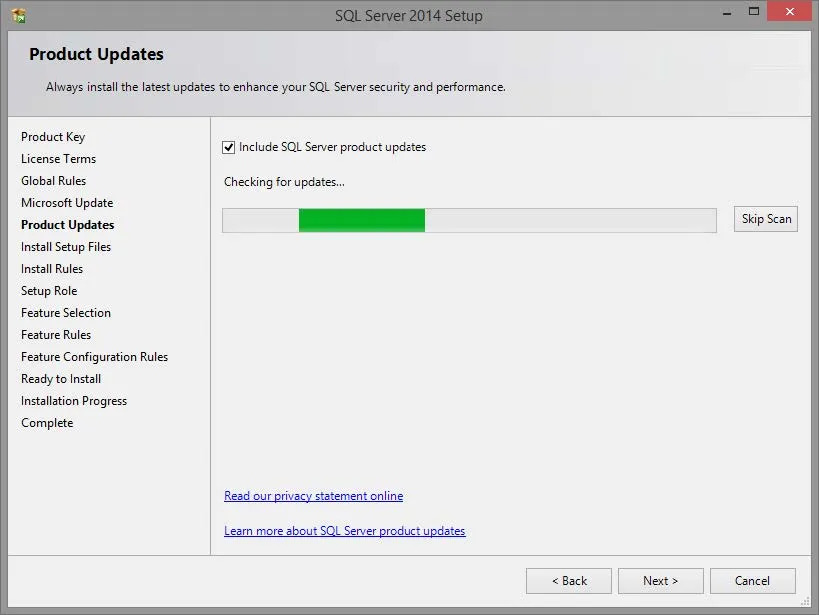
- The Product Updates window will automatically be skipped if there are no updates to apply. Otherwise, apply any available updates.
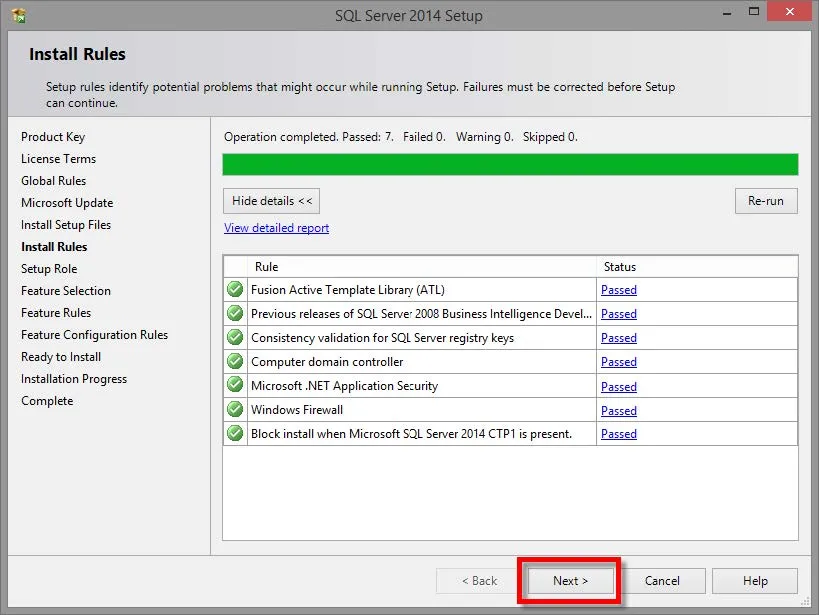
- If Install Rules wizard does not identify any problems, the wizard will automatically skip to the Setup Role section (step 9 below). However, this window will appear if there is an issue. You must correct the problem of any rules that did not pass and click Re-run. When finished, click Next.
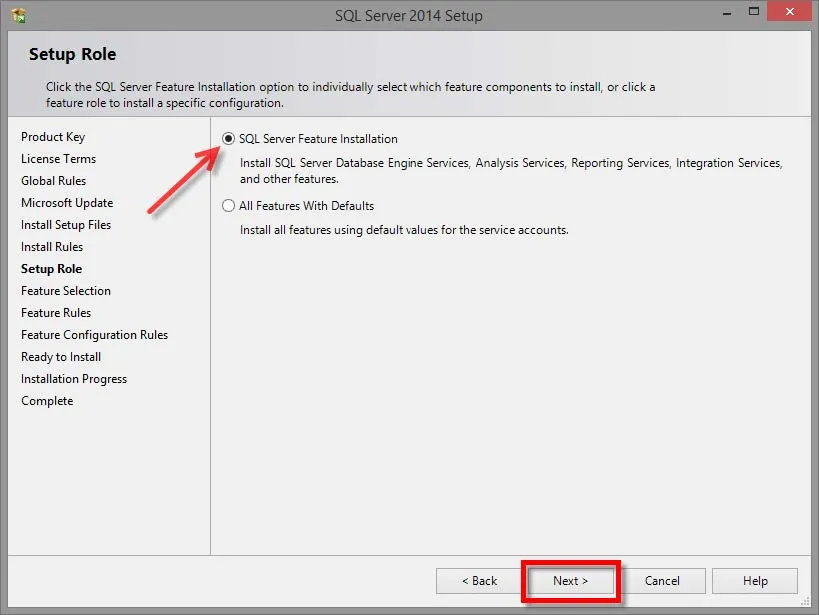
- Select SQL Server Feature Installation and click Next.
- In the Feature Selection window, select the following features
- Database Engine Services
- Client Tools Connectivity
- Integration Services
- Client Tools Backwards Compatibility
- Documentation Components
- Management Tools - Basic
- Management Tools - Complete
Click Next.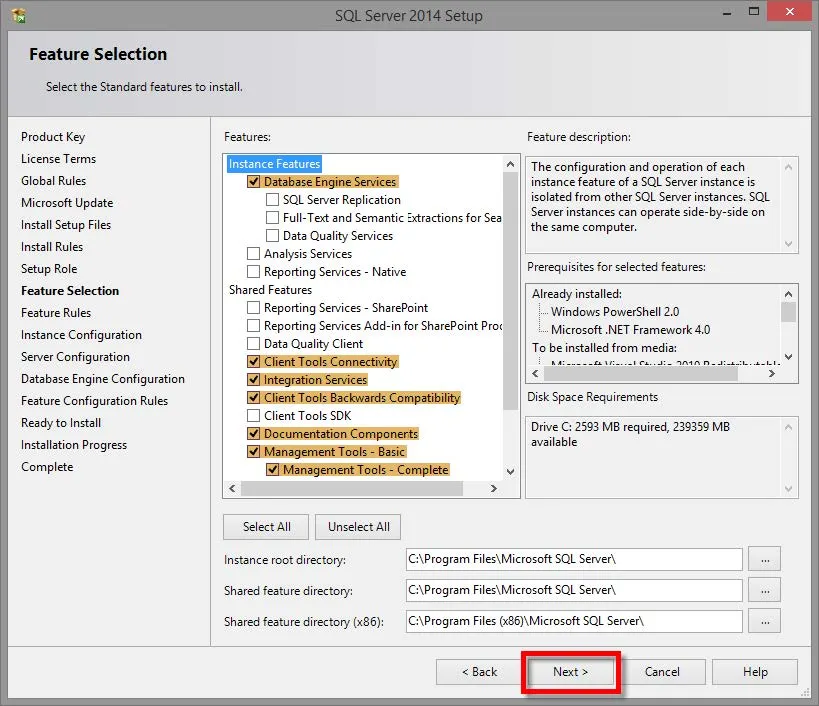
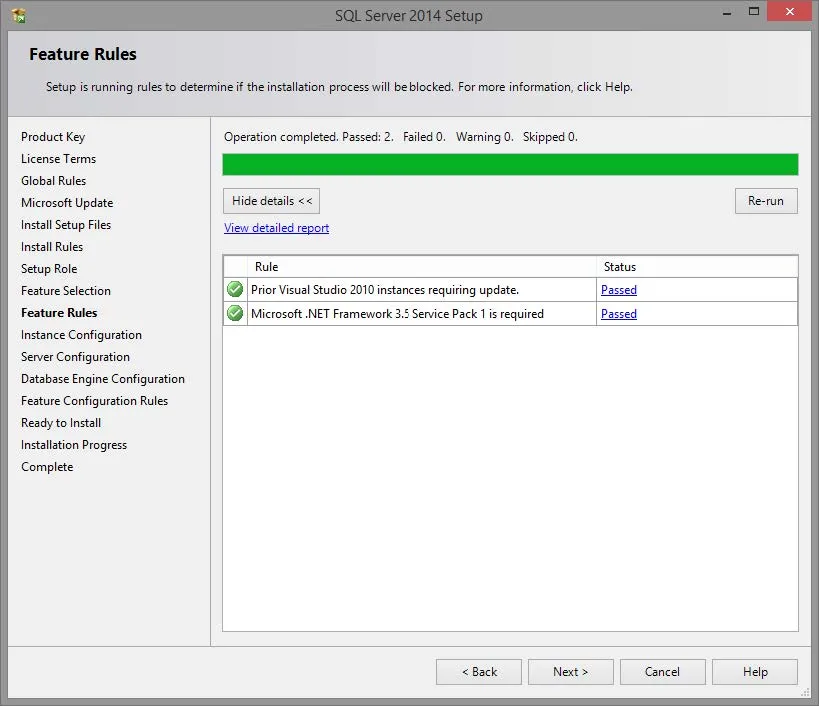
- If Feature Rules wizard does not identify any problems, the wizard will automatically skip to the Instance Configuration section (step 12 below). However, this window will appear if there is an issue. You must correct the problem of any rules that did not pass and click Re-run. When finished, click Next.
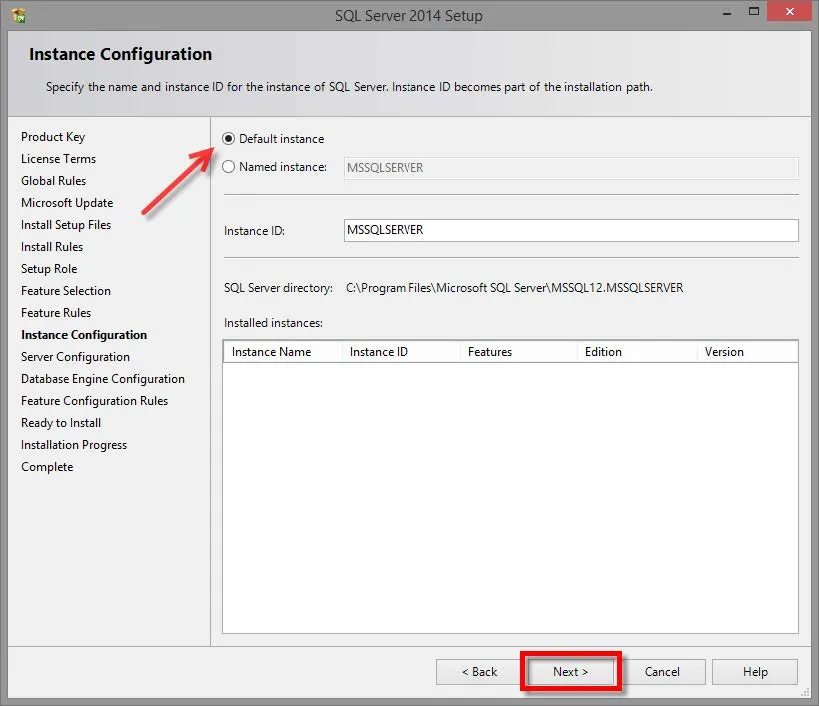
- Select the Default instance and click Next.
- In the Server Configuration section, under the Service Accounts tab, select the following Account Names:
- For SQL Server Agent - select NT Service\SQLSERVERAGENT
- For SQL Server Database Engine - select NT Service\MSSQLSERVER
- For SQL Server Integration Services 12.0 - select NT Service\MsDtsServer120
- For SQL Server Browser - select NT Authority\LOCAL SERVICE
*Set all Startup Types to Automatic.
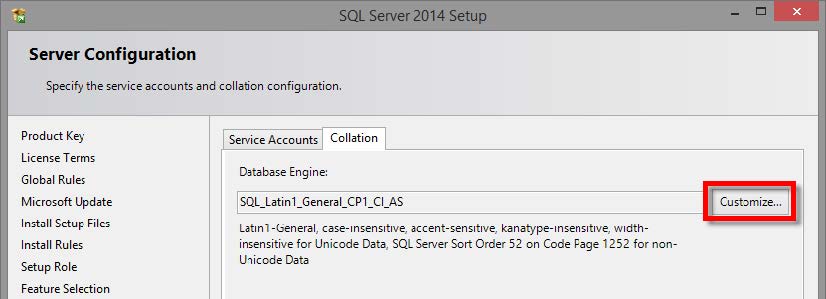
Click on the Collation tab and continue to step 14 below.
- Under the Collation tab, click Customize...
Select the Windows collation designator and sort order.
Select Latin1_General under the Collation Designator dropdown box.
Click OK.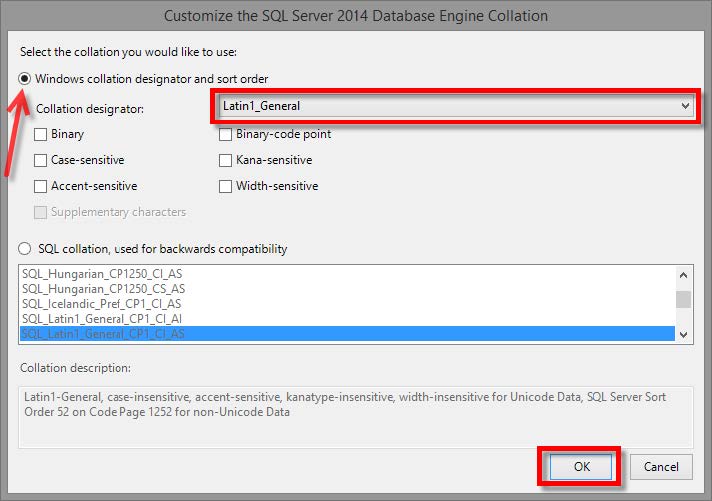
Back in the Collation tab, Latin1_General_CI_AI is now selected. Click Next.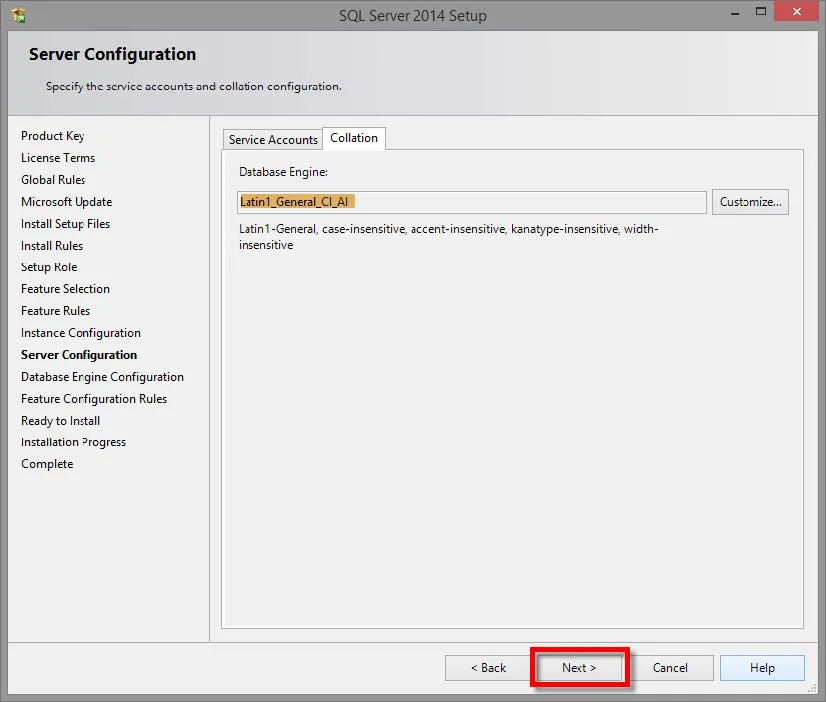
- Select the Mixed Mode (SQL Server authentication and Windows authentication).
Enter and confirm a strong password for the SQL Server system administrator 'sa' account.
Your choice here: under Specify SQL Server administrators, click on Add Current User or click Add... to enter domain users and or groups that can
have access to administrate SQL.
Click Next when finished.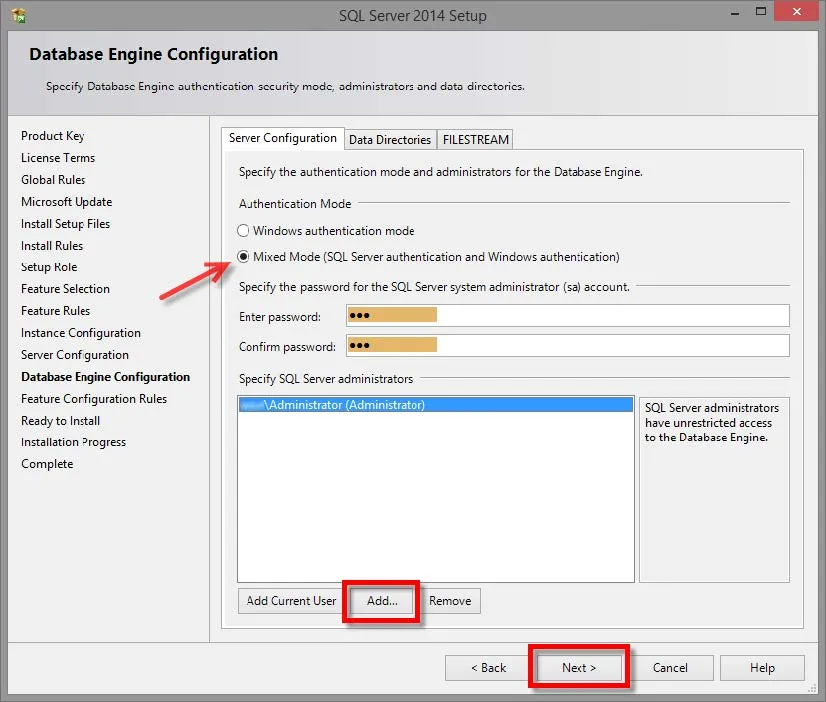
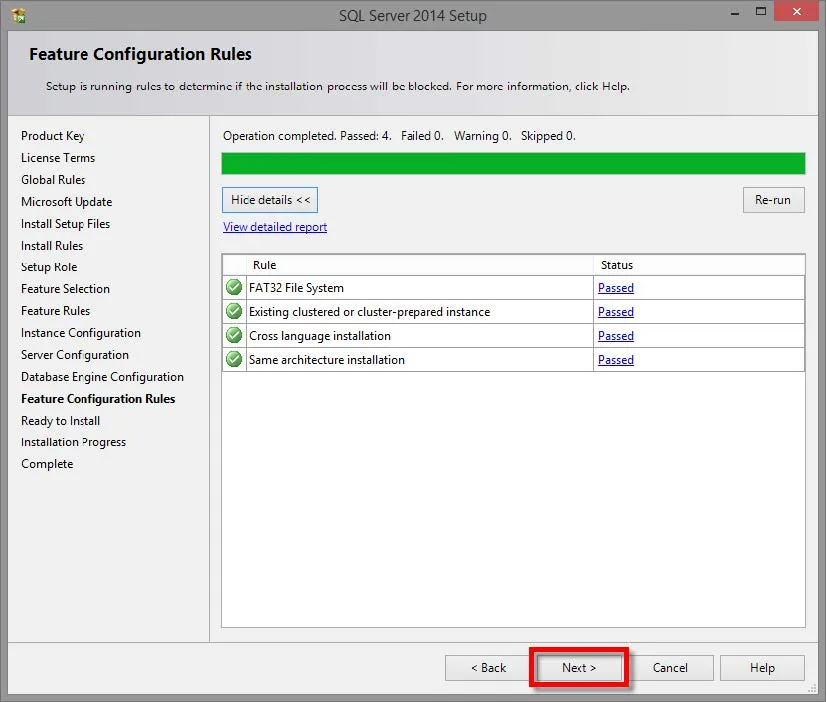
- If the Feature Configuration Rules wizard does not identify any problems, the wizard will automatically skip to the Ready to Install section (step 17 below). However, this window will appear if there is an issue. You must correct the problem of any rules that did not pass and click Re-run. When finished, click Next.
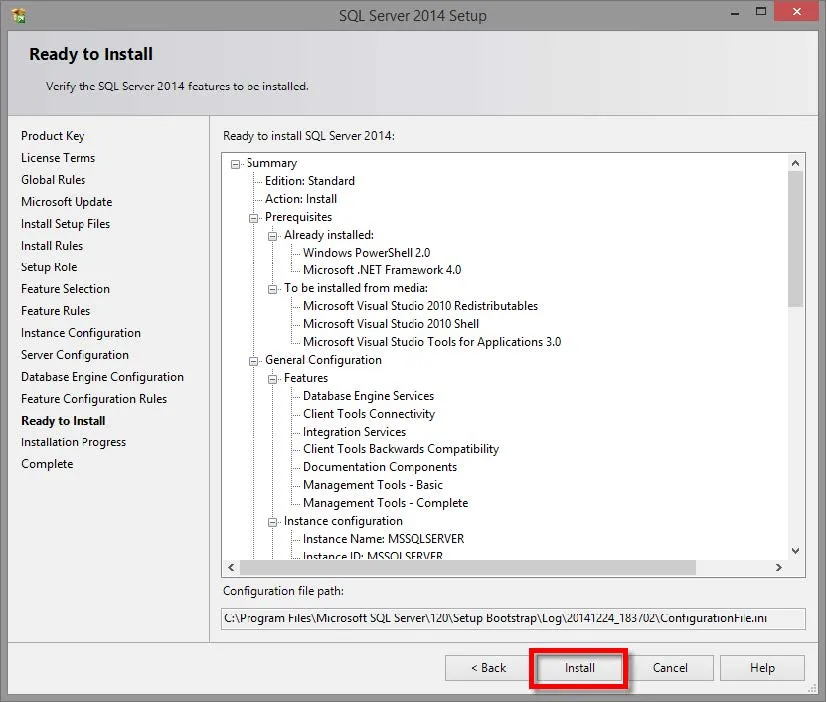
- Click Install. This process may take a while to complete.
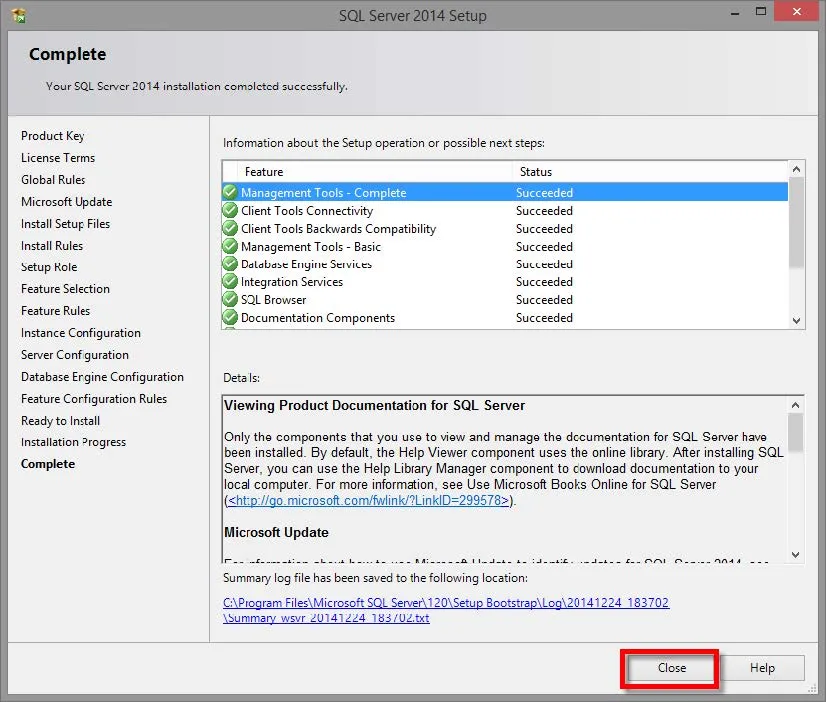
- Once the installation completes successfully, click Close.
- Your installation of Microsoft SQL 2014 for SOLIDWORKS Enterprise PDM is now complete! You can now close the SQL Server Installation Center window and remove the installation DVD.
RElated Articles
Enterprise PDM SQL Maintenance Plan: Reorganizing and Rebuilding Database Indexes

About Francisco Guzman
Francisco Guzman is the PDM Technical Support Lead at GoEngineer, and is pursuing his degree in mechanical engineering at the University of Utah. In addition to providing guidance and support to SOLIDWORKS and SOLIDWORKS PDM customers, Francisco also provides support for DriveWorks design automation. He won the world-wide DriveWorks reseller CPD contest as the best DriveWorks AE for 2015. For fun, he designs, 3D-Prints, builds and races custom first-person-view (FPV) racing drone frames.
Get our wide array of technical resources delivered right to your inbox.
Unsubscribe at any time.