3D Printing & Controlling a 6-axis Robotic Arm
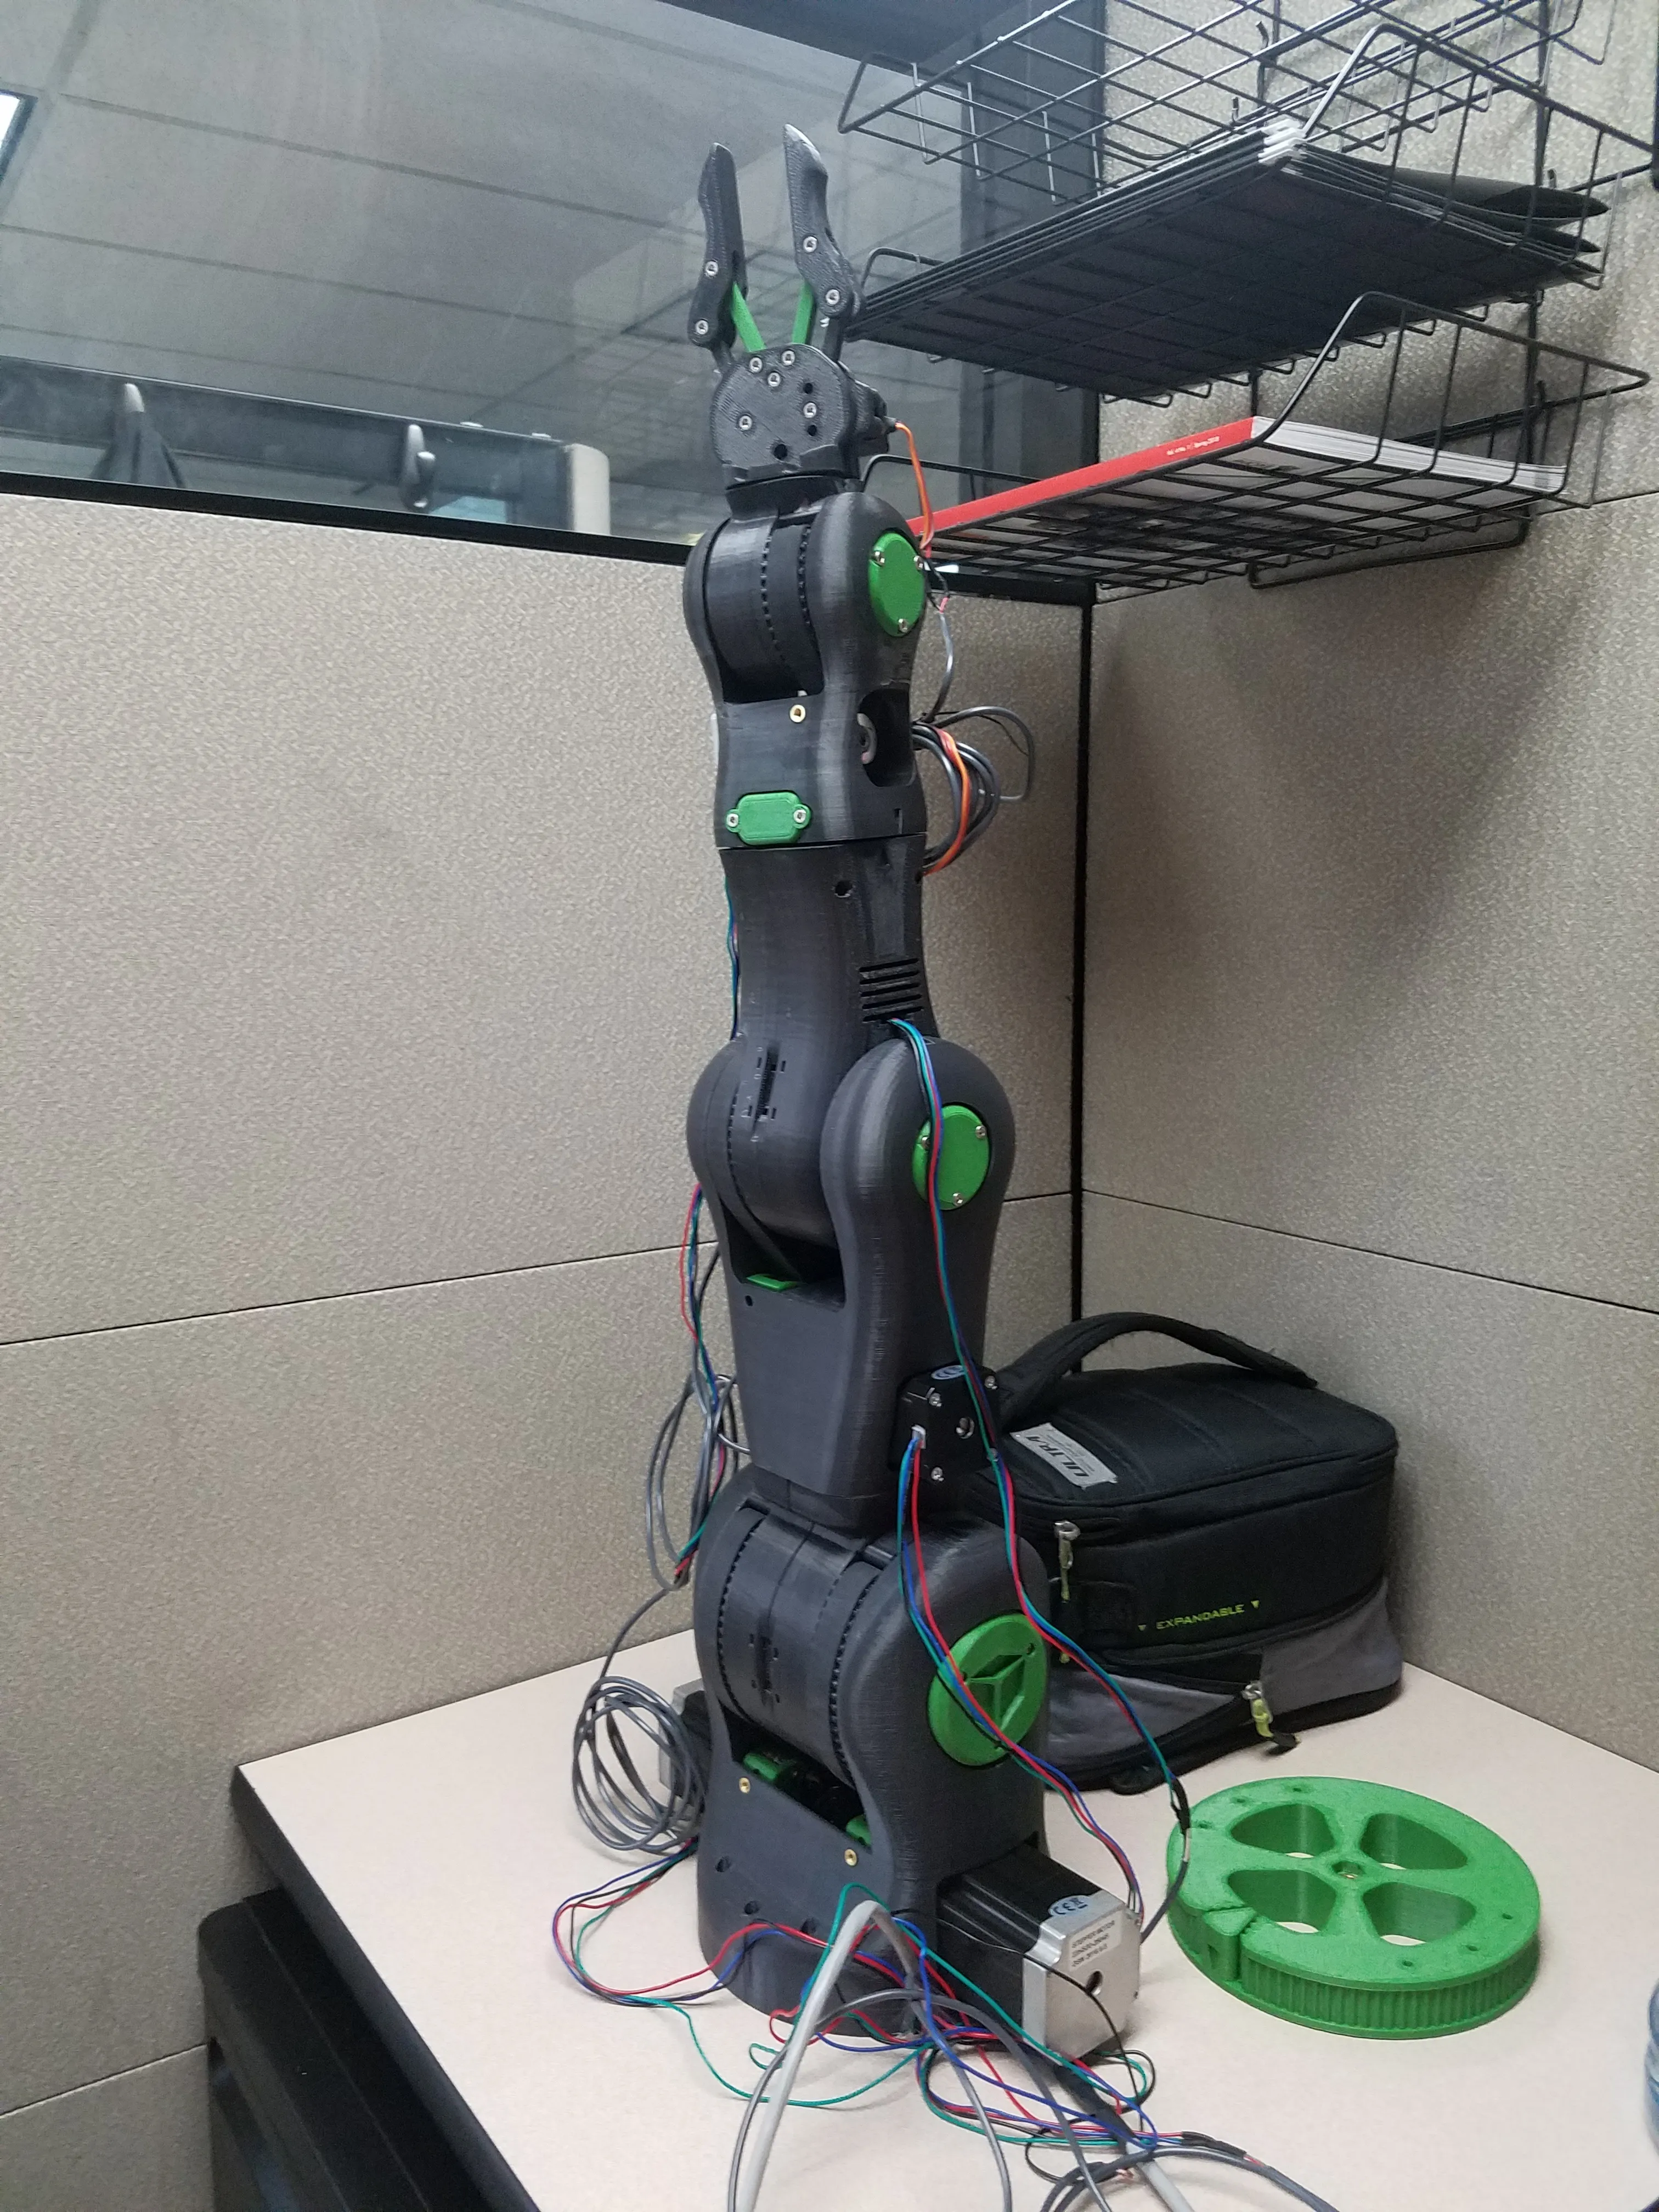
Not long ago, GoEngineer acquired the RBX1 (Remix) 6-axis robotic arm. Manufacturing Applications Manager, Tyler Reid, purchased the kit to show the capabilities of our Stratasys 3D printers. After adding some GoEngineer flare to the arm, he 3D printed the pieces and I volunteered to assemble it.
As I embarked on the assembly of the arm, it became increasingly apparent that the designer of the arm had never assembled it nor considered assembly ramifications while designing the arm. In multiple critical pieces (such as the shoulder and forearm pieces, the hardware supplied did not fit their designated slots and cavities.
Let’s Dive In
For example, in the forearm, a stepper motor is enclosed between two printed parts to provide an axial rotation. The stepper motor shaft was a diameter of 4mm. The goal was to use a coupler to connect the 4mm shaft to an 8mm shaft that would connect to the wrist assembly. The coupler did not fit in the designated slot, and as a result, the forearm pieces had to be reprinted.
After the pieces were printed with the correct dimensions, I connected the two shafts and the coupler. After attaching the pieces, I ran into another problem. The gap between the forearm piece and the wrist was almost ½” and was quite unsightly. I disassembled the pieces and used my own die grinder to cut the 4mm stepper motor shaft and the 8mm shaft down so the forearm and write assemblies could fit flush together.
Off to Home Depot
The hardware kit that was supplied was also frustratingly disorganized and incomplete. I was required to make multiple trips to Home Depot to obtain M5 nuts and thermal inserts because the hardware kit contained 40+ M5 bolts, only two nuts, and not enough M4 thermal inserts that the instructions called for.
The instructions for the assembly and wiring of the arm were also painfully lacking. For some very complicated steps, the instructions simply stated, “attach shoulder to body.” This required me to go to Home Depot, purchase additional hardware that was missing, modify the way the pieces were to attach and guess and check which length of bolts to use. There were fewer instructions included to assemble and use this 3D-printed, 6-axis robotic arm than there are to assemble an IKEA bookshelf.
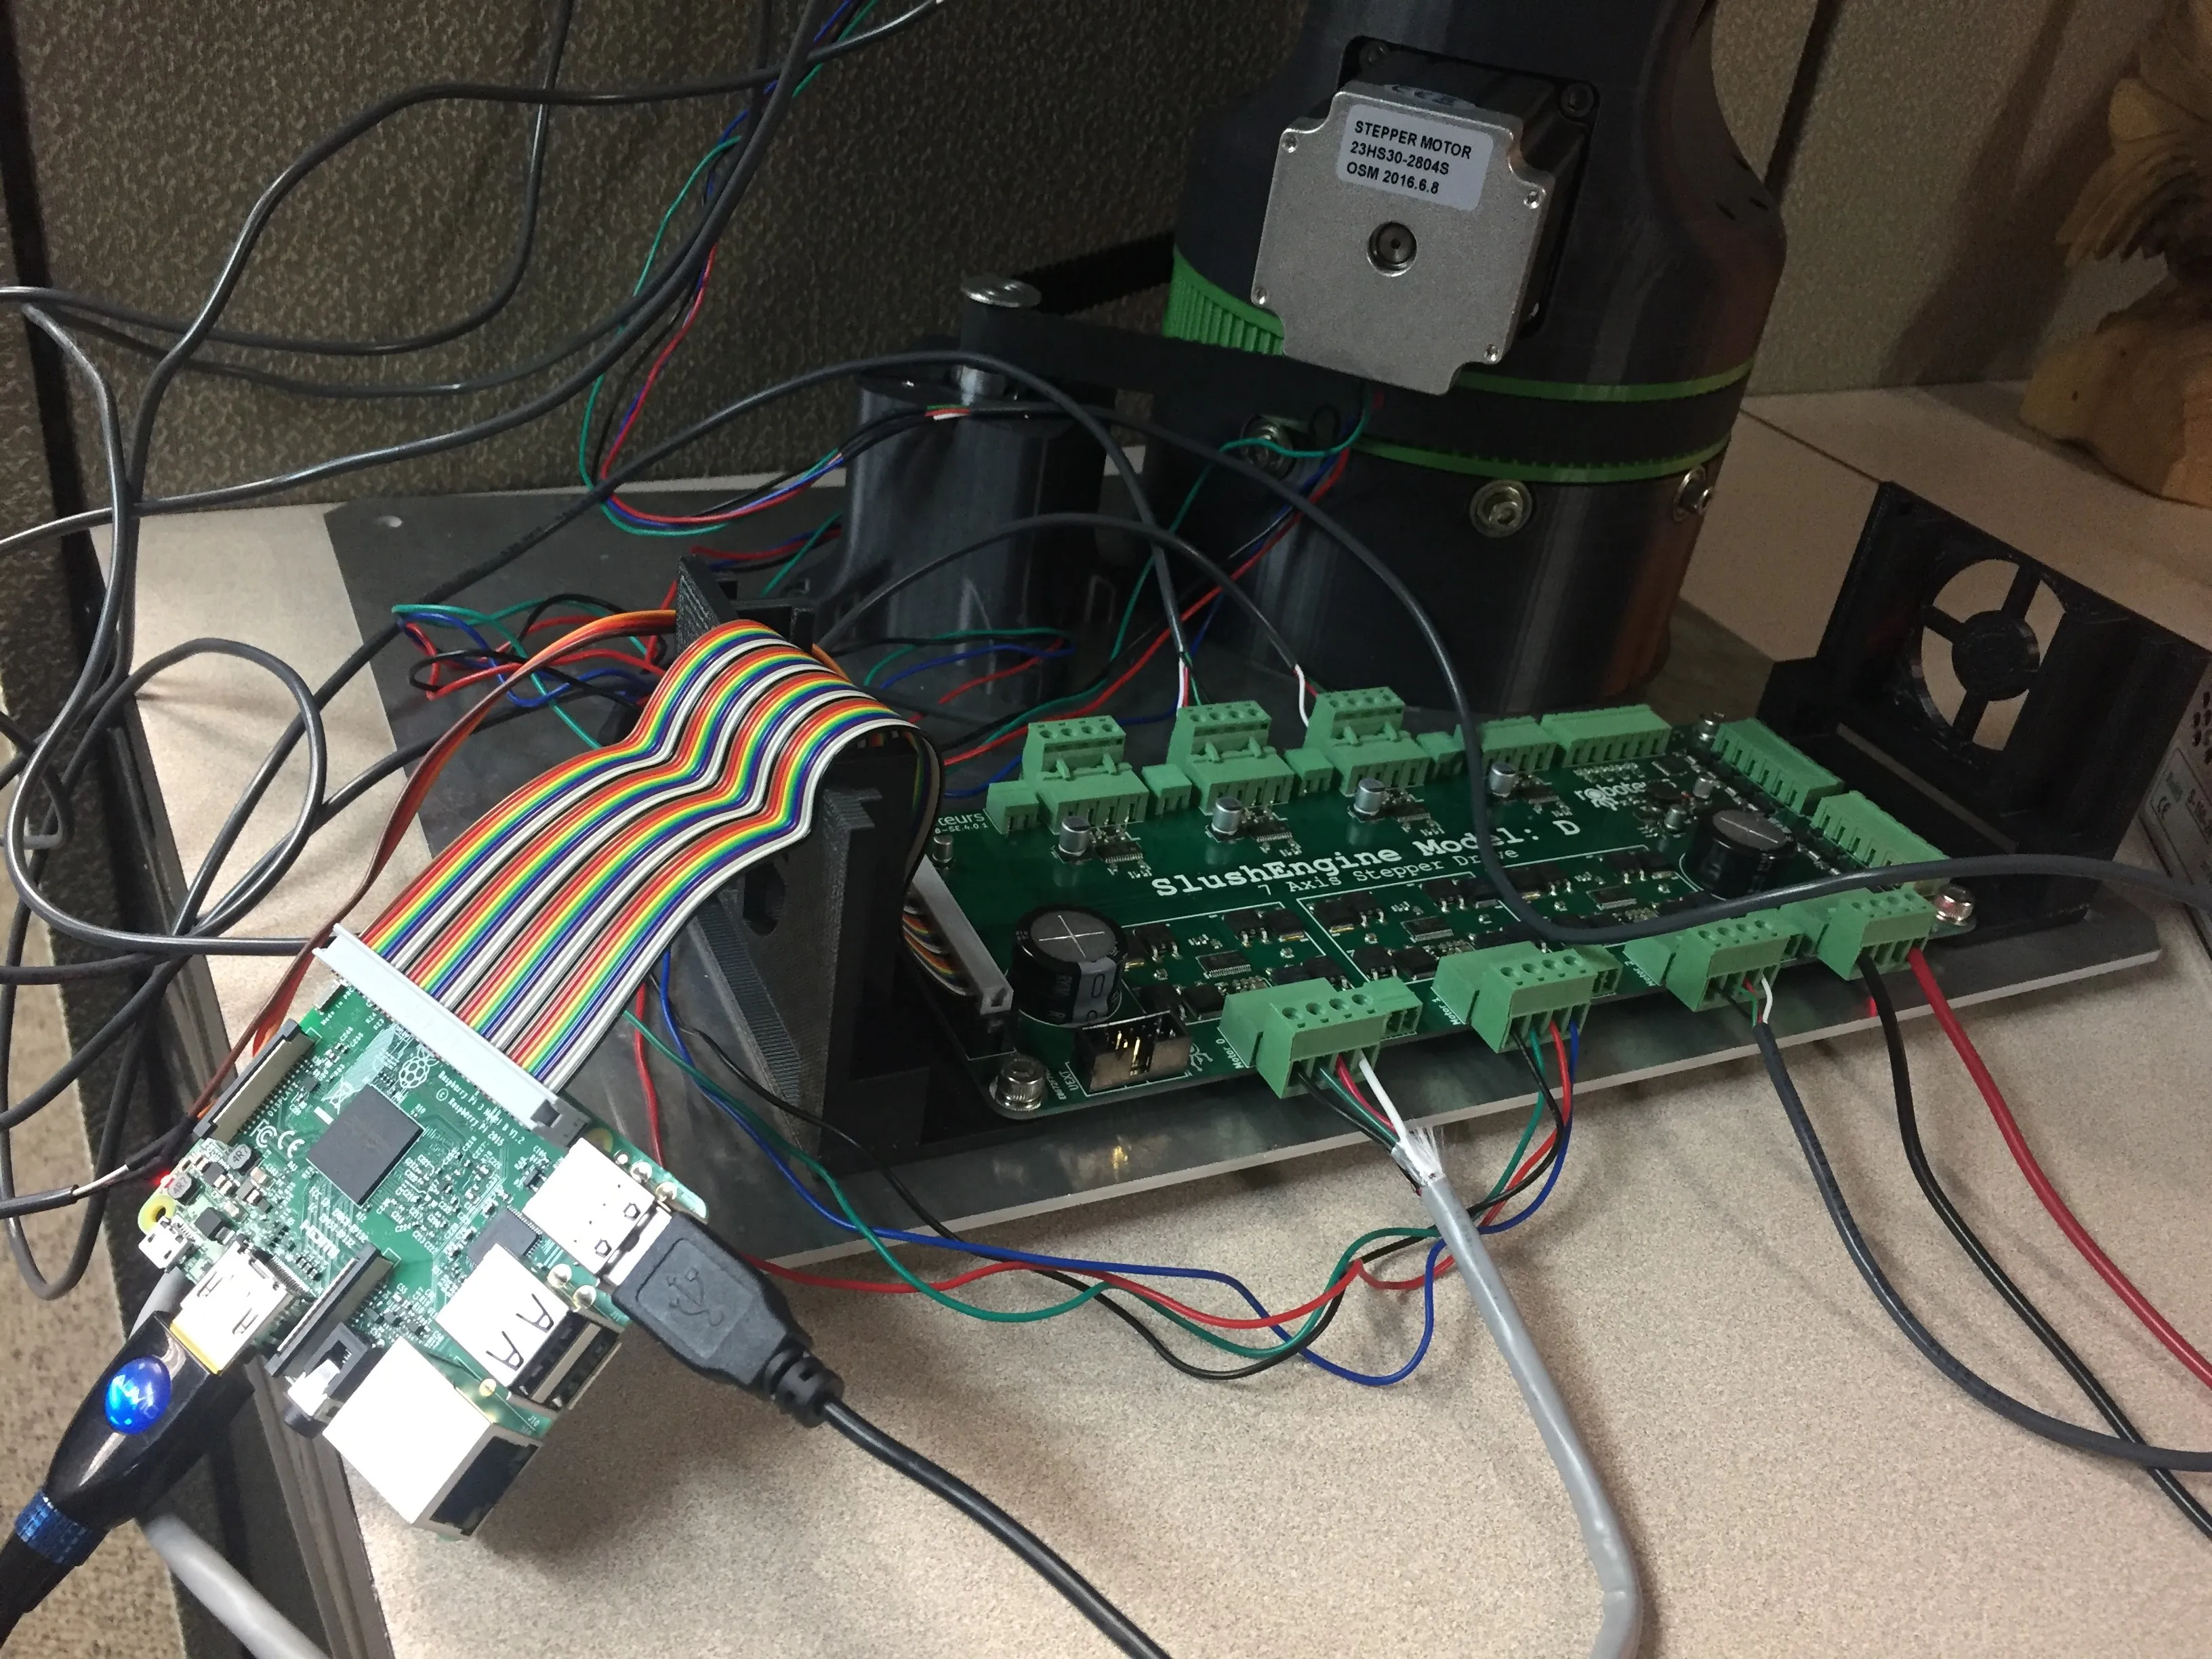
Regardless, I completed the assembly of the arm and was ready to connect the electrical components. The arm kit came supplied with a Raspberry Pi and a SlushEngine Model: D stepper motor control board. I had to google instructions on how to install Raspbian on a flash drive, interface with the Raspberry Pi, install Python to control the steppers, and get the arm up and going because the instructions were so poor. Fortunately, Dr. D-Flo’s channel on YouTube helped guide me through some common pitfalls and incorporate some good ideas.
IT’S….. ALIIIIIIVE!!!!!
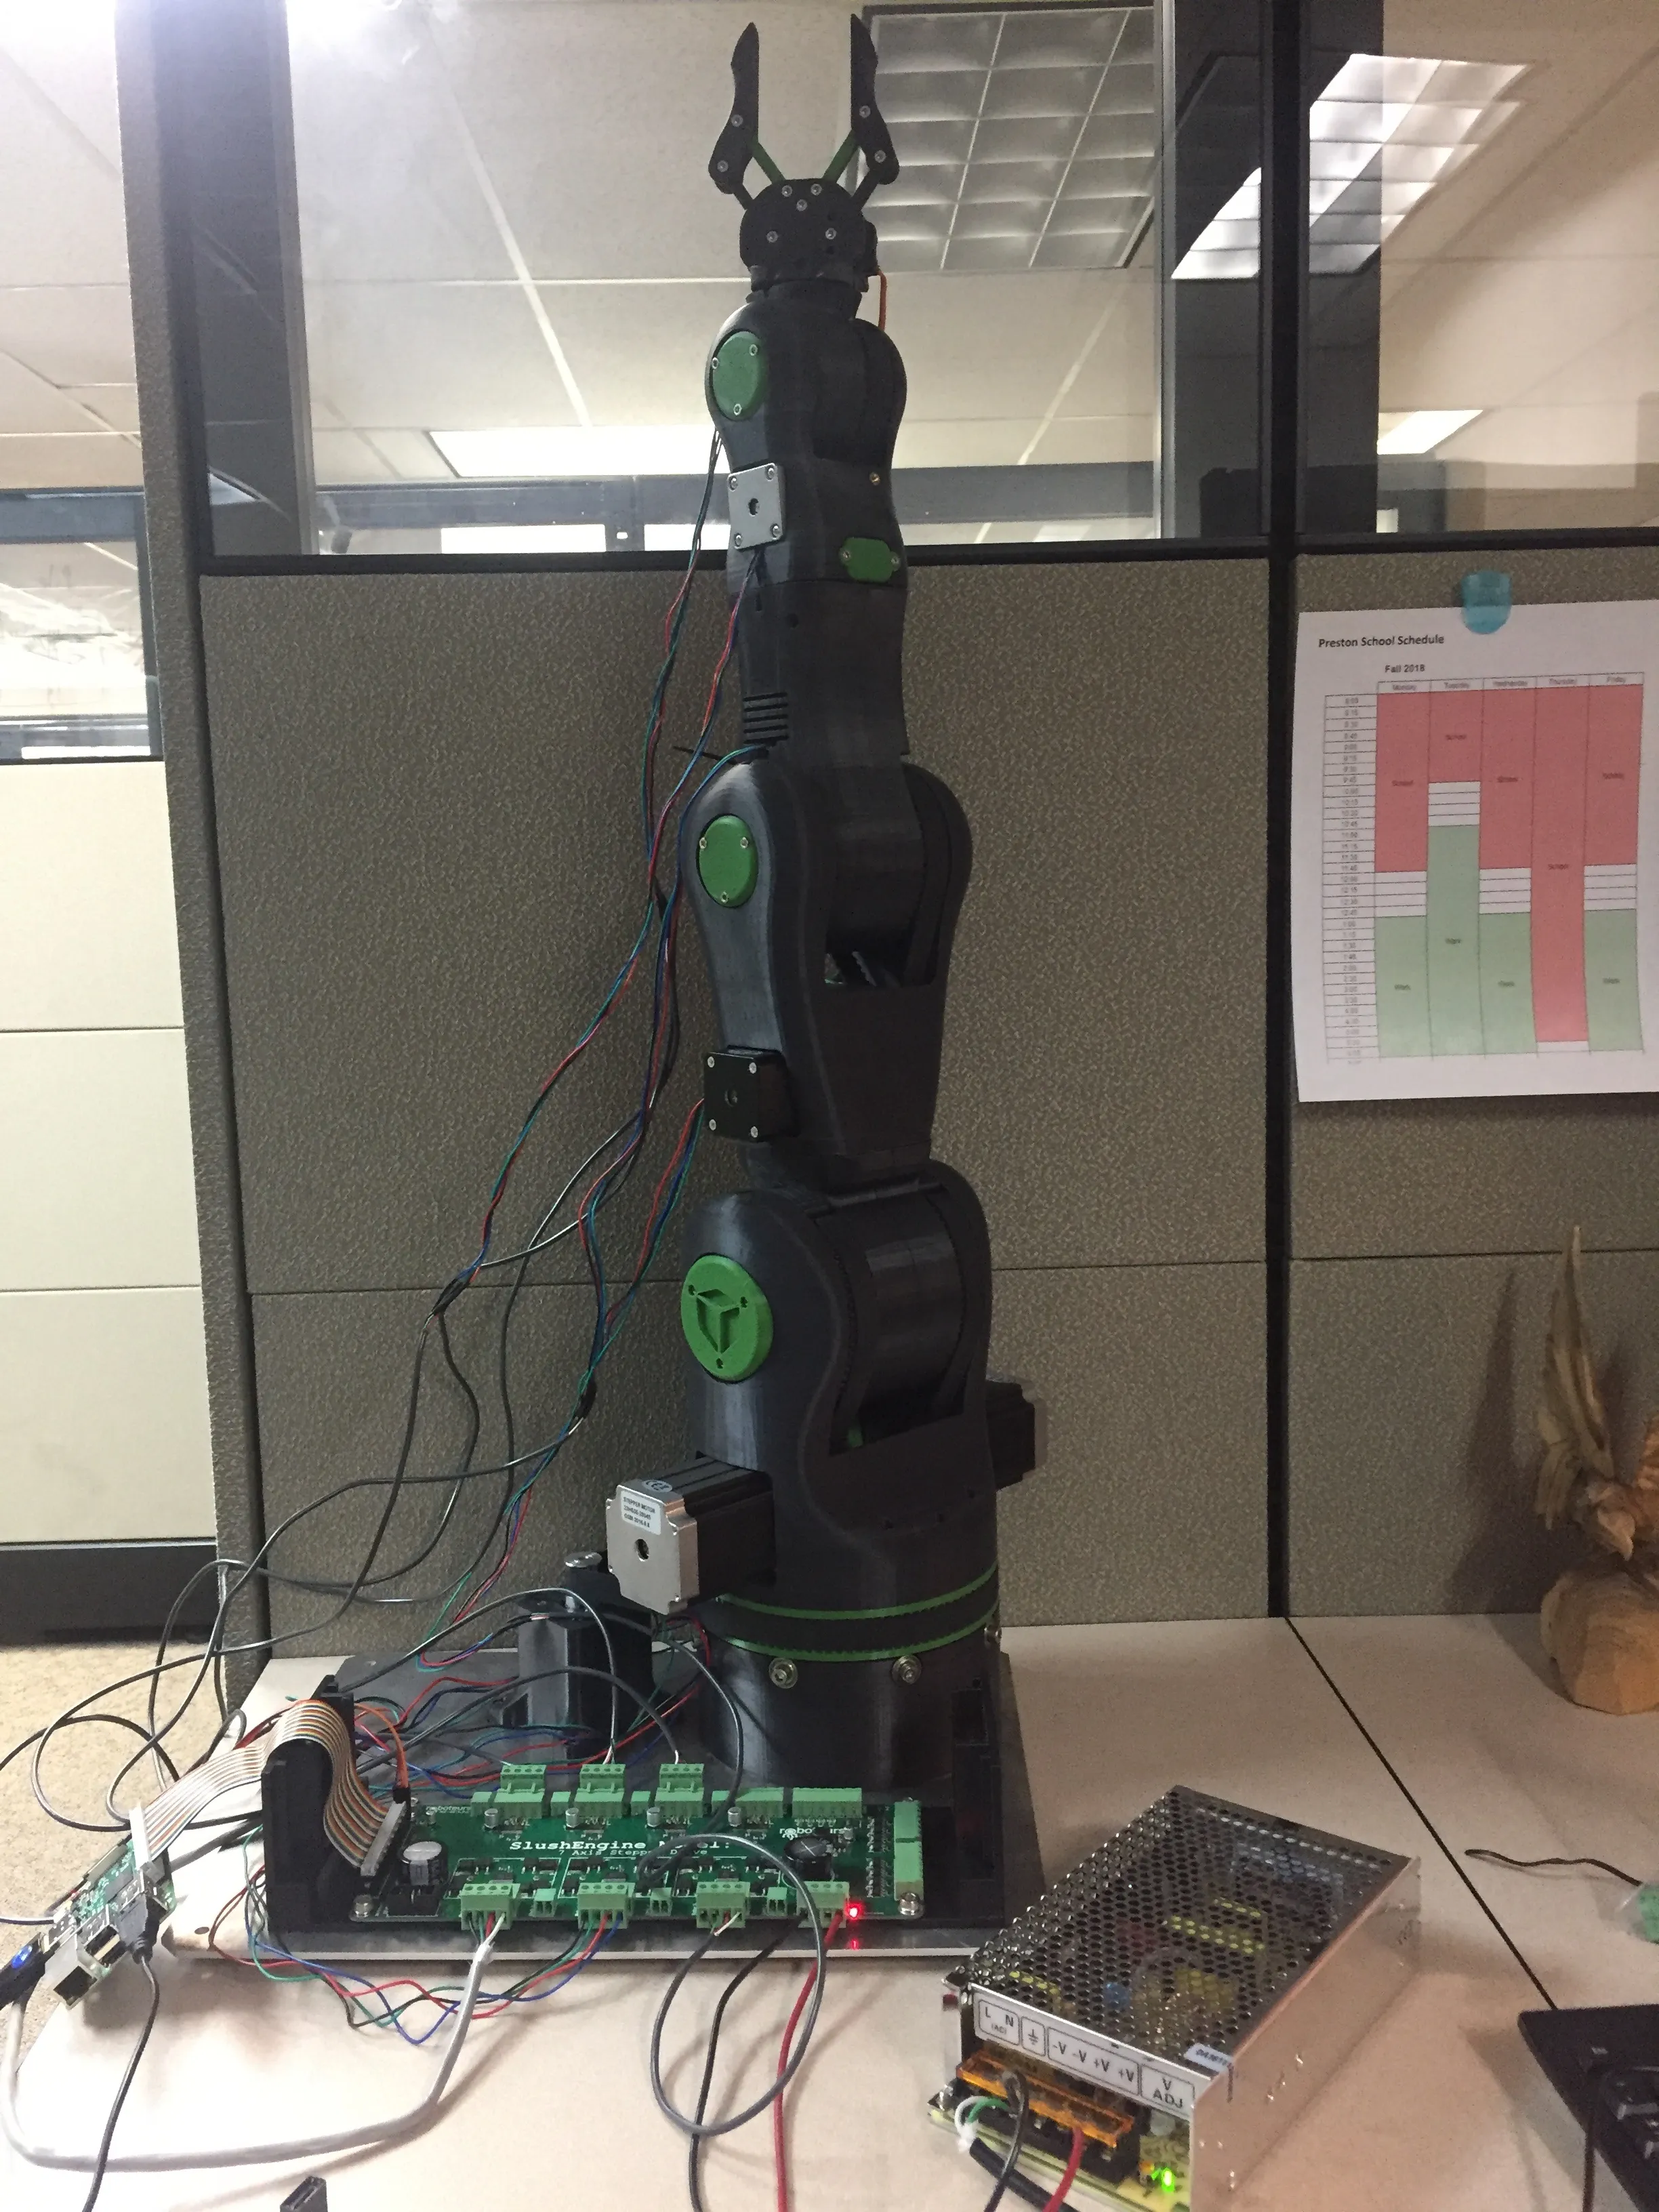
The RBX1’s default logic control is creating waypoints using a USB Xbox 360 controller. One simply uses the controller to move the stepper motors to a set position, create a point, repeat, save, and then run the program. More complex and sophisticated control logic can be used to control the arm. But, as far as my responsibilities are concerned, a simple proof-of-concept will suffice for the scope of this project.
Now that the arm is assembled and moving, I have graciously relieved my ownership to a friend at GoEngineer who specializes in mechatronics and AI programming. He can add upgrades, improve the control logic, and hopefully use the arm for more useful tasks than bending over and touching the ground. Nevertheless, the project was a rewarding and gratifying endeavor. I cannot express enough my satisfaction of fighting through all the assembly, wiring, and programming steps and seeing the arm move by manipulating the Xbox controller. I highly recommend 3D printing assembly kits for those interested in an introduction to robotics and/or 3D printing and electrical projects.
More projects you might like
Creating a 3D Printed Race Medallion HAnger Using SOLIDWORKS
Designing a 3D Printed Storage Box Using Multi-Body Part Modelling in SOLIDWORKS

About Preston Ruff
Preston Ruff is a Technical Support Engineer and Certified SOLIDWORKS Instructor based out of our Headquarters in Salt Lake City, Utah. He earned a Bachelor’s degree in Manufacturing Engineering Technology from Brigham Young University and is a Certified SOLIDWORKS Expert. For many years, Preston has been passionate about CAD design, 3D printing, additive manufacturing, and being involved with STEM education. He joined the GoEngineer family in 2017.
Get our wide array of technical resources delivered right to your inbox.
Unsubscribe at any time.