Differentiating Instances Using SOLIDWORKS Component Reference
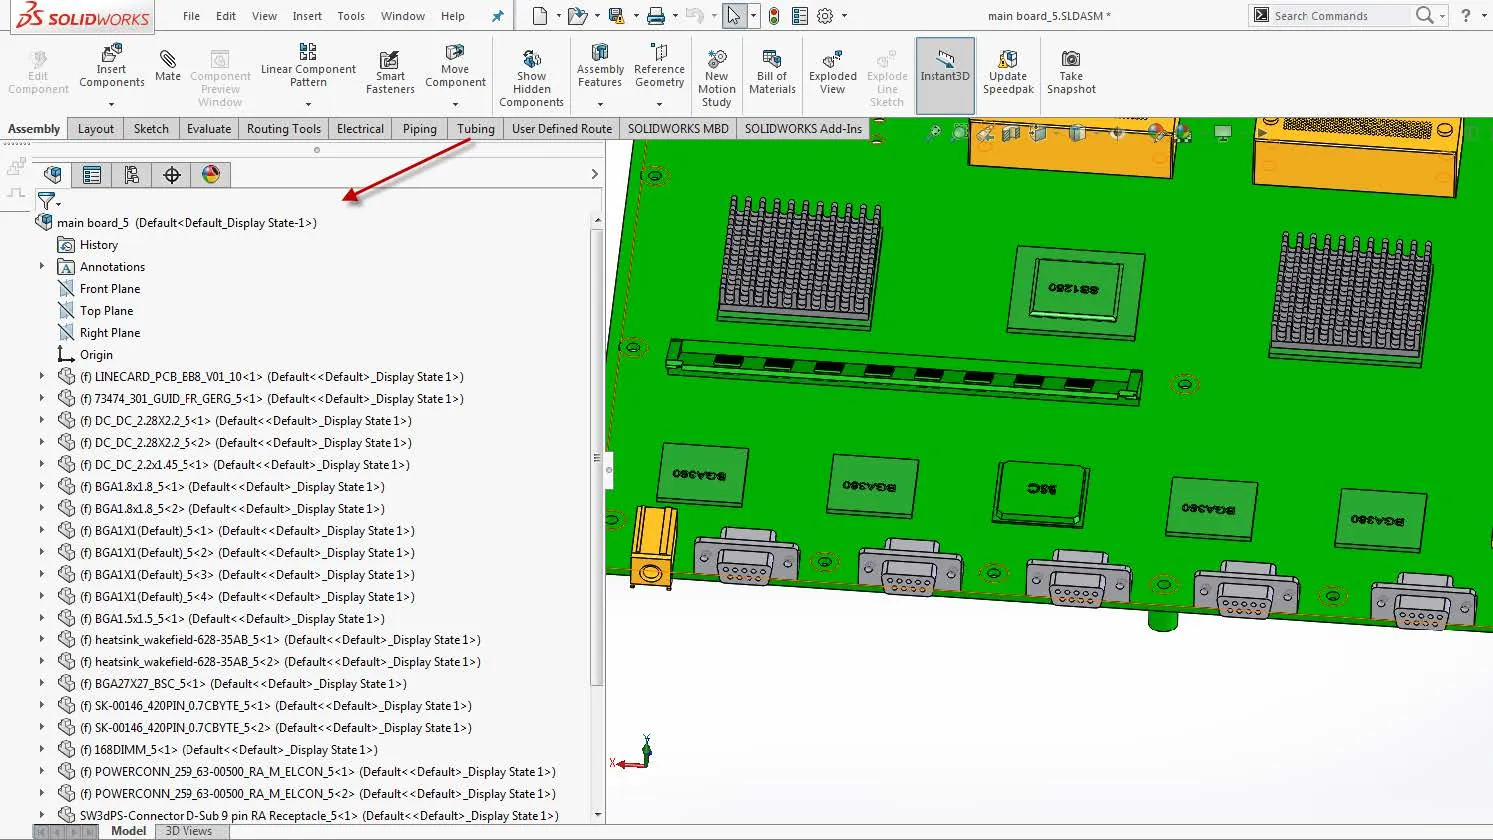
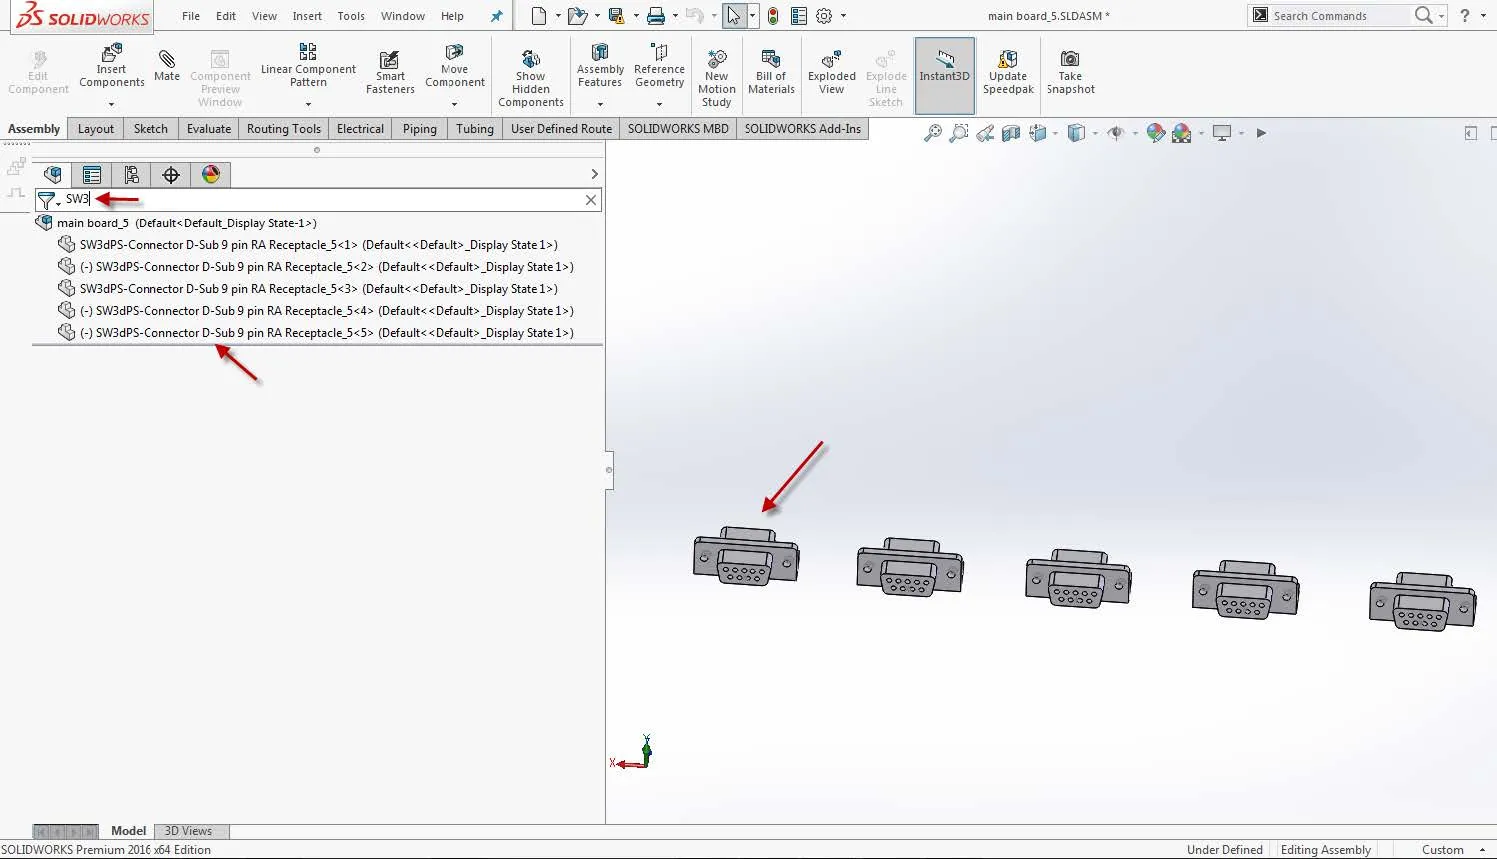
This post will help you give labels to multiple instances of the same component inside a SOLIDWORKS assembly. On your assembly design tree, filter the component instances by typing in the name of the file.
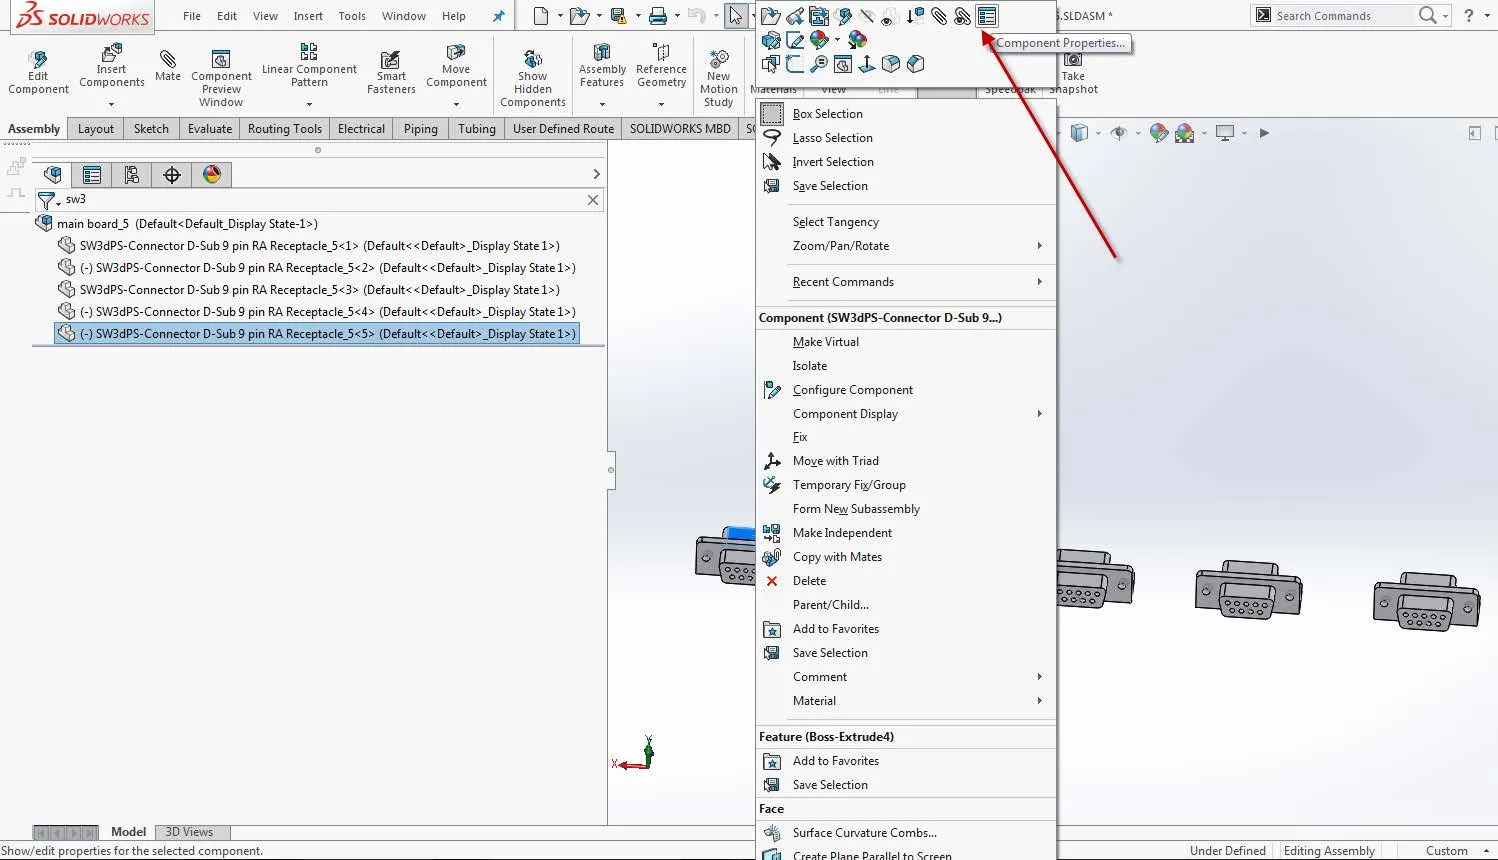
Right-click on the first component instance (either on the design tree or graphics area) and go to the Component Properties.
Assign your labels in Component Reference; in my case, I’m labeling my components from CR1 to CR5.
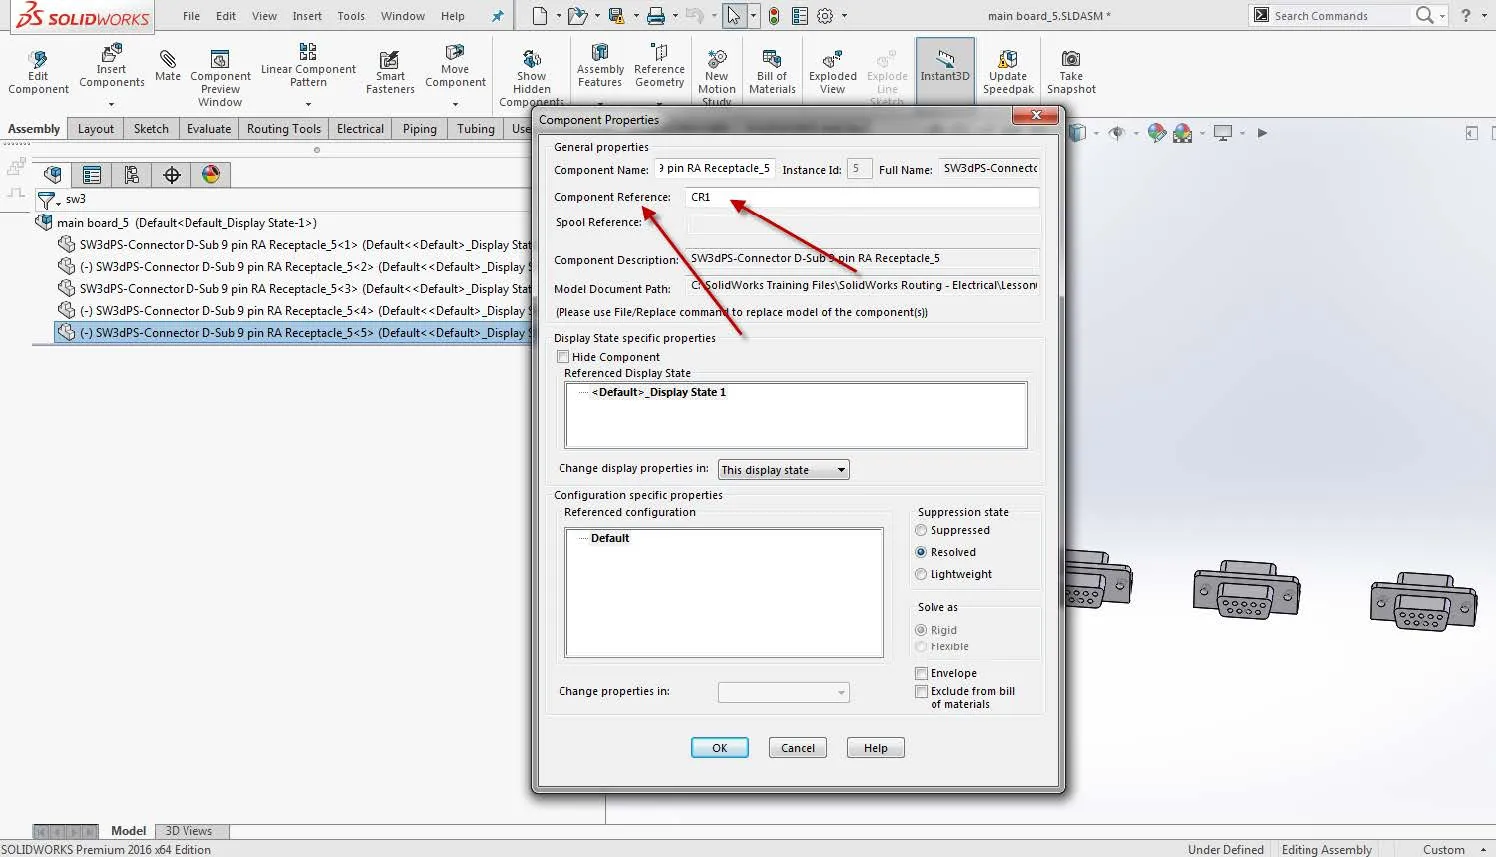
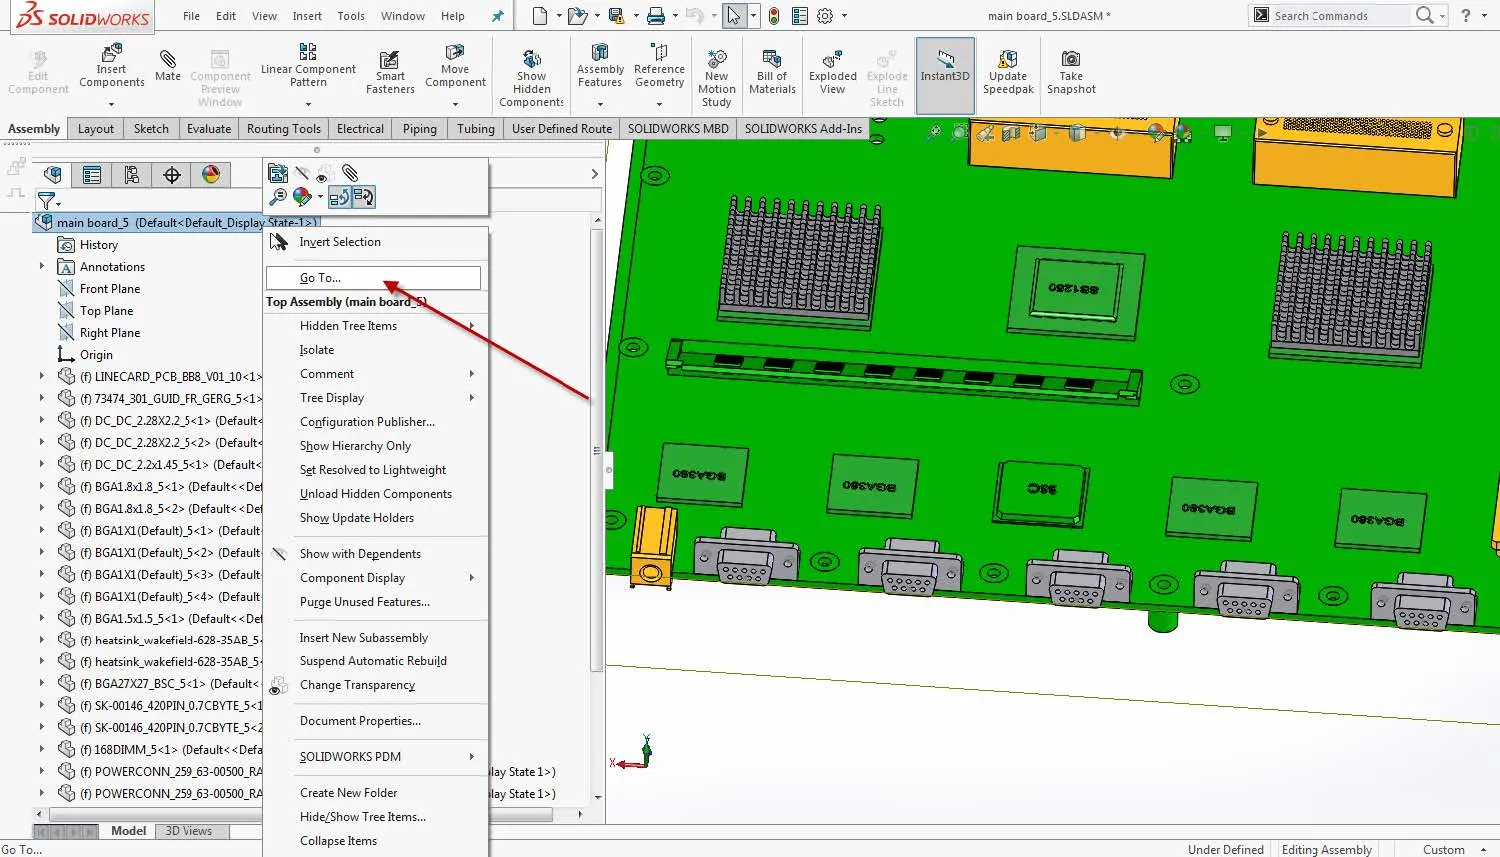
It is important to note that these designators are assembly-specific. In other words, they’ll be saved only at the assembly level. Another point to mention here is that we cannot do a design tree filter by the component reference, but the workaround is to right-click on your assembly name and select Go to…
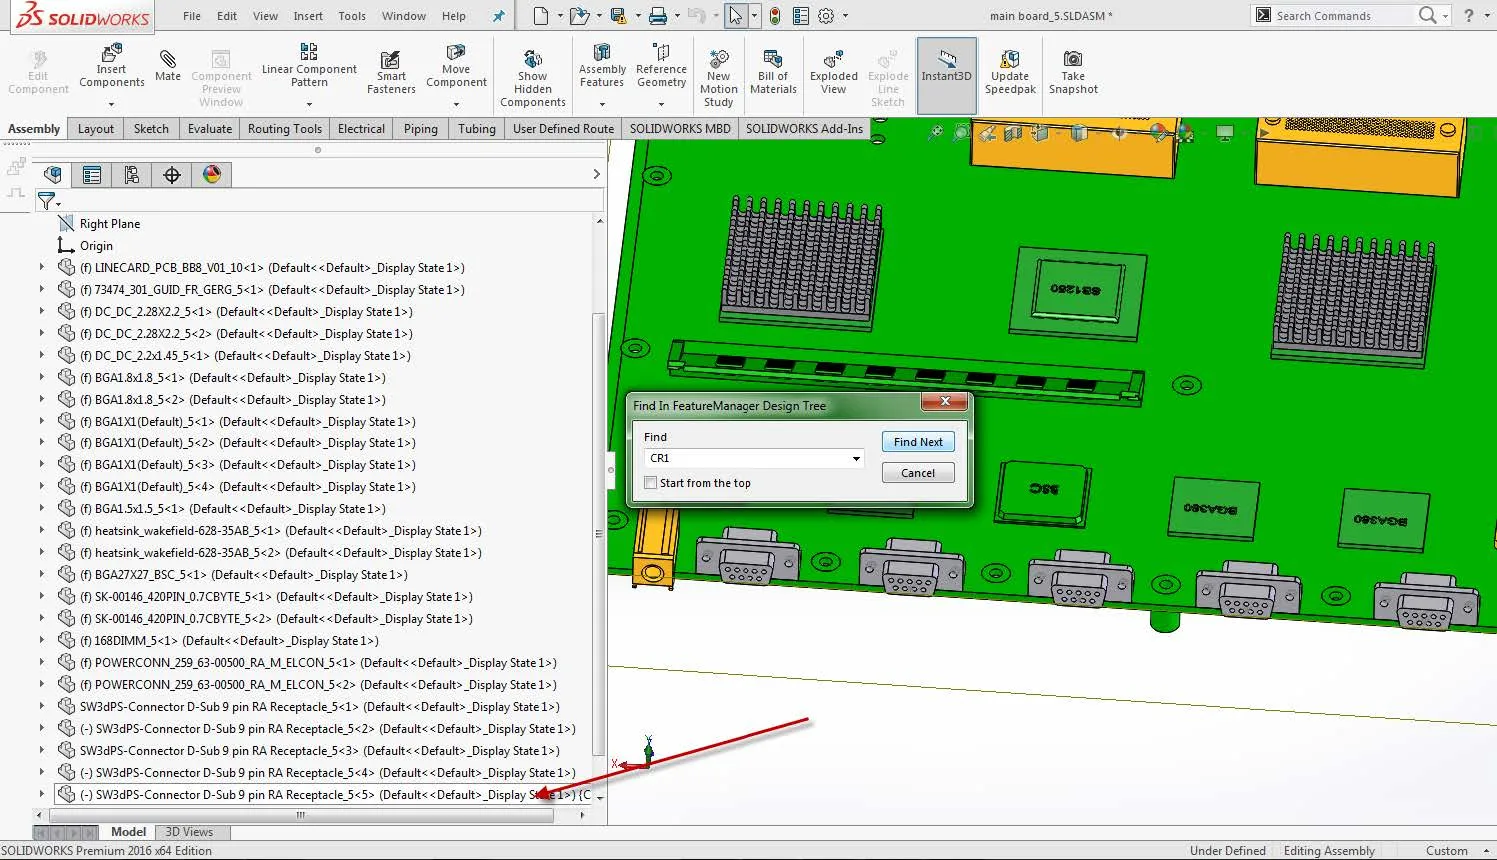
Type the name of the Component Reference and hit Next. This will find your component instance in your design tree and point it out but not isolate it as the filter does.
I hope you found this SOLIDWORKS Component Reference tutorial helpful. Check out more tips and tricks below.
More SOLIDWORKS Tips and Tricks
Save SOLIDWORKS Assembly as Part and Preserve Geometry References
7 Ways to Improve SOLIDWORKS Large Assembly & Drawing Performance
Virtual Components: Parts That Aren't Parts

About Rodolfo Gutierrez
Rodolfo Gutierrez is a Mechanical Engineer by profession specializing in SOLIDWORKS, Routing, PDM, Sheet Metal, and Weldments. Lucky husband and goofy dad. Loves productivity hacks.
Get our wide array of technical resources delivered right to your inbox.
Unsubscribe at any time.