SOLIDWORKS Drawings: Automatically Create a Border
The Automatic Border Feature in SOLIDWORKS quickly allows you to create a border in your sheet format. You can control every aspect of the border, including grid size and layout. When using the tool, border zones automatically update. You can also add Margin Mask areas, where labels and dividers are not shown.
How to use the SOLIDWORKS Automatic Border Feature
To Start the Automatic Border Feature, go to the Open a drawing and go to the Sheet Format Tab. Select Edit Sheet and then Automatic Border.
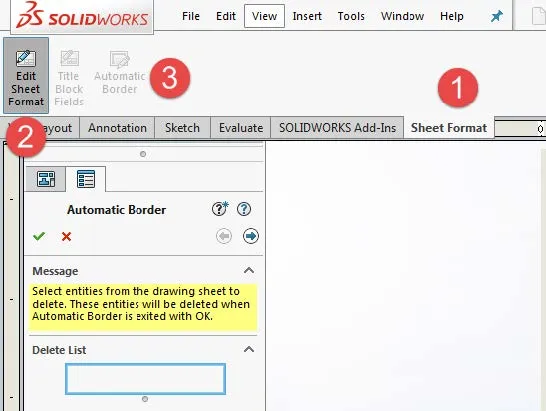
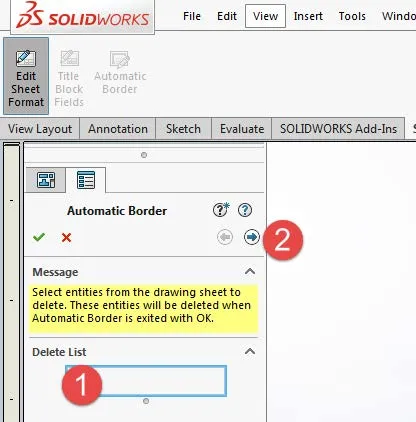
The first option you will see is the Delete list where you can select items that are already on your Sheet Format to delete. Select the arrow. You will want to delete any existing border; this prevents overlapping with the newly created border.
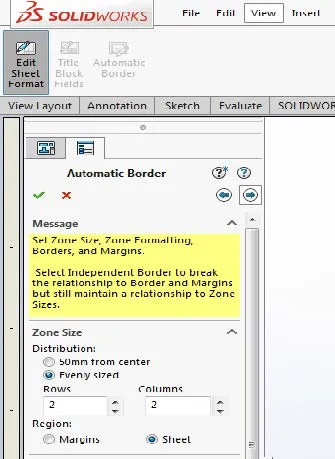
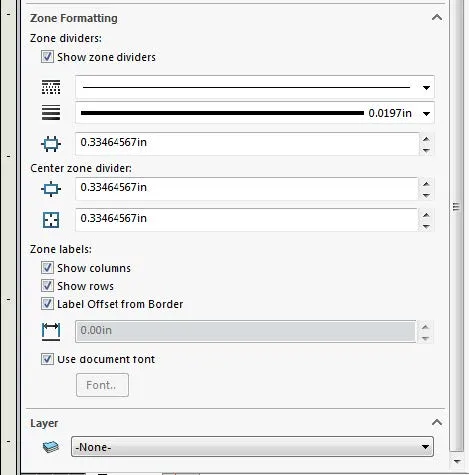
The next step allows you to set the zone size, formatting, borders, and margins. You have two options for the zone formatting. The 50mm from center option creates zones every 50mm from the center and the Evenly sized option creates rows and columns that are based on the paper size.
The Margin options include left and right justifications, line size, and adding a double border.
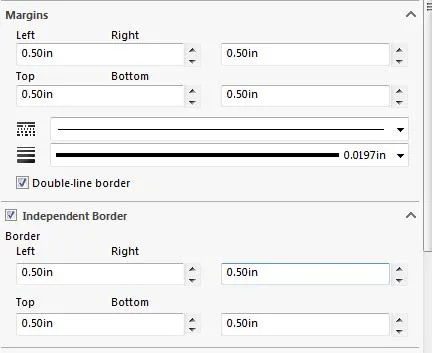
If you want an odd number of rows and columns, the Center Zone Divider may overlap the center label. If this is the case, you can specify the Outer Zone Divider Length to be zero.
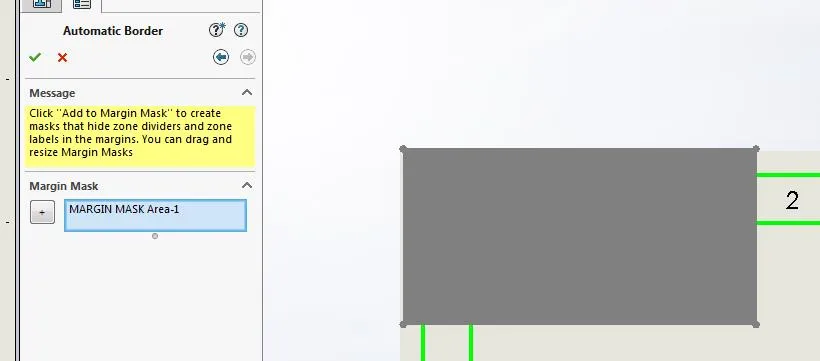
The last step allows you to add margin masks. Margin masks allow you to hide zone dividers and labels in the margin. To create a margin mask, select plus button and position the rectangular mask over the area you want to hide. You can add multiple masks to the page.
You have now created a parametrically linked border! When finished creating your border, don’t forget to save it as a Sheet Format.

To Save the sheet format, select File > Save As Sheet Format.
More SOLIDWORKS Drawings Tutorials
Why and How to Use Display States in Drawings: SOLIDWORKS Tutorials
Auto-ballooning Hidden Components in SOLIDWORKS
SOLIDWORKS Process Plan Drawings
Customizing Colors in SOLIDWORKS Drawings
![]()
About GoEngineer
GoEngineer delivers software, technology, and expertise that enable companies to unlock design innovation and deliver better products faster. With more than 40 years of experience and tens of thousands of customers in high tech, medical, machine design, energy and other industries, GoEngineer provides best-in-class design solutions from SOLIDWORKS CAD, Stratasys 3D printing, Creaform & Artec 3D scanning, CAMWorks, PLM, and more
Get our wide array of technical resources delivered right to your inbox.
Unsubscribe at any time.