SOLIDWORKS Simulation Report Generation Tips
SOLIDWORKS Simulation has a report generator that makes great looking Word document reports on the user's current Simulation study. These reports come complete with all the relevant information that the user would like to include from their Simulation model, and are generated very quickly. Even though the report generation option can save a lot of time and headache, there are still several annoying aspects of generating a report in SOLIDWORKS Simulation.
- Having to manually input all of your personal information into every new report being generated.
- After your report has been generated, only seeing the isometric view of your model in each screenshot that the report generates.
These two items can be very frustrating for the SOLIDWORKS Simulation user who wants to save time in generating a report to show his/her Simulation findings.
Fortunately, some easy workaround options will overcome these two items thus making your SOLIDWORKS reports not only easy to generate but also conveying exactly what information the user wants to convey.
How to make your personal information generate in every new report automatically
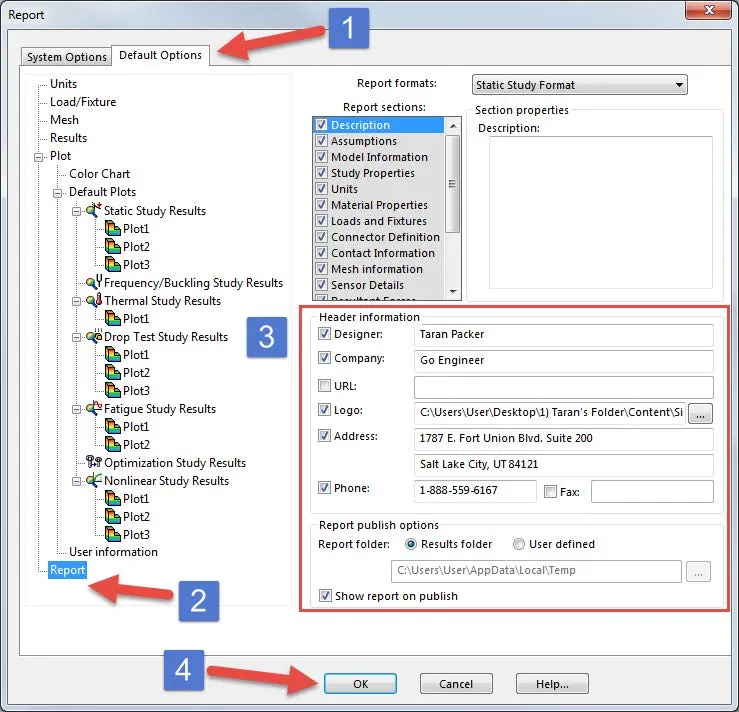
Go to the Simulation Options in the Simulation drop-down menu, and select the Default Options tab [1]. At the very bottom of this tab is the Report section [2]. Click on this section and put all of your information under Header information [3]. After the user has customized this page to their liking all new reports generated after this point will have the user's information automatically generated for them. Select OK to finish [4].
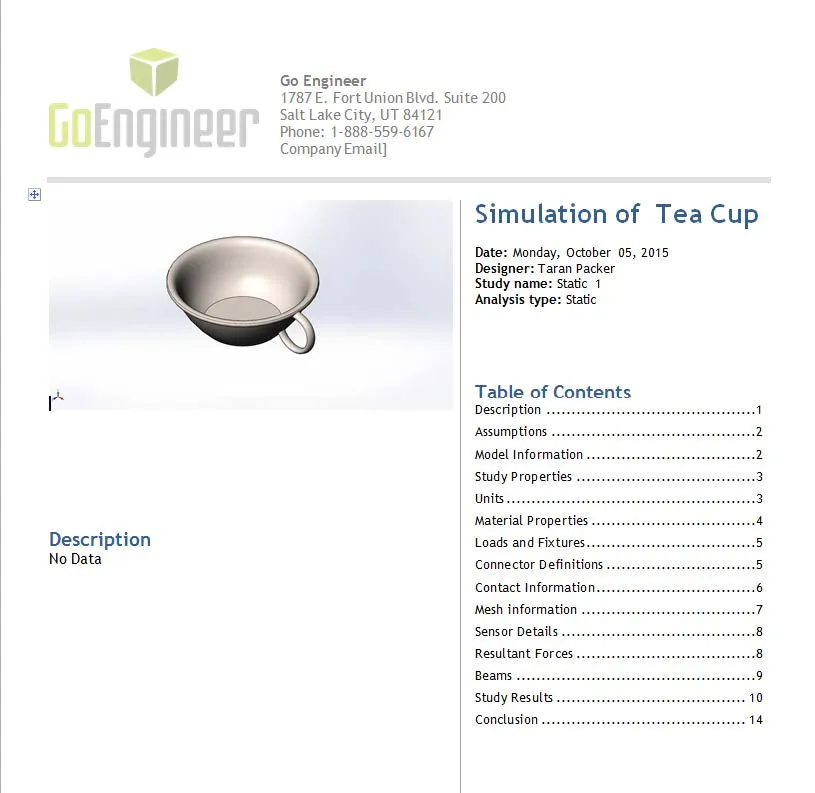
First page of the completed report
How to input your own model views into the report
Without user input, SOLIDWORKS Simulation will automatically generate reports with just isometric views of the part/assembly being modeled. Some steps can be taken to either replace the default isometric view or add your own views for all of your Simulation Results data.
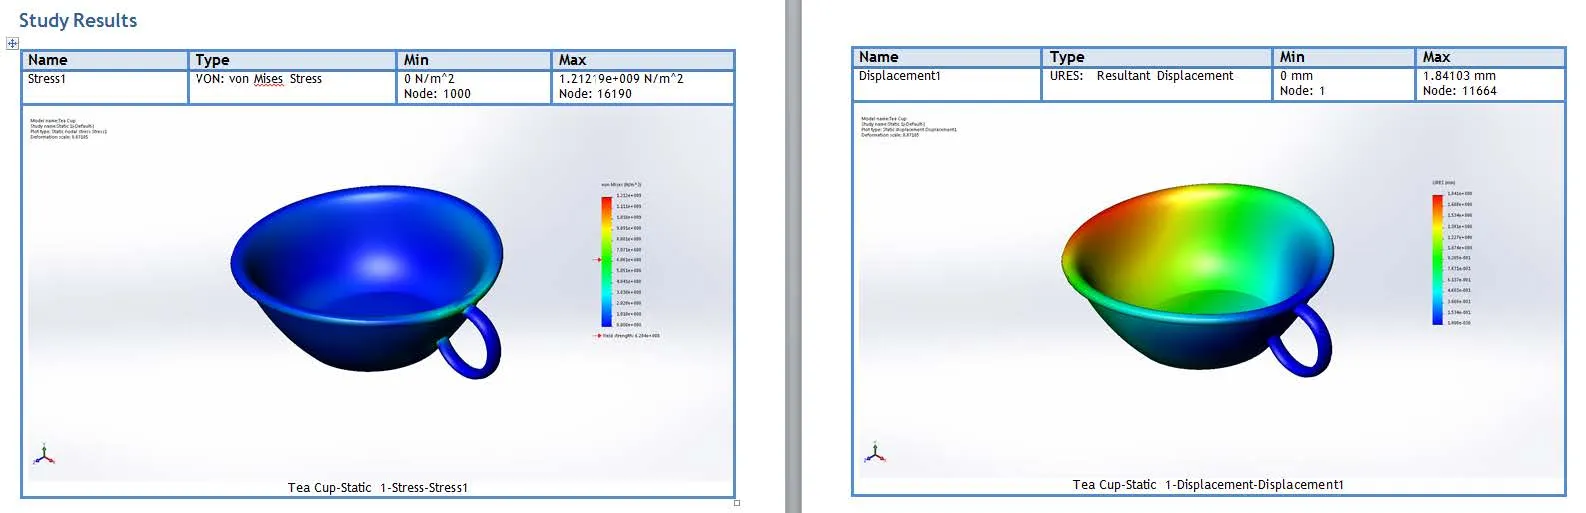
Example of the default Isometric view generated in all unmodified reports.
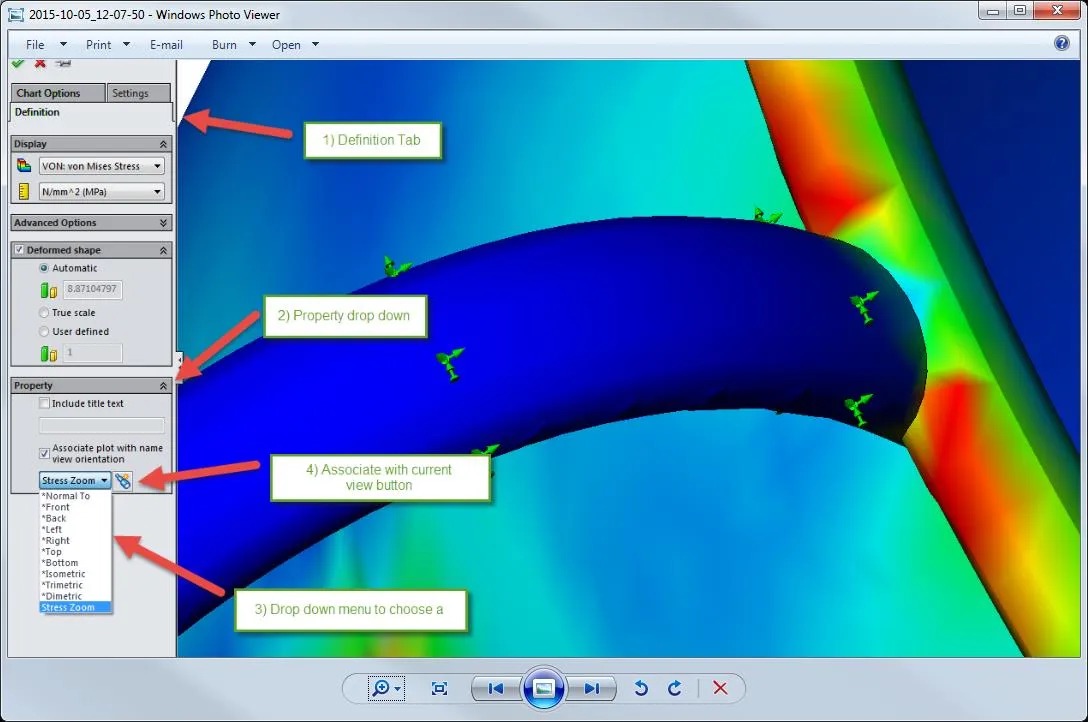
To override the default isometric views before generating a Simulation report just click on Edit Definition of the results plot you would like to replace the report default image of, and in the Definition tab click the Property box and choose Associate plot with name view orientation.
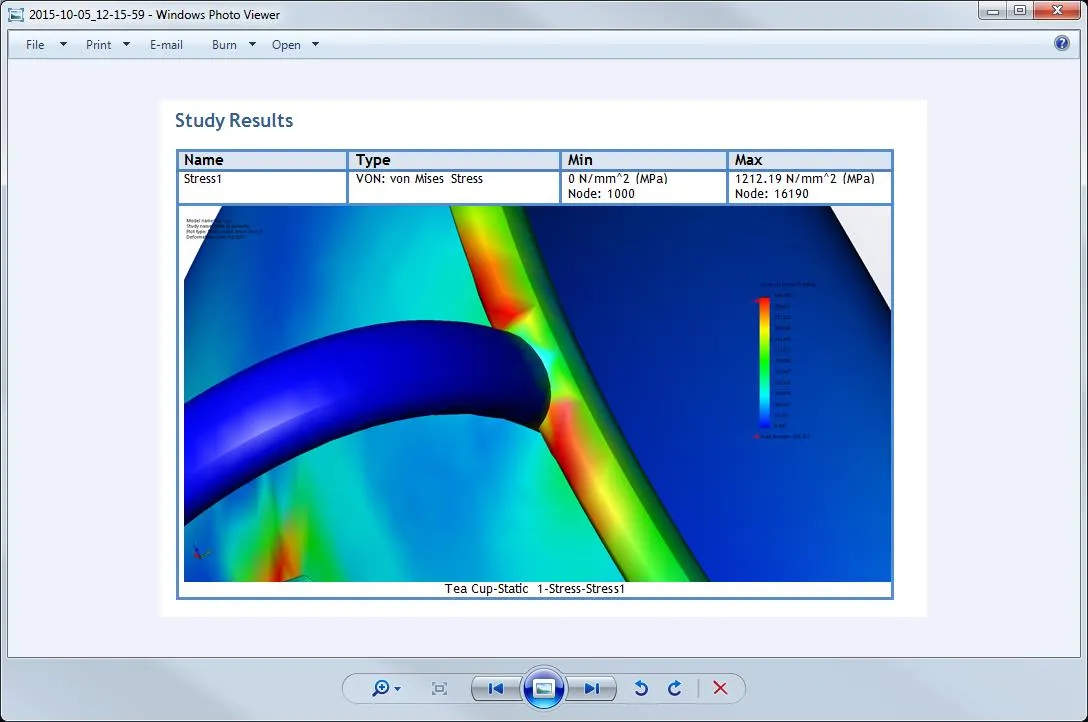
Position your plot in the graphics area to what you would like to see in the report and then click the Associate with current view button. Using this technique you can put any image into the report that you like, including a zoomed-in version on a specific ‘hot spot’ of your model.
Steps to making a new view in a newly generated report.
New view replaces the default isometric view in newly generated reports.
If you would like to keep the default isometric view and simply add new views along with them then, right-click the report feature in the Simulation FeatureManager Design tree and click Include Image.
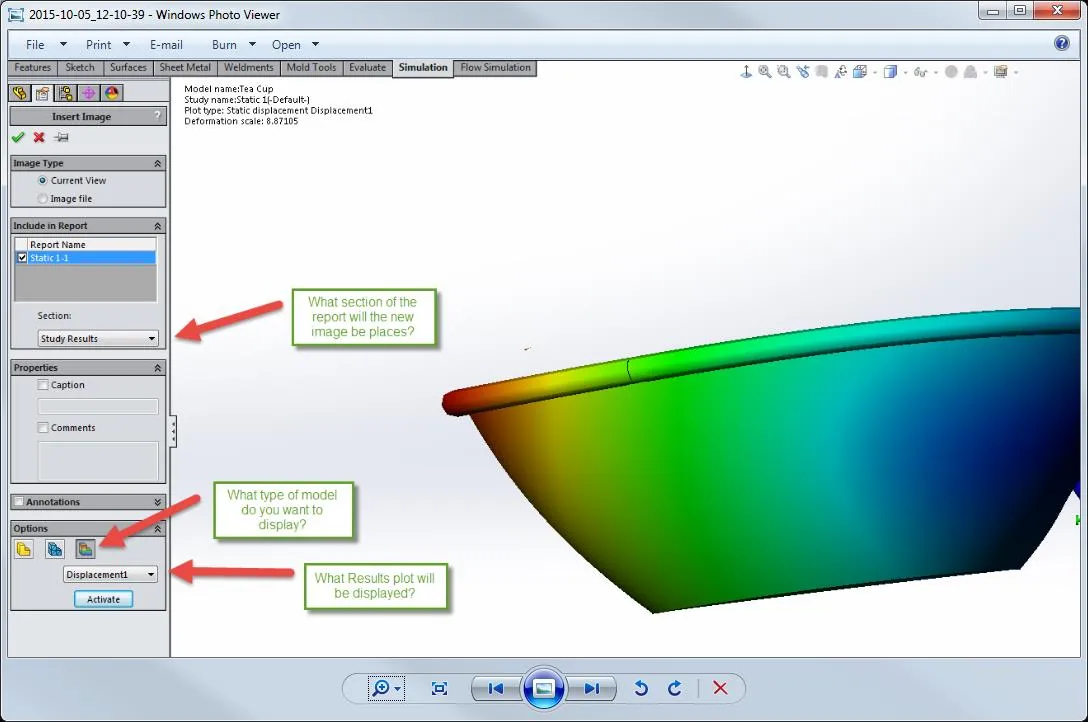
The Insert Image CommandManager will pop up. Manipulate the model in the graphics window to the view you want to include in the report. Make sure to specify what section of the report you want the new view to be placed. Then what type of model you would like to add to the report. If you choose the Simulation results option you will have an additional option of what results plot you would like to include in the report.
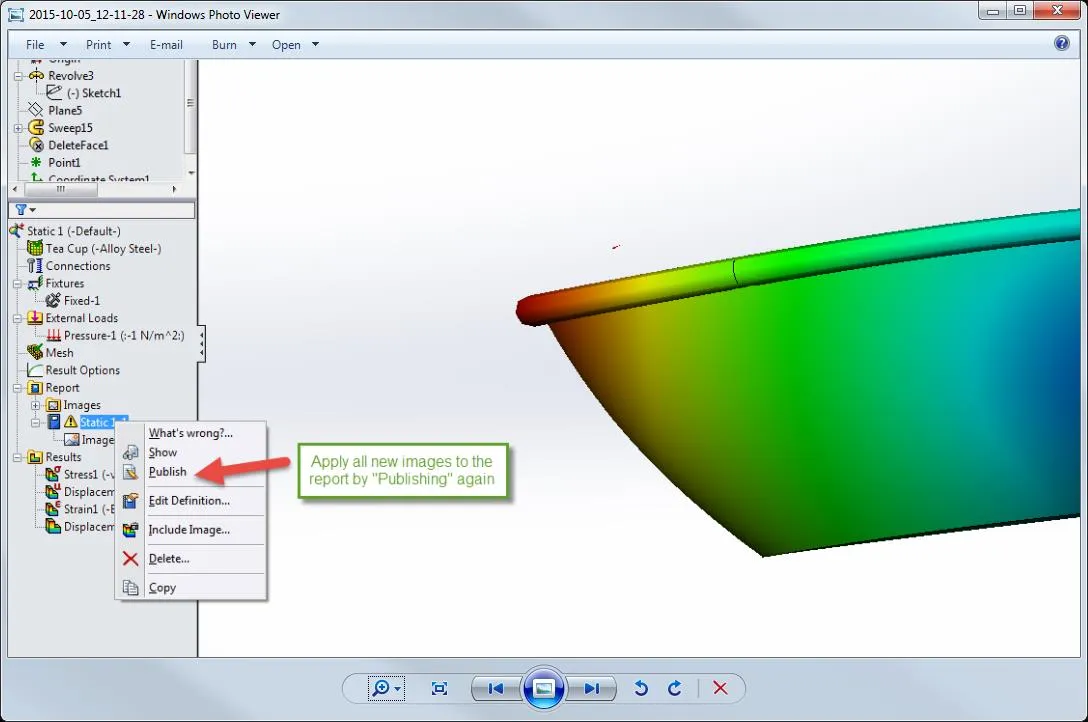
After inserting the new image you need to right-click the generated report and press Publish on the drop-down menu to publish the report again with the new view included. You can create multiple views before publishing again and apply all of them to the report at the same time.
Learn More About SOLIDWORKS Simulation
Managing SOLIDWORKS Simulation Results with PDM
Frequency Study Plot with SOLIDWORKS Simulation
SOLIDWORKS Simulation: Missing Material Data? No Problem!
Prescribed Displacement to Find Reaction Force in SOLIDWORKS Simulation

About Taran Packer
Taran is a SOLIDWORKS Simulation Technical Support Specialist at GoEngineer. He has a Bachelor’s degree in Biomedical Engineering from the University of Utah. Taran enjoys learning about different tools in SOLIDWORKS Simulation, Flow Simulation, and Plastics.
Get our wide array of technical resources delivered right to your inbox.
Unsubscribe at any time.