Two-Factor Authentication Now Required for DSx Client Access
As part of Dassault Systèmes' commitment to enhancing the security of your account, a new two-factor authentication (2FA) process is now required when accessing the DSx Client system. This update will improve security for customers and will require 2FA when accessing sensitive information, such as user data and serial numbers.
This 2FA requirement was officially announced by Dassault Systèmes. It applies to all users who need access to the DSx System, especially those responsible for managing user access, support, or downloads.
This article will go through the steps to successfully configure and log into DSx Client using the new 2FA features.
This article contains two sections.
- Section one outlines setting up the 2-factor authentication on your phone (most common).
- Section two outlines how to use an on-computer authenticator versus one on your phone.
Section 1: Setting up 2-Factor Authentication on Your Phone
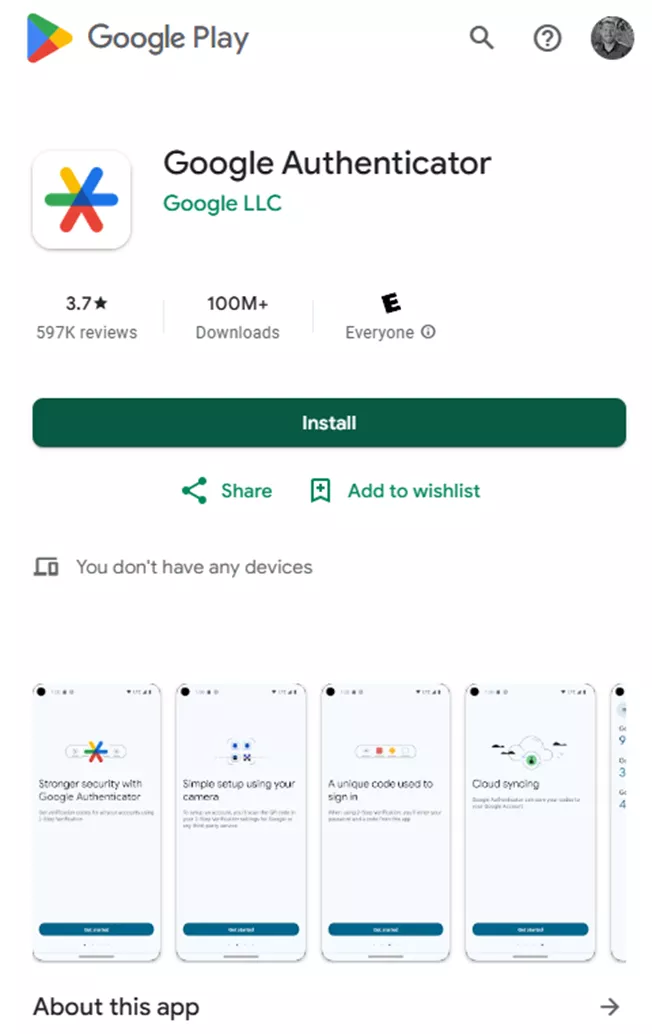
1. Download an Authenticator
First, download an authenticator app onto your phone if you don’t have one already. This example uses Google Authenticator, but other tools such as Microsoft Authenticator, Okta, and others are also suitable. (An alternative method that doesn’t require a phone is explained in Section 2.)
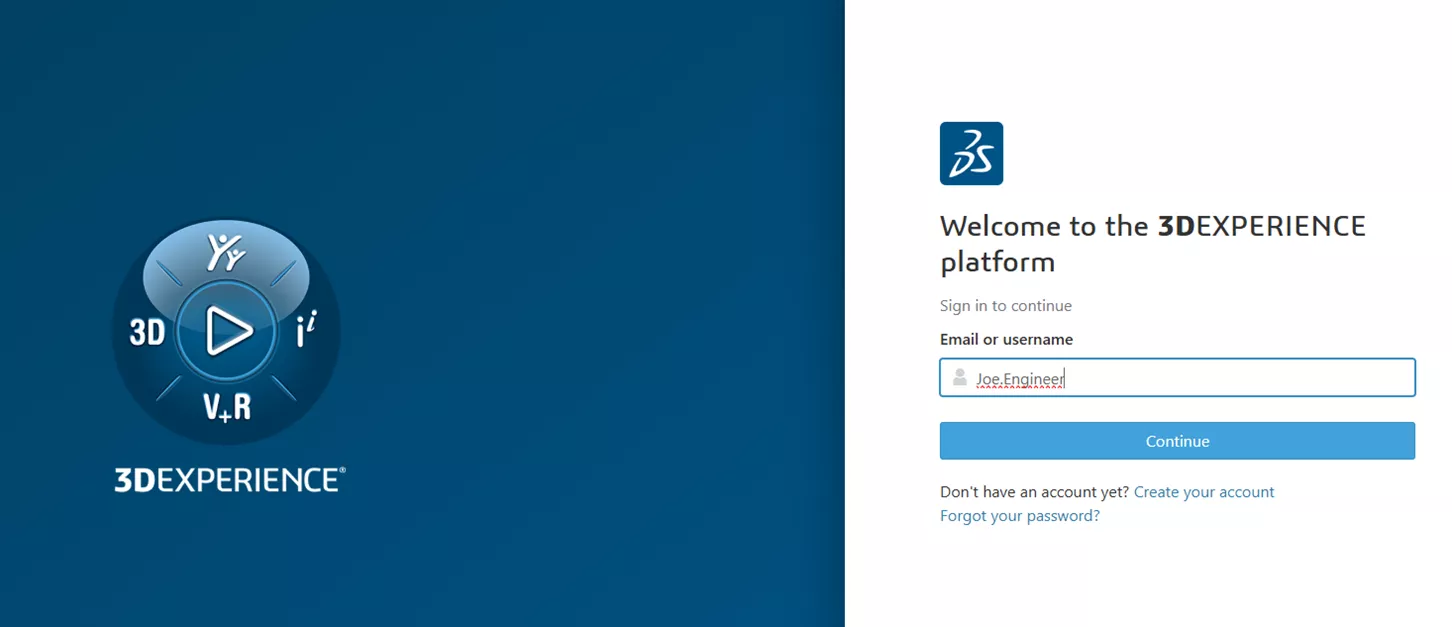
2. Log in to Your Dassault Systèmes Account
Log in to your DS user account. You’ll need to log in with your DS username and password.
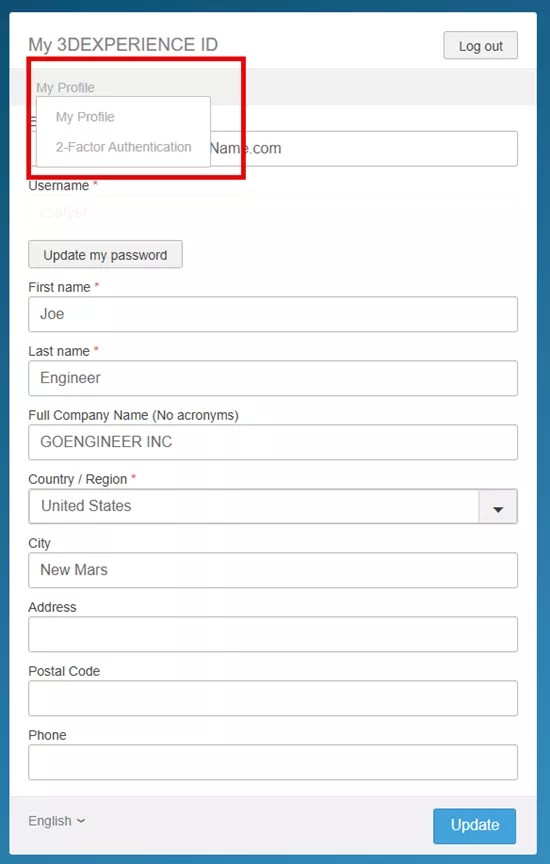
3. Access 2-Factor Setup Wizard
In your account, click My Profile in the top left to display a dropdown menu. In the menu, select 2-Factor Authentication to begin setting up two-factor authentication for DSx Client.
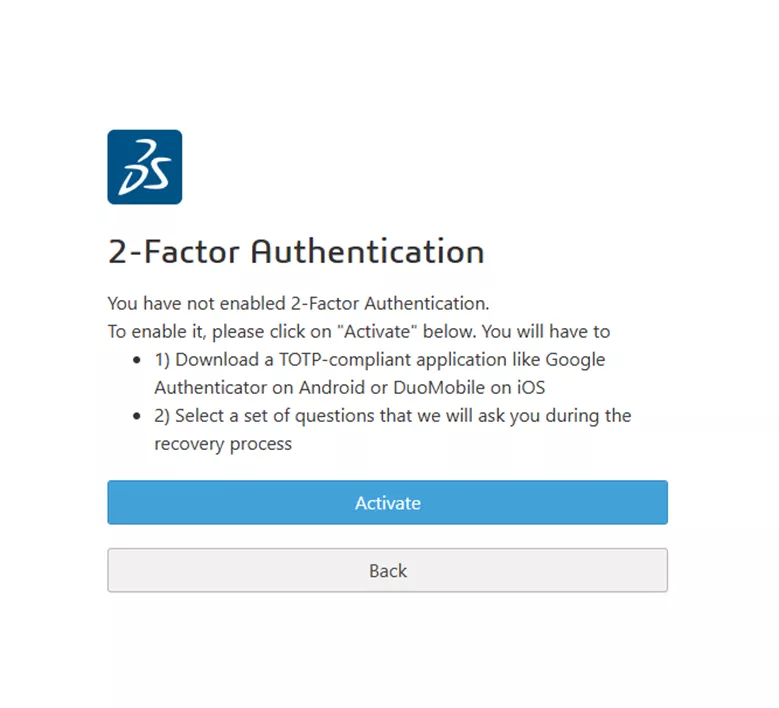
4. Begin 2FA Wizard
Click Activate to begin your 2-Factor Authentication setup.
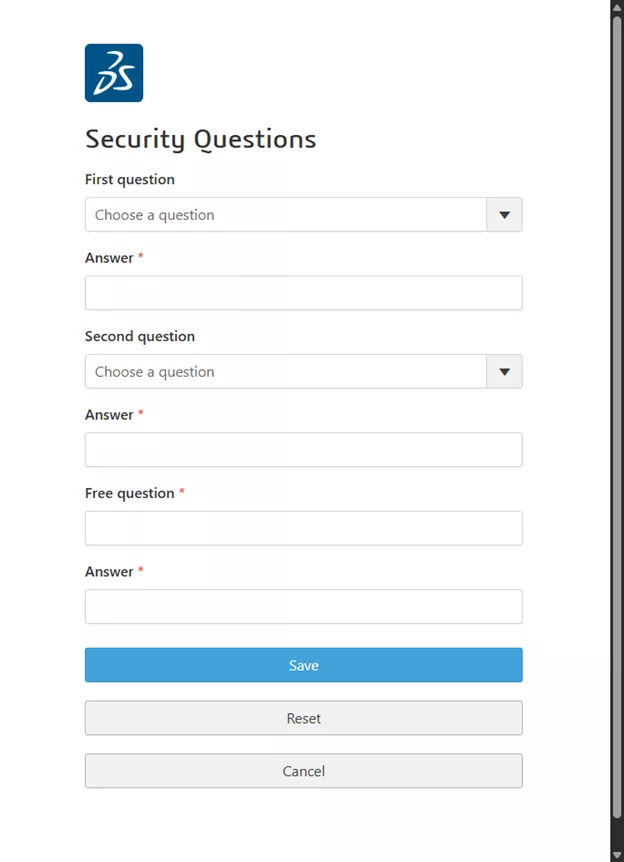
5. Set Up Recovery Options
Set up your security questions. These are used in the event you lose access to your 2FA device. The first 2 questions are from a list, the third question allows you to type your own answer. If you click the wrong option in the dropdown, you will need to click the reset button to undo it.
6. Add New Entry to Google Authenticator
In the authenticator app you downloaded, click the plus and choose Scan a QR Code. Alternatively, if you don’t have a camera on your phone, you choose Enter a setup key.
Scan the QR code or type in the 2FA backup key into the authenticator app.
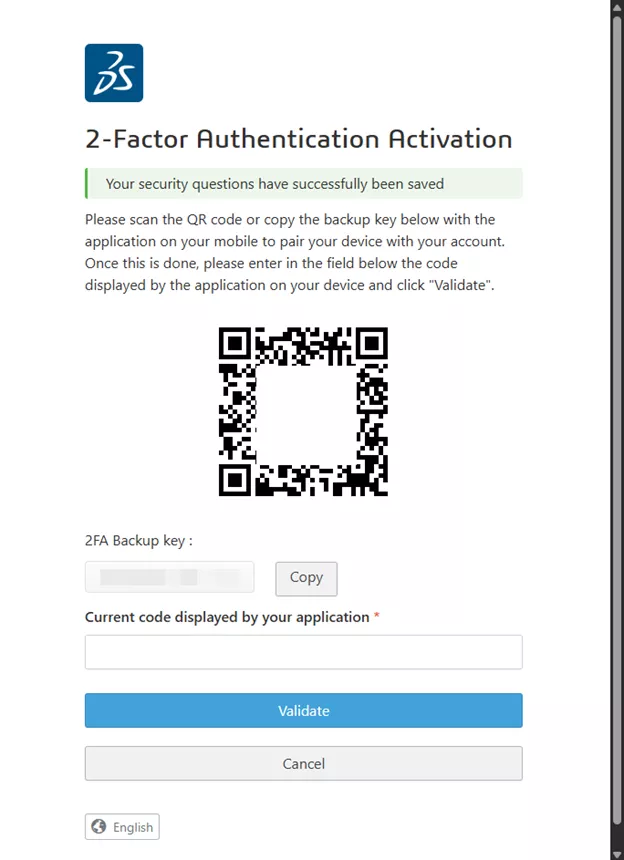
7. Test Authentication
Once you’ve added the 2FA code to Google Authenticator, it’ll show you a 6-digit authentication code. Enter it into the field Current code displayed by your application.
If successful, you’ll be presented with a confirmation window informing you that your 2-Factor Authentication is enabled.
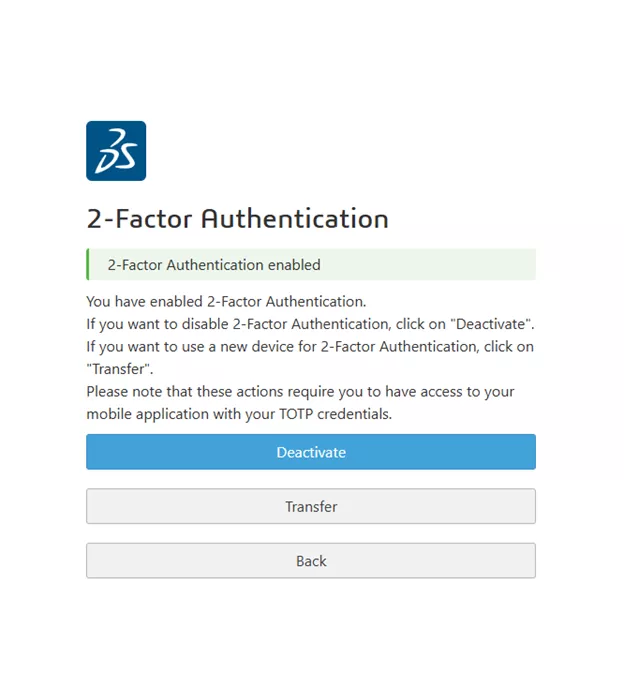
Now, when you log into 3DEXPERIENCE, you’ll be presented with a new window asking for a code. You’ll need to use your authenticator for that code going forward.
Section 2: Setting Up 2-Factor Authentication on Your Computer
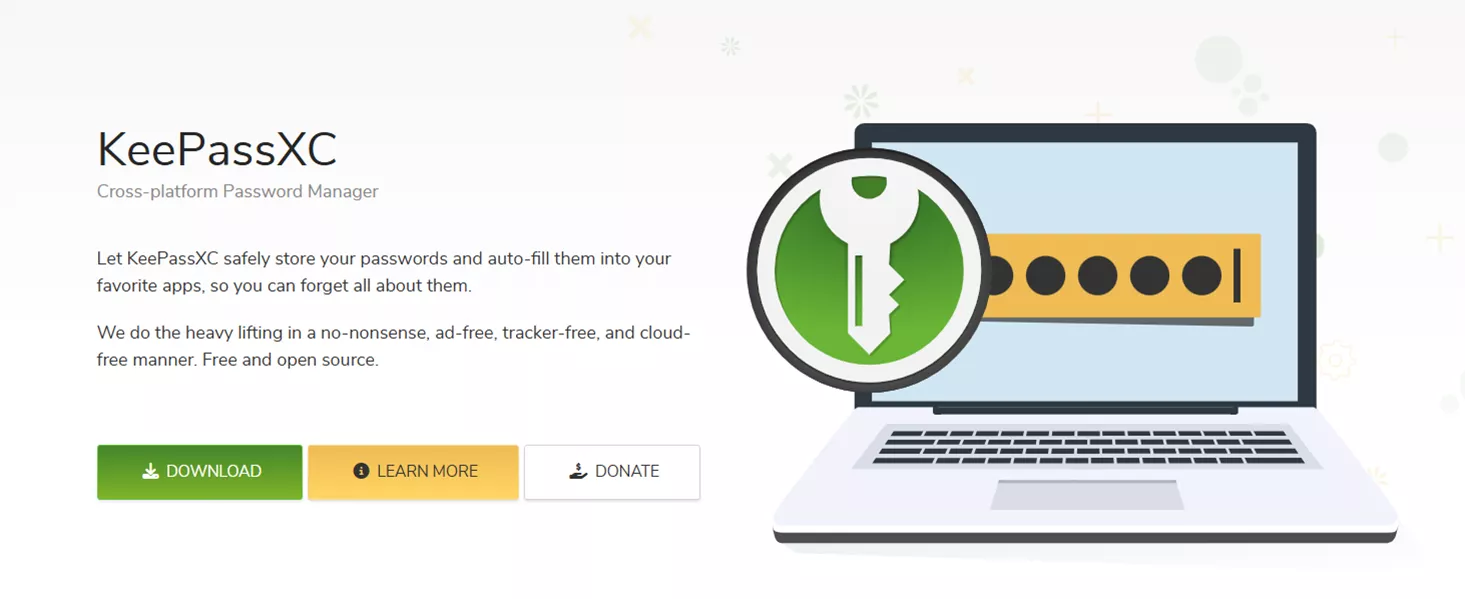
This section outlines how to set up KeePassXC, an open-source password manager that works on Windows, macOS, and Linux.
1. Download KeePassXC
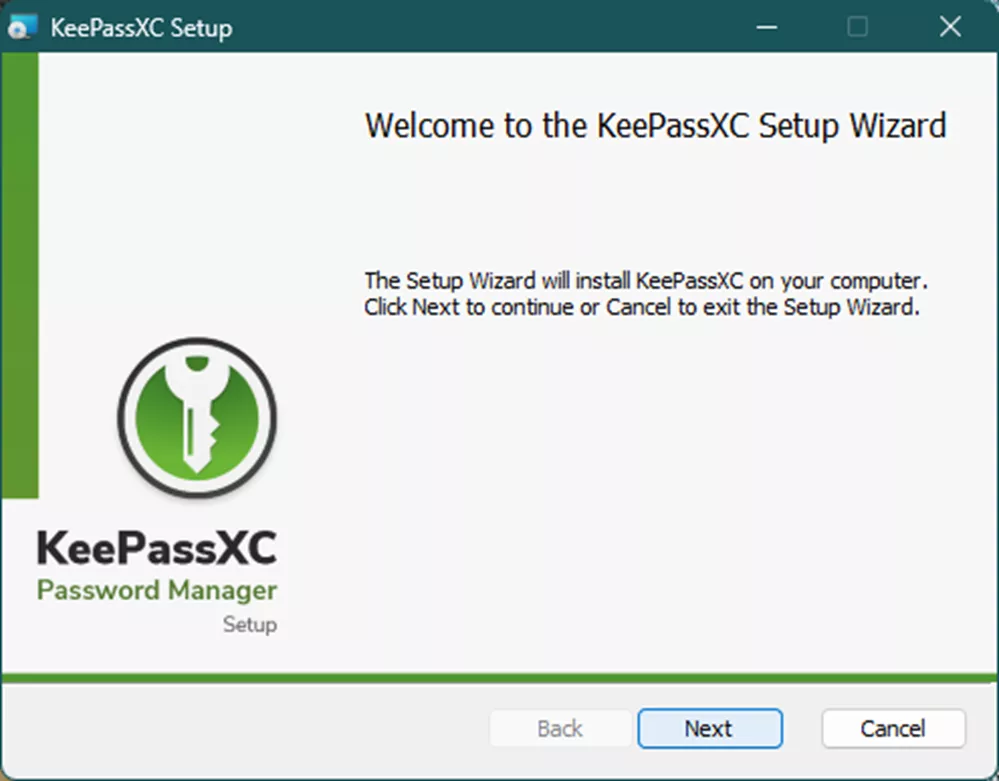
Download KeePassXC from their website. The download will look similar to the image below.
2. Install KeePassXC
Once downloaded, initiate the installation. For the context of this guide, the default options for installation are sufficient.
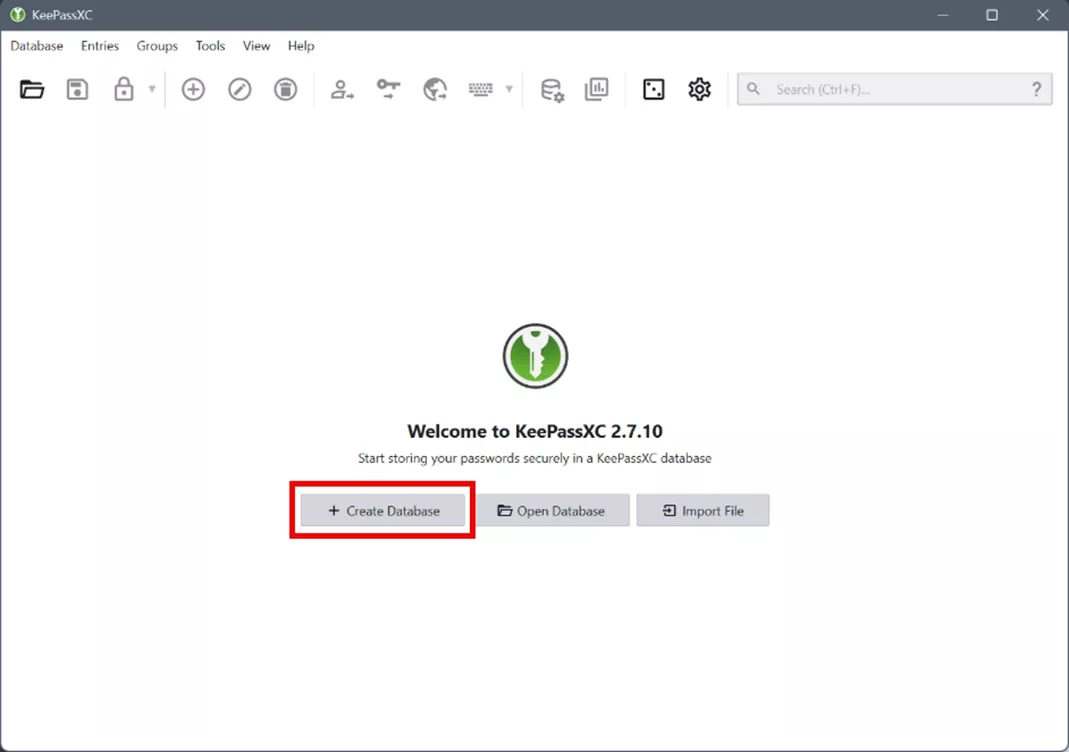
3. Create a Database
Click Create Database. Databases are where passwords and tokens are stored in KeePass. As you set up the database you can keep the default settings or tailor them to meet your needs. You will need to add a password for your database as part of this setup process. Please keep this safe and stored in a secure place.
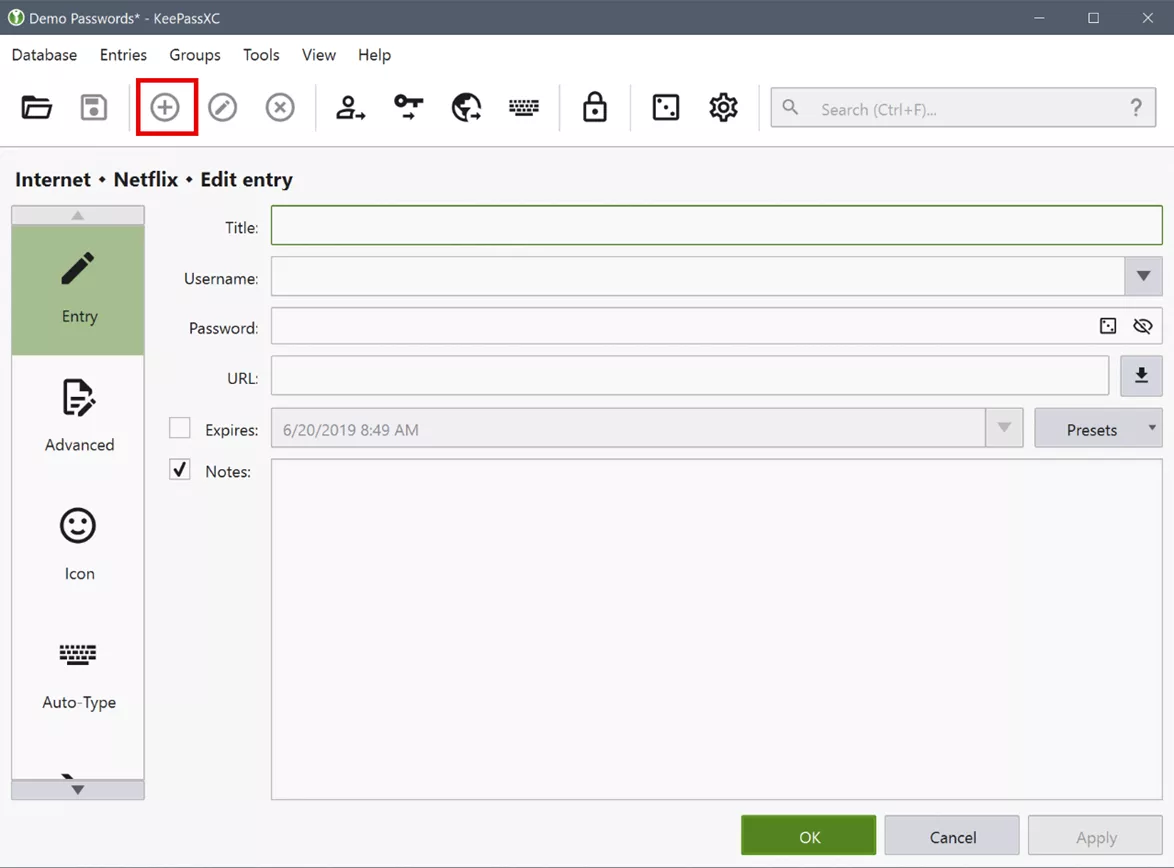
4. Add New Entry to KeePass
Click the “+” icon to add a new entry. You’ll be presented with the Edit Entry window. Here, fill in the Title DSx Client, Username, Password, and Url. https://dsxclient.3ds.com.
5. Create a 2FA Key in KeePass.
Right-click on the new DSx Client entry and select Setup TOTP. You’ll be presented with a window to enter a secret key. This secret key can be copied from DSx Client (section, 1 step 6).
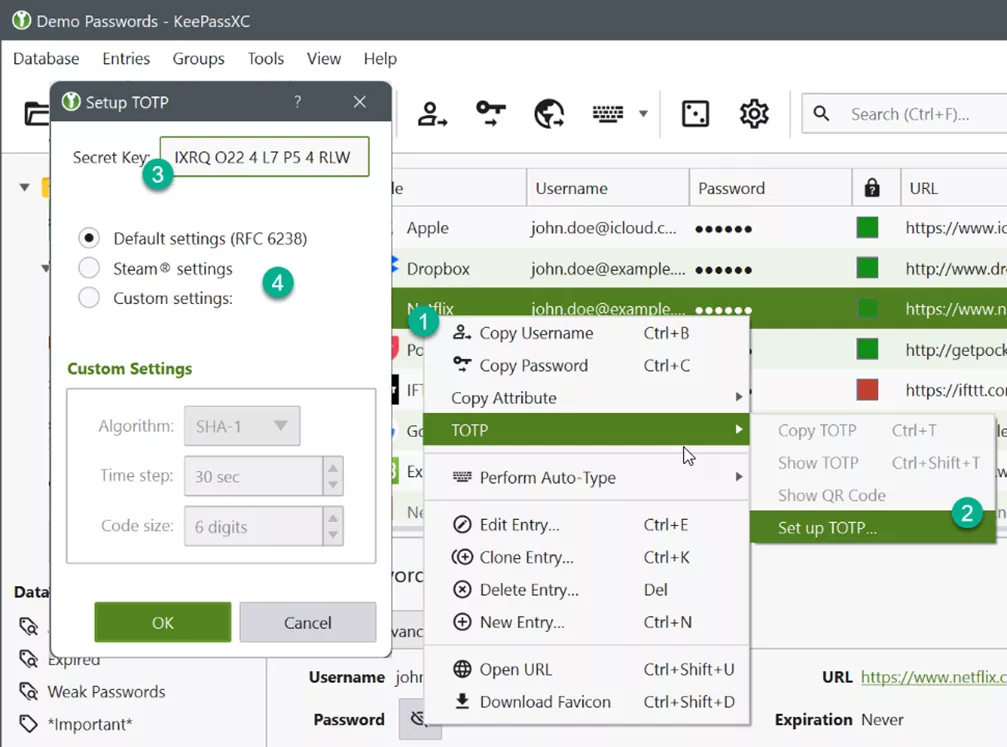
6. Test Key
Click OK to create the key, then click the clock icon next to your entry to activate the show the 2FA key. This needs to be clicked and added to DSx Client to finish setting up your 2-Factor Authentication.
We hope this guide has helped you configure 2-Factor Authentication for your Dassault Systèmes account to log into DSx Client Care. If you have additional questions or run into any challenges please reach out to technical support. If GoEngineer is your VAR, you can reach us at support@goengineer.com.
Related Articles
Restore SOLIDWORKS Thumbnails in Windows
Understanding Collaborative Spaces in 3DEXPERIENCE
Managing Members in 3DEXPERIENCE
How to Add a SOLIDWORKS Certification Verification on LinkedIn
How to Use SOLIDWORKS Fully Define Sketch

About Cody Salyer
Cody is an Application Engineer based out of the beautiful Salt Lake valley. He’s been with GoEngineer since 2016 supporting not only SOLIDWORKS but also Simulation and PDM as well. His background includes mechatronics and automation, where he has worked to develop automated systems to help remove or disconnect people from dangerous tasks.
Get our wide array of technical resources delivered right to your inbox.
Unsubscribe at any time.