Create a Custom Purge Tower Using Stratasys Insight Software
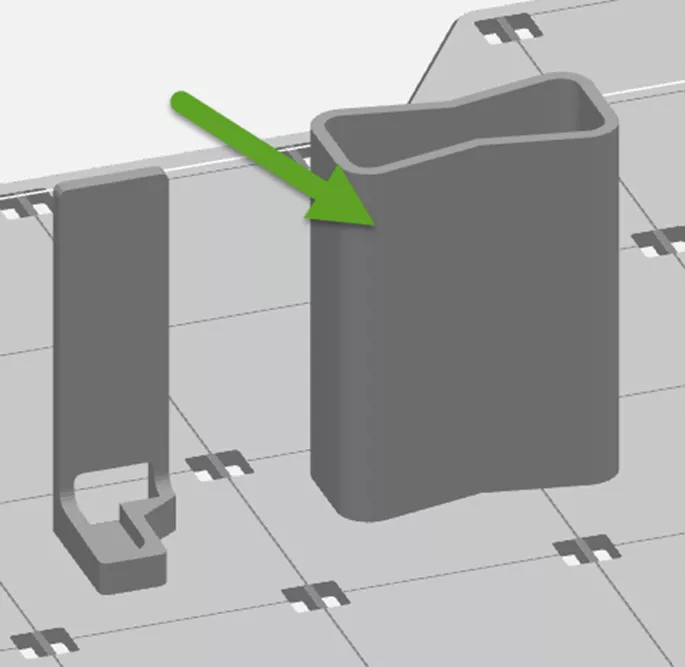
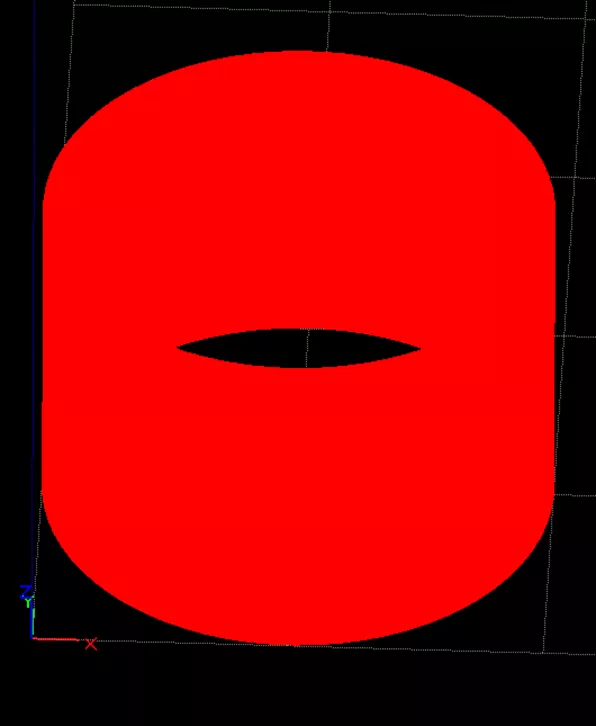
Most software packages are designed to cover a wide range of situations, and Stratasys Insight software is no exception. This can be seen in the general settings for tool paths, infills, slice heights, and the purge/sacrificial towers. The default purge tower for a Stratasys F123 series 3D printer is depicted below next to the L Bracket. In this tutorial, learn how to create a custom purge tower using Stratasys Insight software.
What is a Purge Tower?
F123 Series printers use a purge part on the tray instead of a purge bucket, like other Fortus machines, which reduces head movement per layer and print time.
Purging is needed when the printer switches from printing model material to support material in each layer. This process ensures seam quality is consistent for all parts on the tray. Purge towers will also often collect the ooze and bits of plastic from aging material. Lastly, purge towers improve the part quality for Nylon-based filaments on any machine.
Occasionally, the default purge tower doesn't do enough. Luckily, Insight has a few tools built in to help us out.
Below are steps to create what I call the Super Purge !
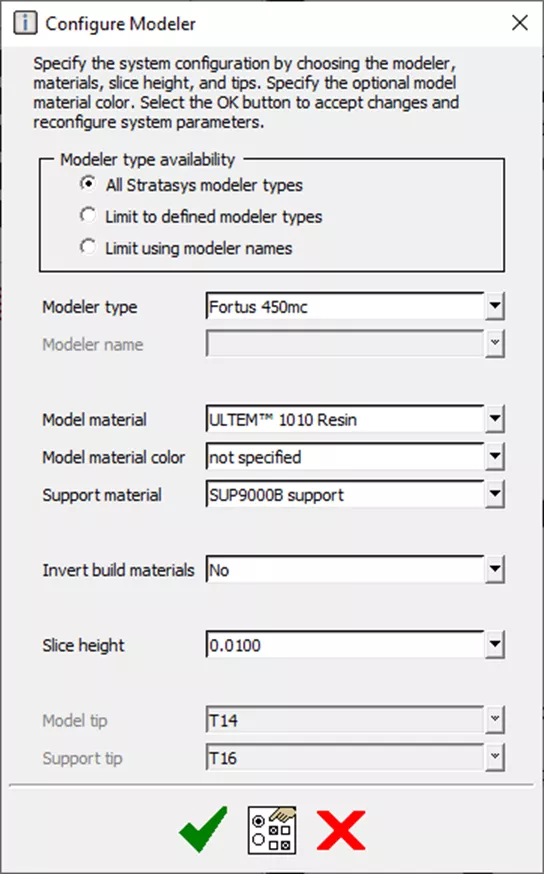
- Start Insight and configure your printer, material, and slice height. In the screenshot below, I’ve set my build for the Fortus 450mc with Ultem 1010 material at a .010” slice height.
- Verify on the Z toolbar that you are on layer 1.
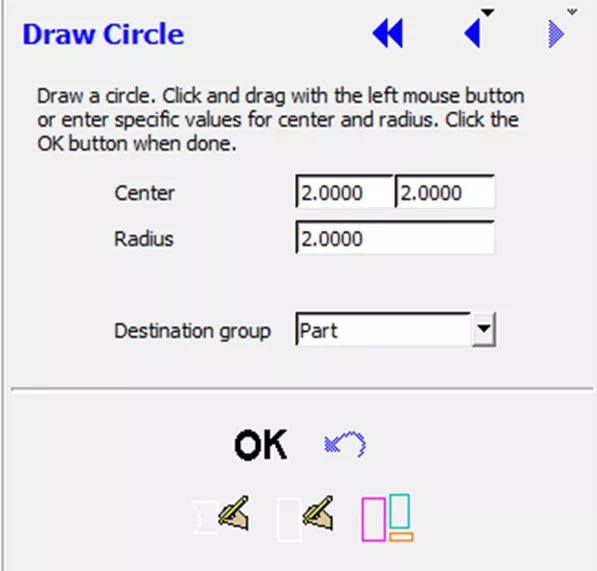
- In the Draw menu (in the Toolbox) select Circle.
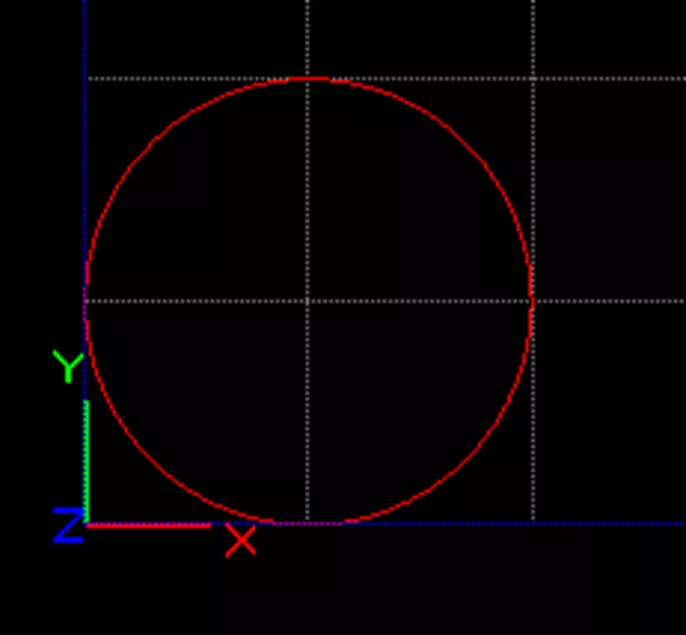
- Use 2” for all values. This draws a 2” Radius circle with a center location at 2” offset in X and Y. Click OK.
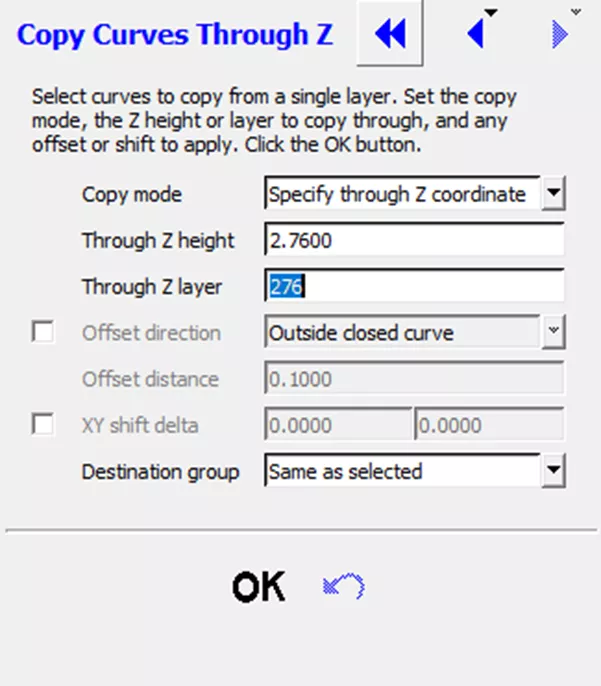
- Use the Copy Through Z command to copy this curve up to the height of our tallest part. In the L Bracket example above, the part is a little over 2.76” tall, so we'll use this value in the Z Height box. Highlight the circle and click OK.
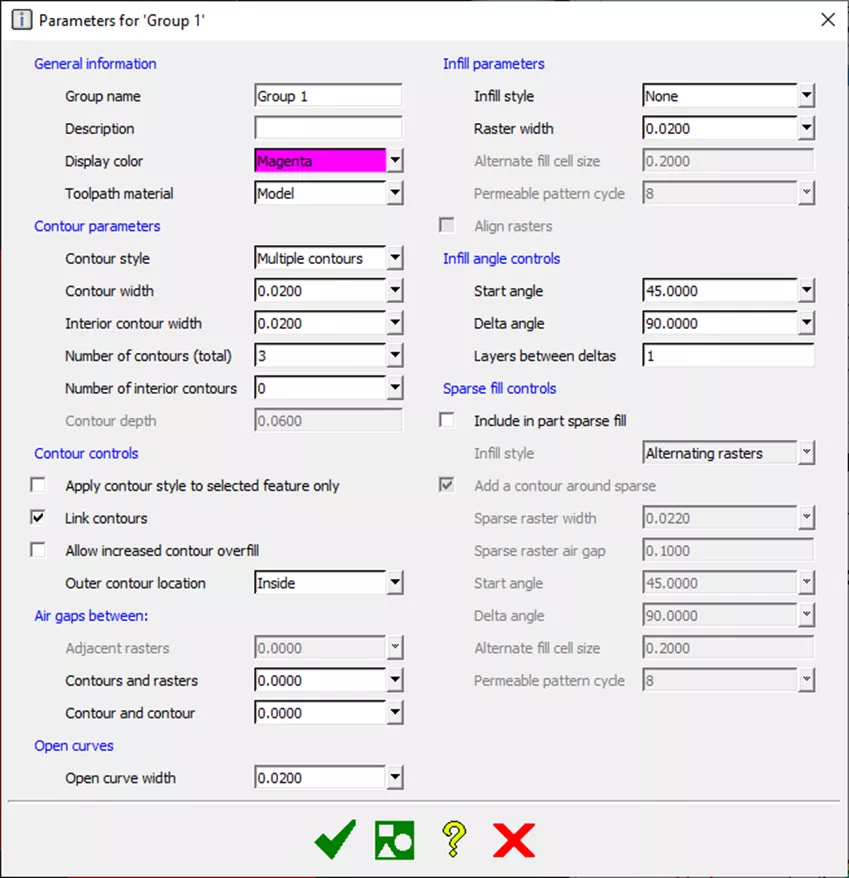
- Make a new custom group. Select Multiple contours in Contour style, select 3-5 contours in the Number of contours (total) dropdown box, check the box for Linking contours, and most importantly, select None in the Infill style (to prevent Insight from generating an infill). Add this parameter group to the stack of circles.
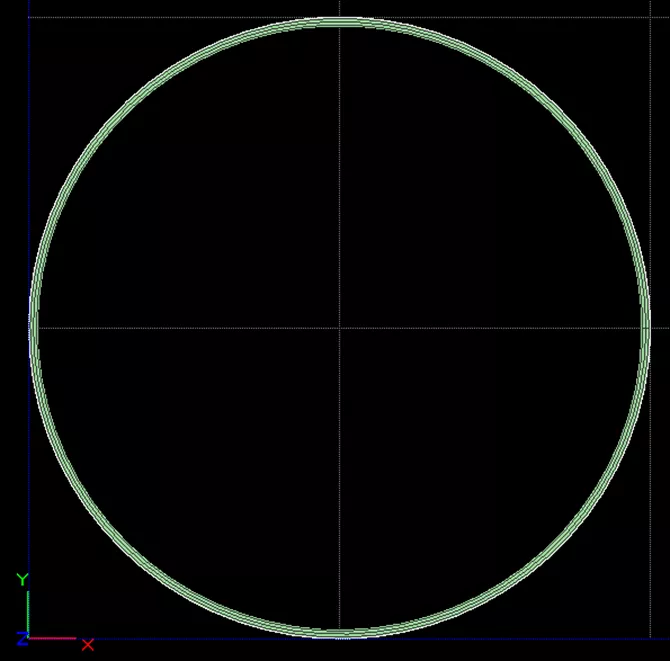
- Generate Support and Toolpaths and verify there is no infill. All layers should look like the image below.
- Send to Control Center or GrabCAD Print, but be sure to set up any other parts using this purge tower in Insight. At the time of this publication, GrabCAD Print cannot combine Insight-processed files with other file types.
If you want to learn more about these commands, consider enrolling in our self-paced Insight training class.
3D Printing as a Service

GoEngineer offers comprehensive 3D printing services across multiple U.S. labs, equipped with cutting-edge Stratasys FDM, PolyJet, Stereolithography, and SAF technologies for 3D printed prototypes or production parts. Request your quote online today!
Related Articles
Meet the F3300 3D Printer from Stratasys
GoEngineer 3D Printing Services: Stronger than Ever
Customize Insight Software Interface
Introducing GrabCAD Control for 3D Printer Management
![]()
About Jeremy Marvin
Jeremy Marvin is a Senior Digital Manufacturing Application Engineer at GoEngineer.
Get our wide array of technical resources delivered right to your inbox.
Unsubscribe at any time.