Creating a 3DEXPERIENCE Dashboard: Step-by-Step Guide
In this article, we walk through the process of creating a 3DEXPERIENCE dashboard and provide some examples of useful setups for tabs, widgets, and apps. If you're new to the 3DEXPERIENCE Platform, be sure to check out the additional resources listed at the bottom of the article and our video playlist Getting Started with 3DEXPERIENCE.
What is a 3DEXPERIENCE Dashboard?
In 3DEXPERIENCE, a dashboard displays content and resources for any topic or activity you are a part of in your company. Every dashboard is made up of Tabs that contain Widgets/Apps that are used to perform different tasks. The Widgets/Apps listed in each of these tabs depend on what Roles you have access to.
How to Create a Dashboard
When you first sign into 3DEXPERIENCE, you will see a standard landing page with the default dashboard “My First Dashboard”. This dashboard has two Tabs: Getting Started and Learn the Experience. Both tabs provide explanations and previews of Widgets available on the platform.
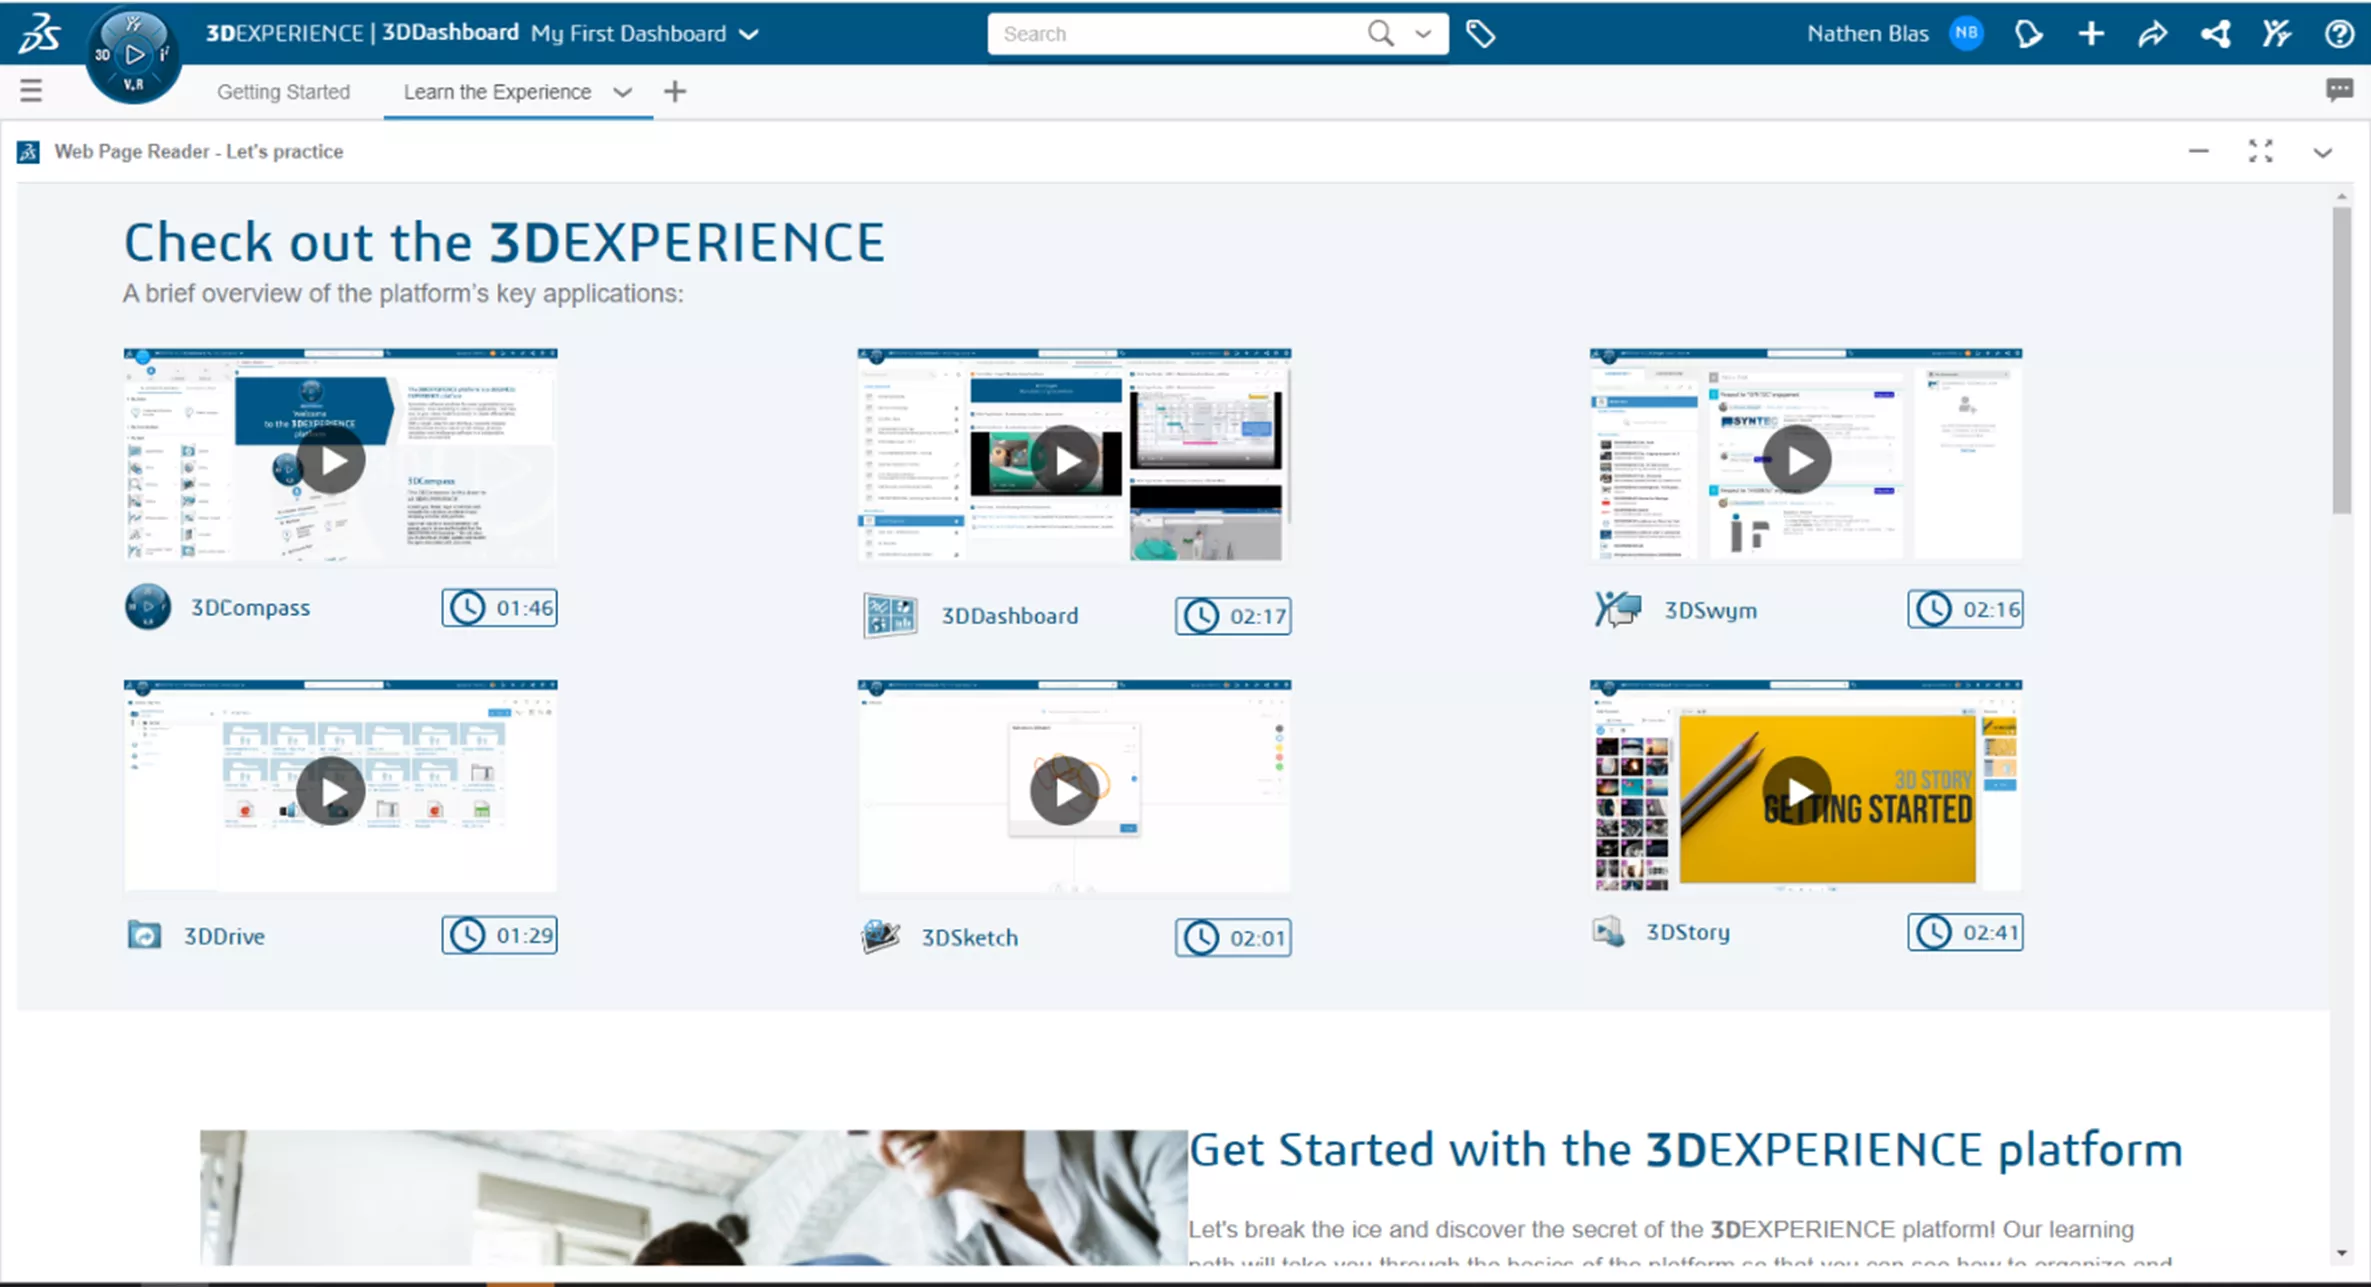
Figure 1: My First DashBoard
To create a dashboard, navigate to the top left-hand side of the page next to the Compass to expand the Dashboard and Cockpit Search menu.

Figure 2: Click here to open the dashboard and Cockpit menu
Next to the Search bar, click the Plus sign to begin making a new dashboard.
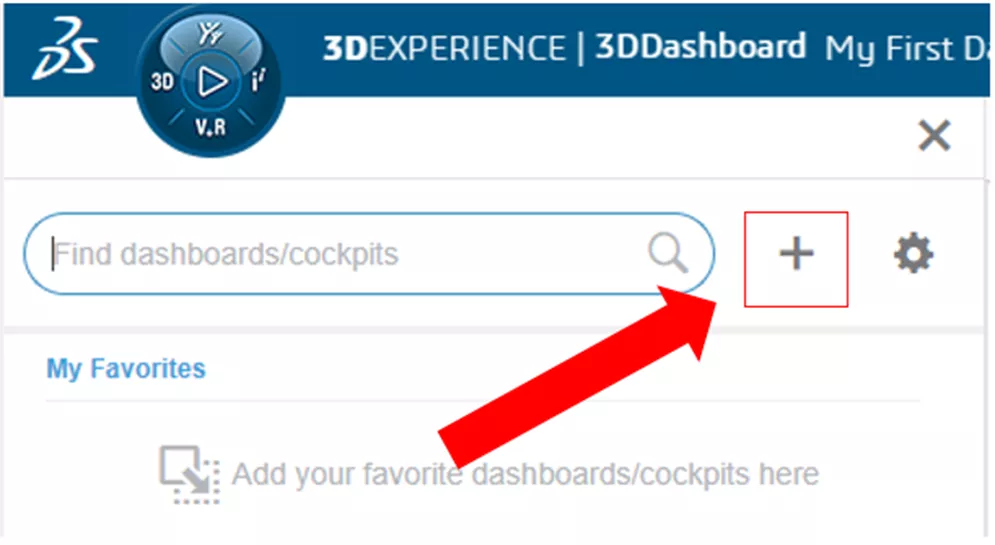
Figure 3: Click on the plus sign
The Create Dashboard menu will appear.
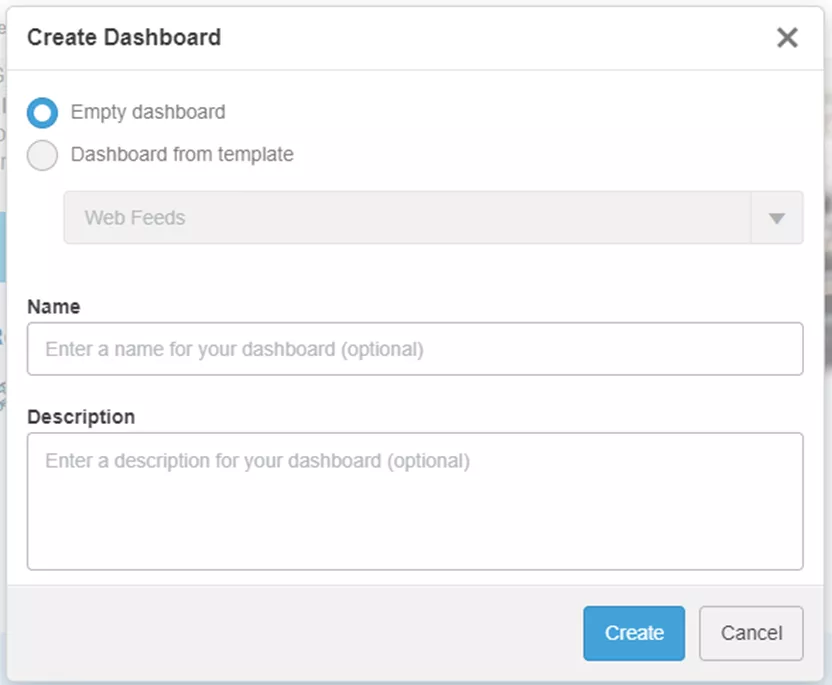
Figure 4: Create Dashboard menu
From here, you have some options: Make an empty dashboard or create a dashboard from a template. The templates available depend on the roles you have access to.
Next, name the dashboard and add a description (if needed). Once complete, hit create to make your new dashboard. For this example, we will make an empty dashboard called Examples.
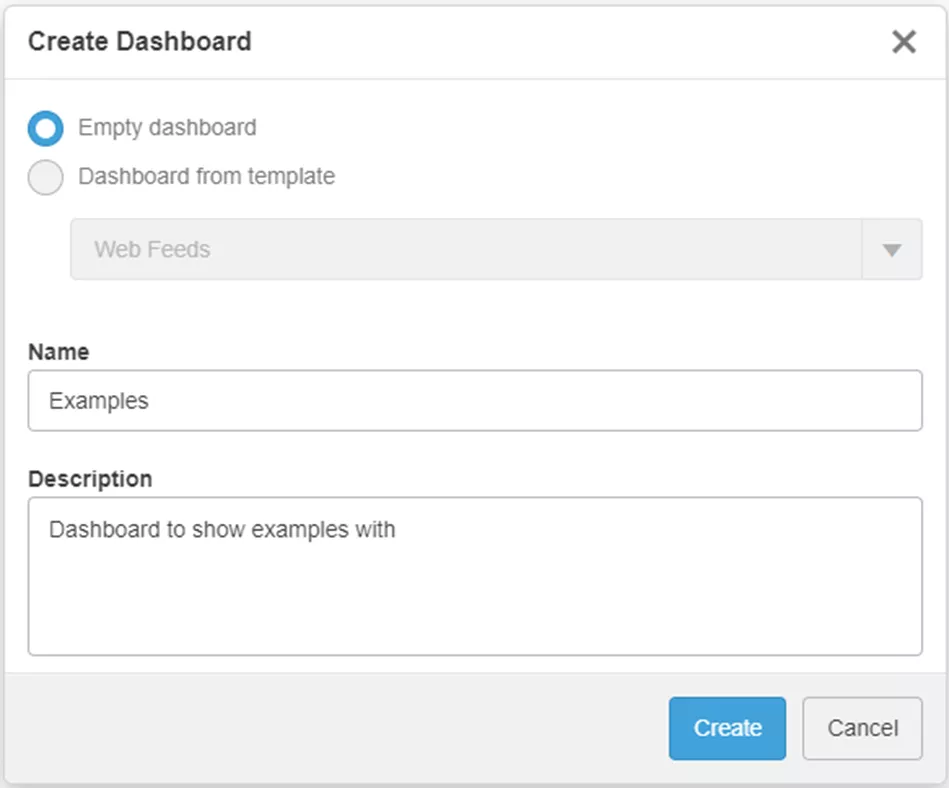
Figure 5: Examples Dashboard
The new dashboard will be added to our list of dashboards and will open in the main viewport.
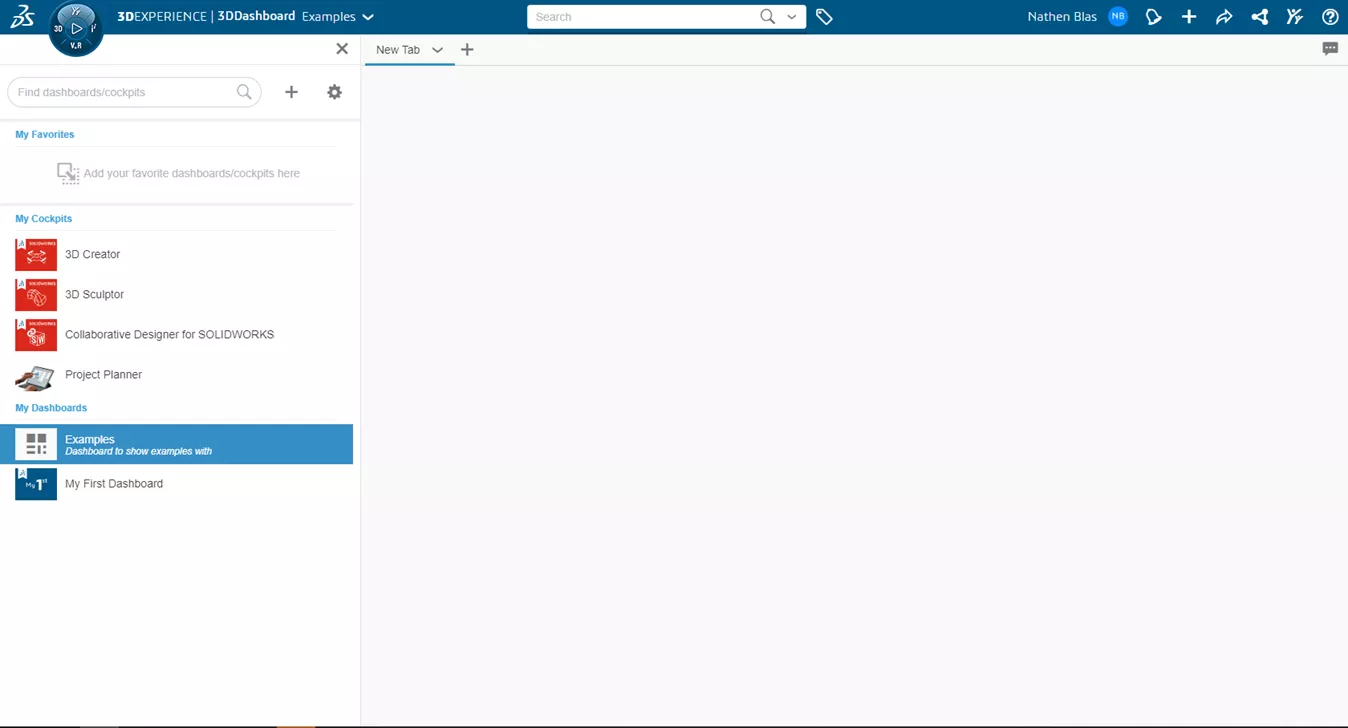
Figure 6: Our New Dashboard
We will arrive on a New Tab that is blank. Rename this tab to match the specific task(s) to be performed here.
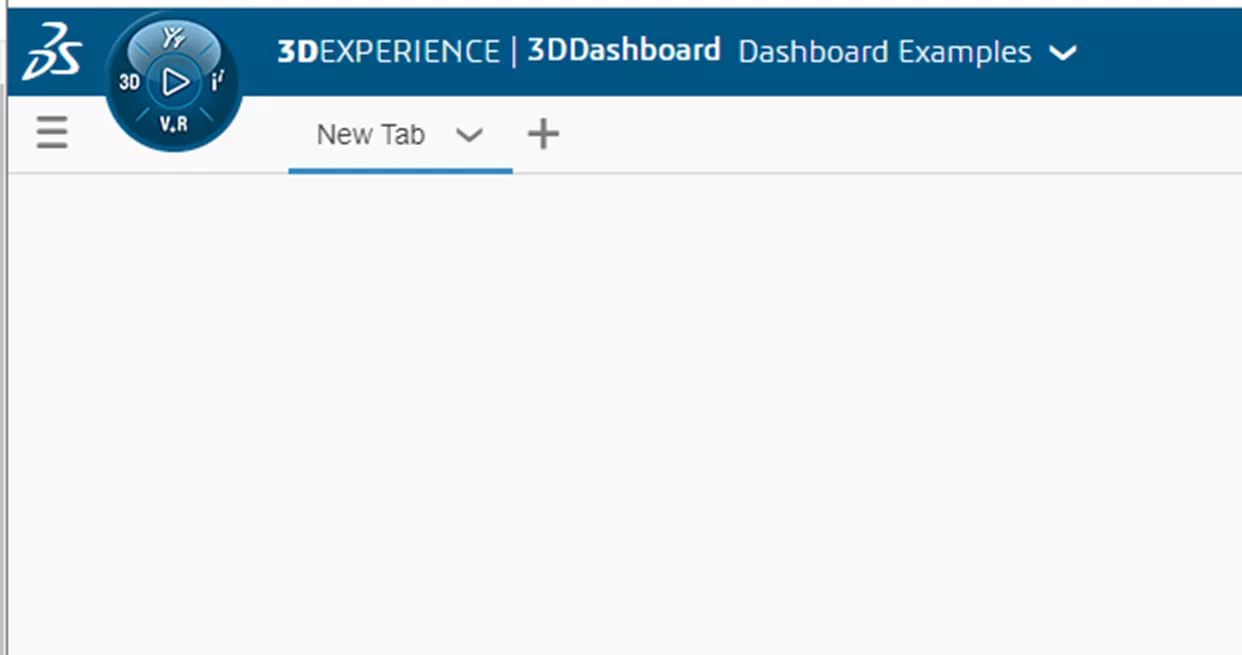
Figure 7: New Tab
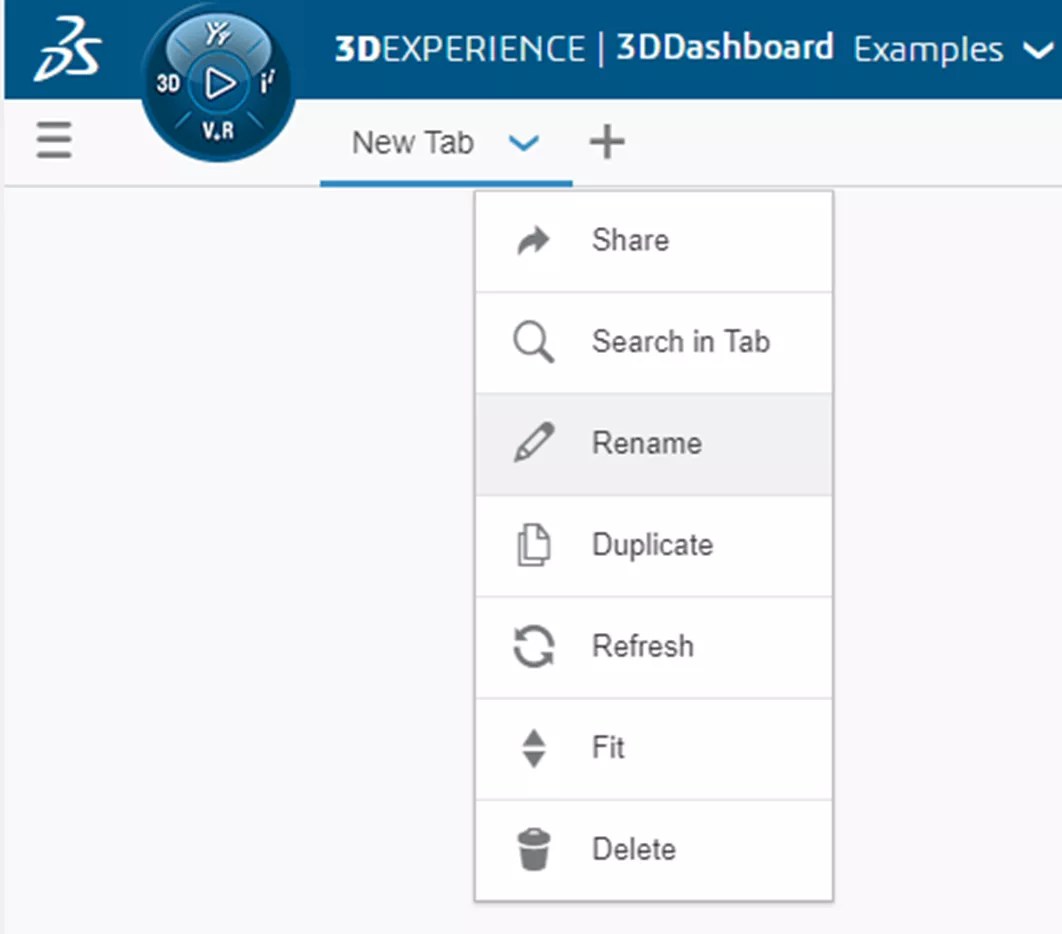
Figure 8: Rename Tab
Click the 3DEXPERIENCE Compass to view available Roles and Apps.
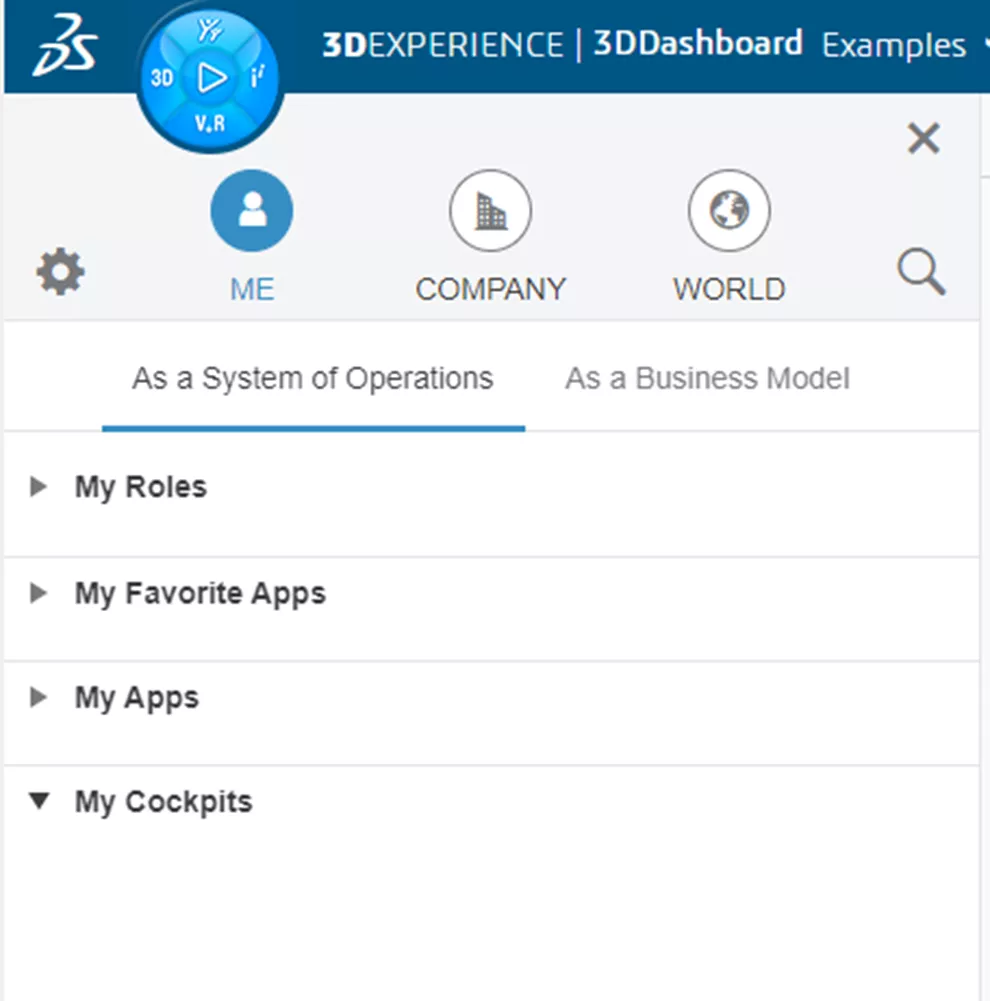
Figure 9: Roles and Apps
Select apps specific to perform tasks in this tab. Apps that have an arrow icon in the top right is a Widget.
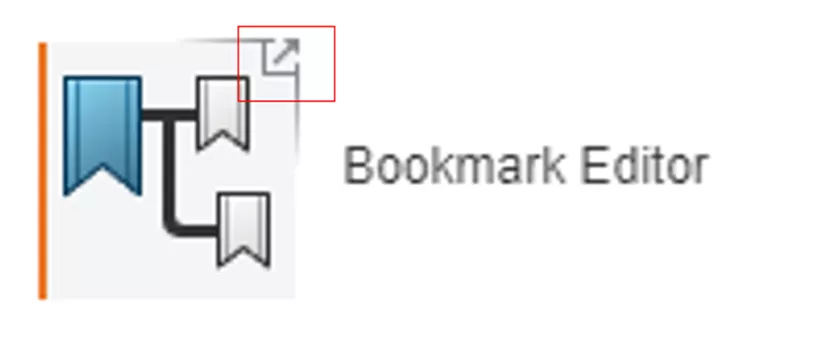
Figure 10: Widget icon
Widgets can also be added to tabs. Drag and drop any widgets you want on this page.
As you drag and drop, notice how the widgets want to snap to different spaces in the viewport.
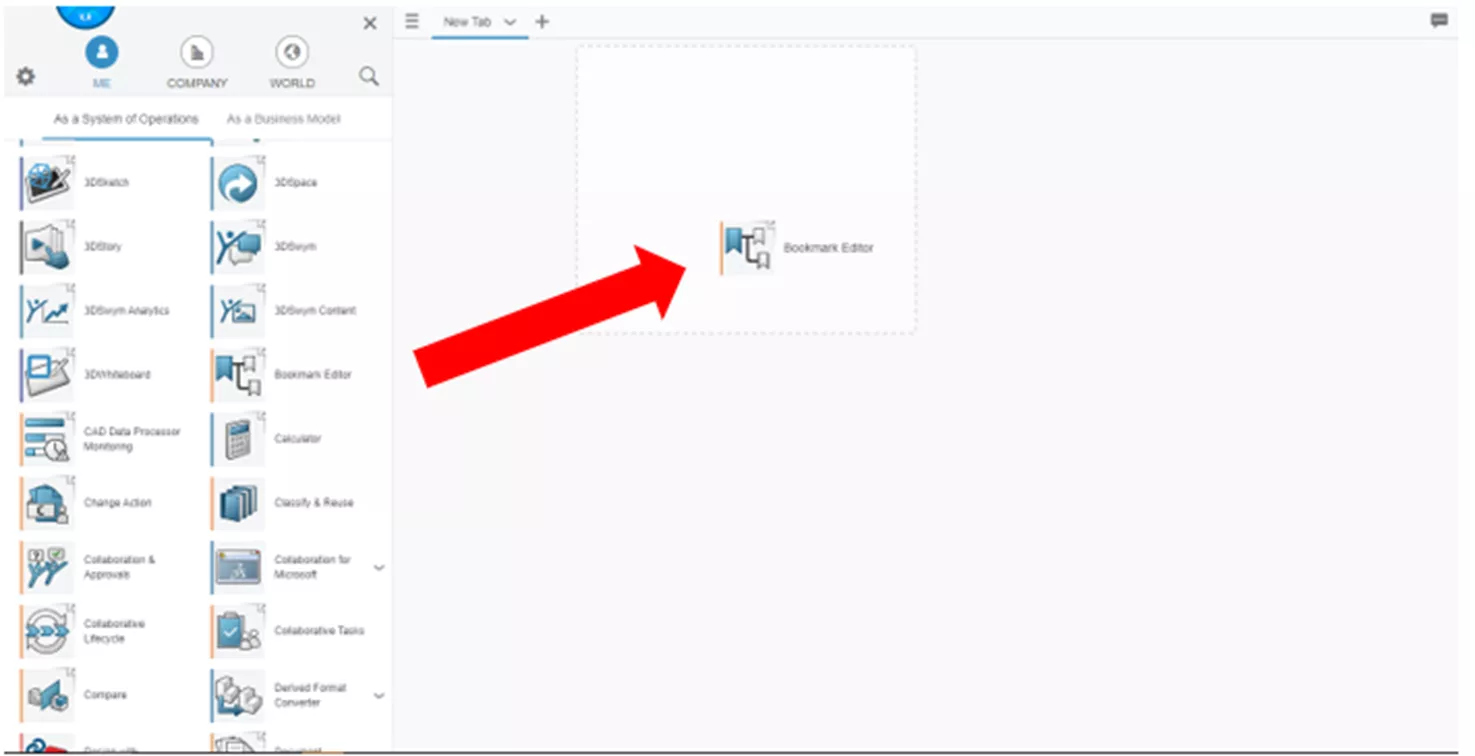
Figure 11: Drag and drop into snap options into viewport
Widgets can be arranged and modified to be a different size from the default square.
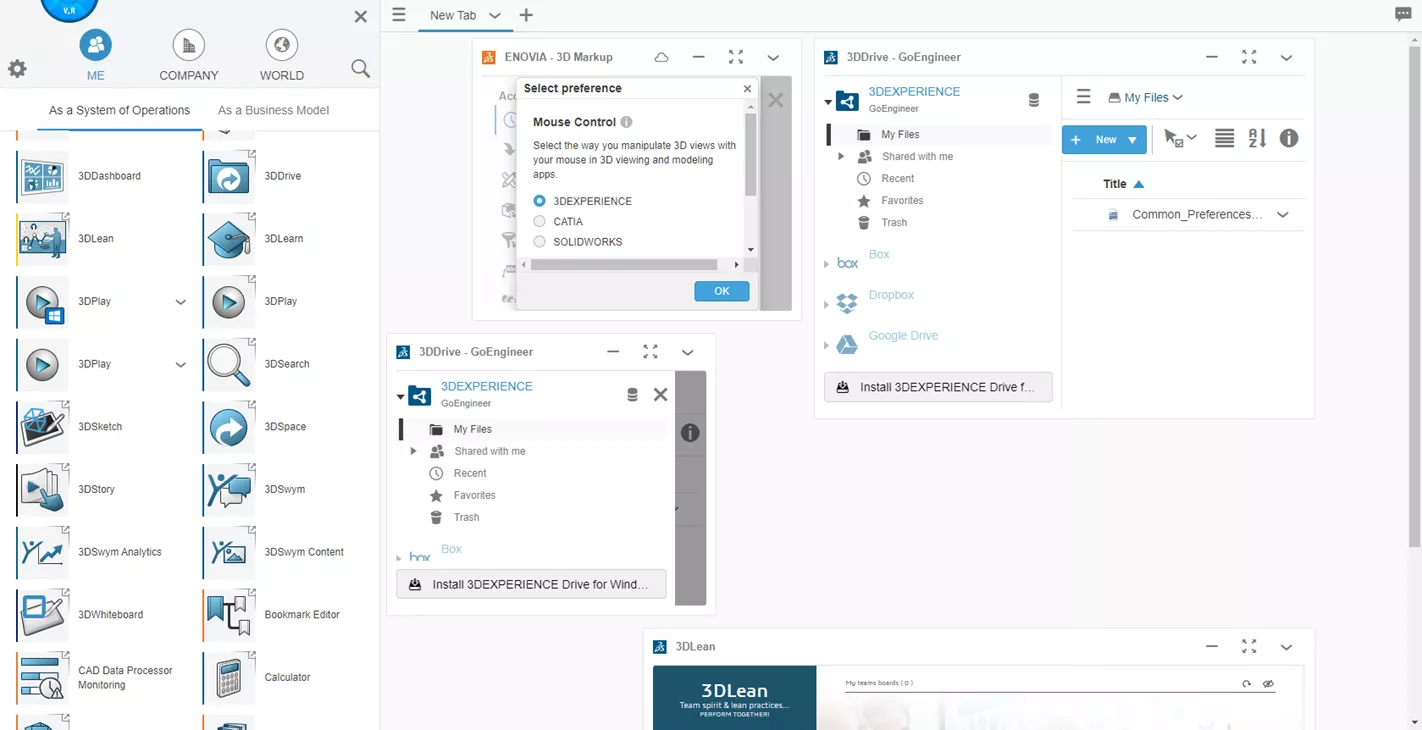
Figure 12: Widget layout
Once placed, you can change the location by clicking and dragging on the header.
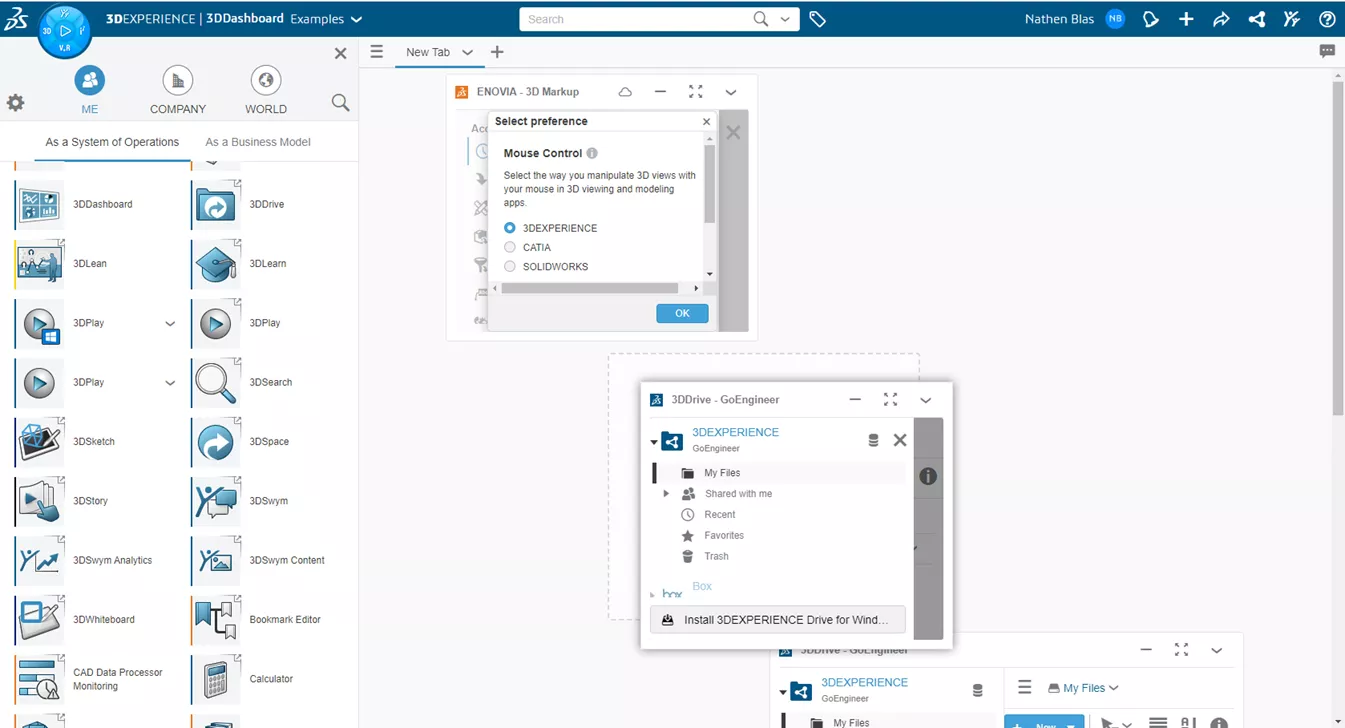
Figure 13: Change Widget layout
When adding widgets and changing their size, they may not all fit perfectly together. That is because we are in the Tab Style scroll, which allows us to add as many Widgets as we want, but with an endless scrolling page. To change this display, go to your tab and click on the down arrow.
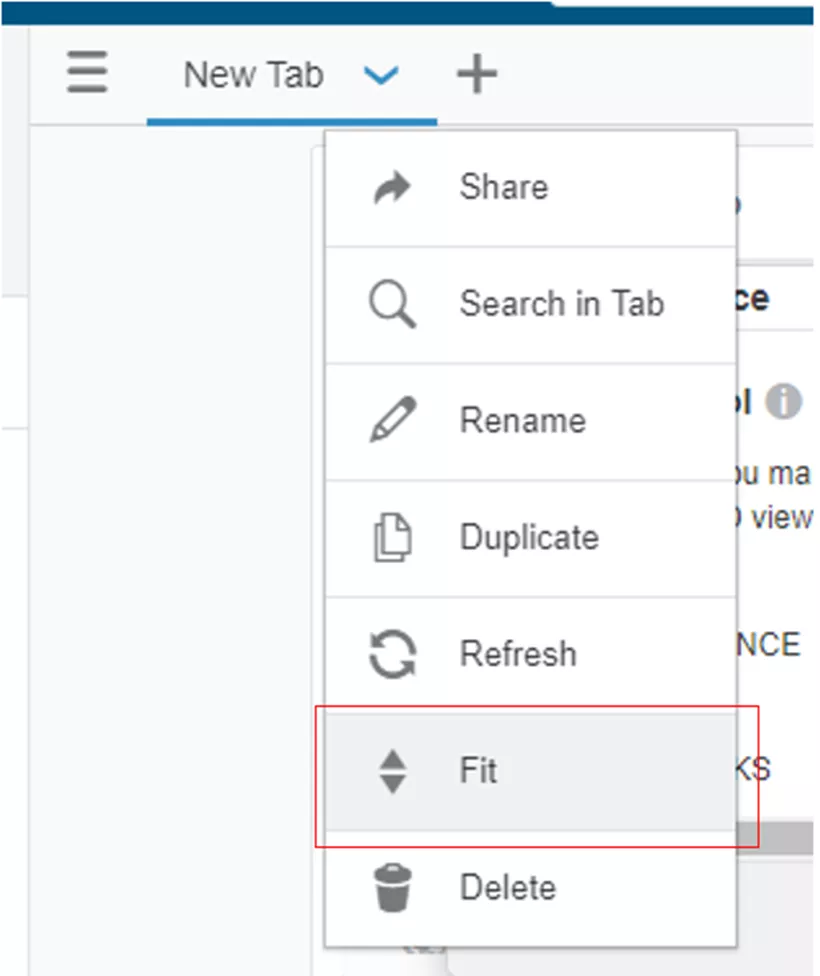
Figure 14: Tab Style
Choose the Fit option to size all of the added widgets to fill the entire page. This will force all widgets to fit in a single viewport without the option to scroll.

Figure 15: Fit Style
To switch back, the Scroll option will be available where Fit was and can be selected instead.
That concludes how dashboards and tabs are created and modified. Let's look into different examples of tab/widget setups.
Tab Example
For this example, we will create a Product Explorer tab to allow us to view and select all of our products.
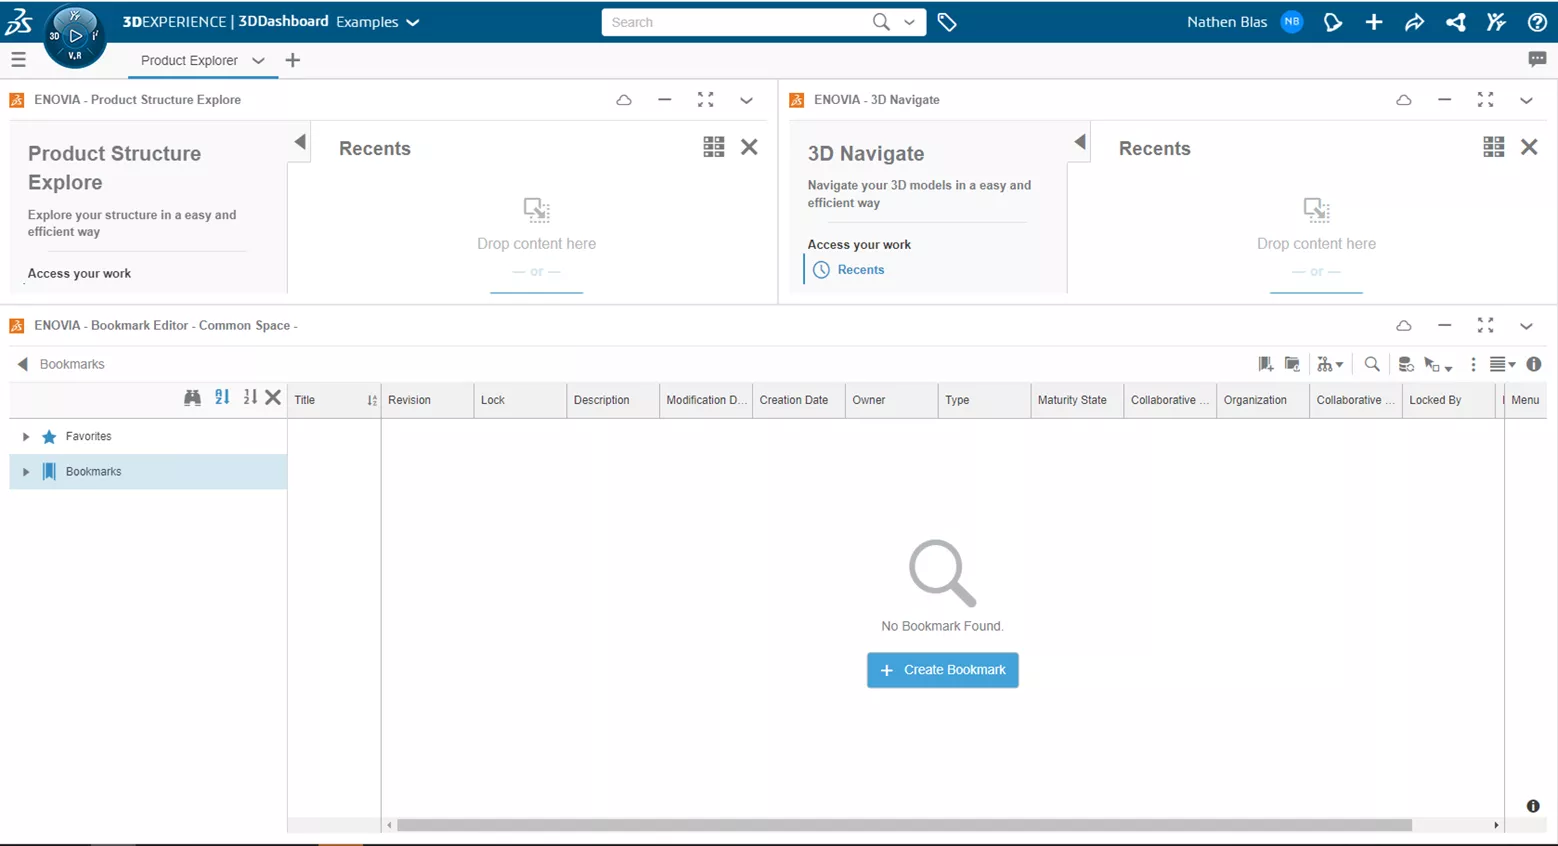
Figure 16: Product Explorer
The setup is pretty simple, with only two widgets. First, we'll add one of the most important apps in 3DEXPERIENCE: the Bookmark Editor. The Bookmark Editor is used to organize and access all data stored on the platform. We can find this app by scrolling through our apps or finding it under the Collaborative Industry Innovator role.
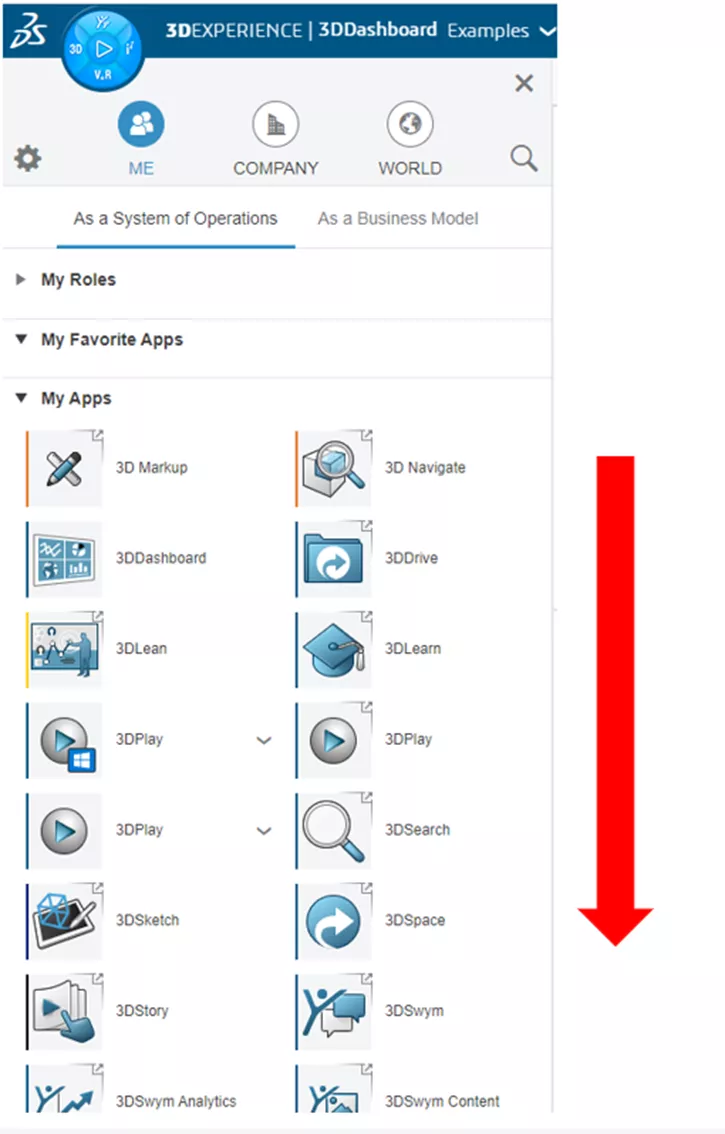
Figure 18: Scroll selection
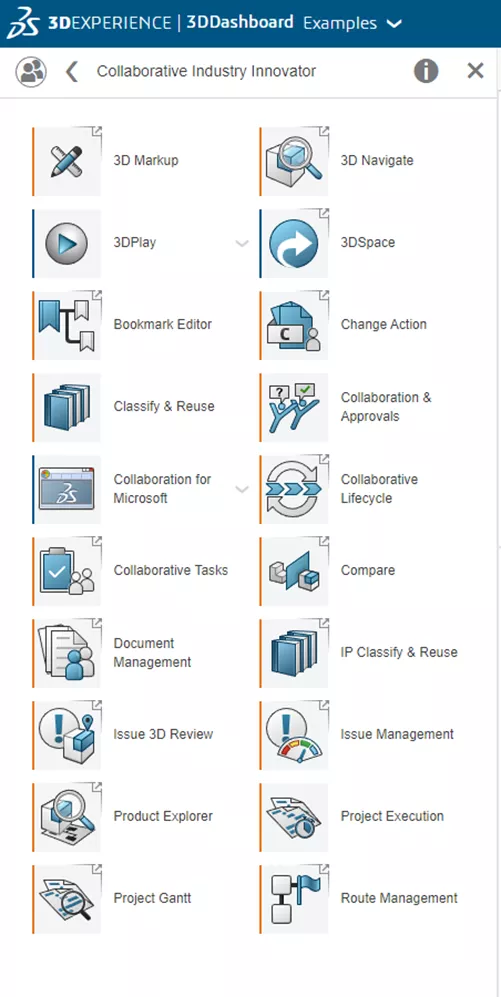
Figure 19: Role selection
Once found, drag and drop it onto the blank viewport. Now, we will add the Product Explorer widget, which shows all relationships for a certain product. For users familiar with SOLIDWORKS PDM, this will look a lot like the Contains and Where Used Tab in the PDM interface.
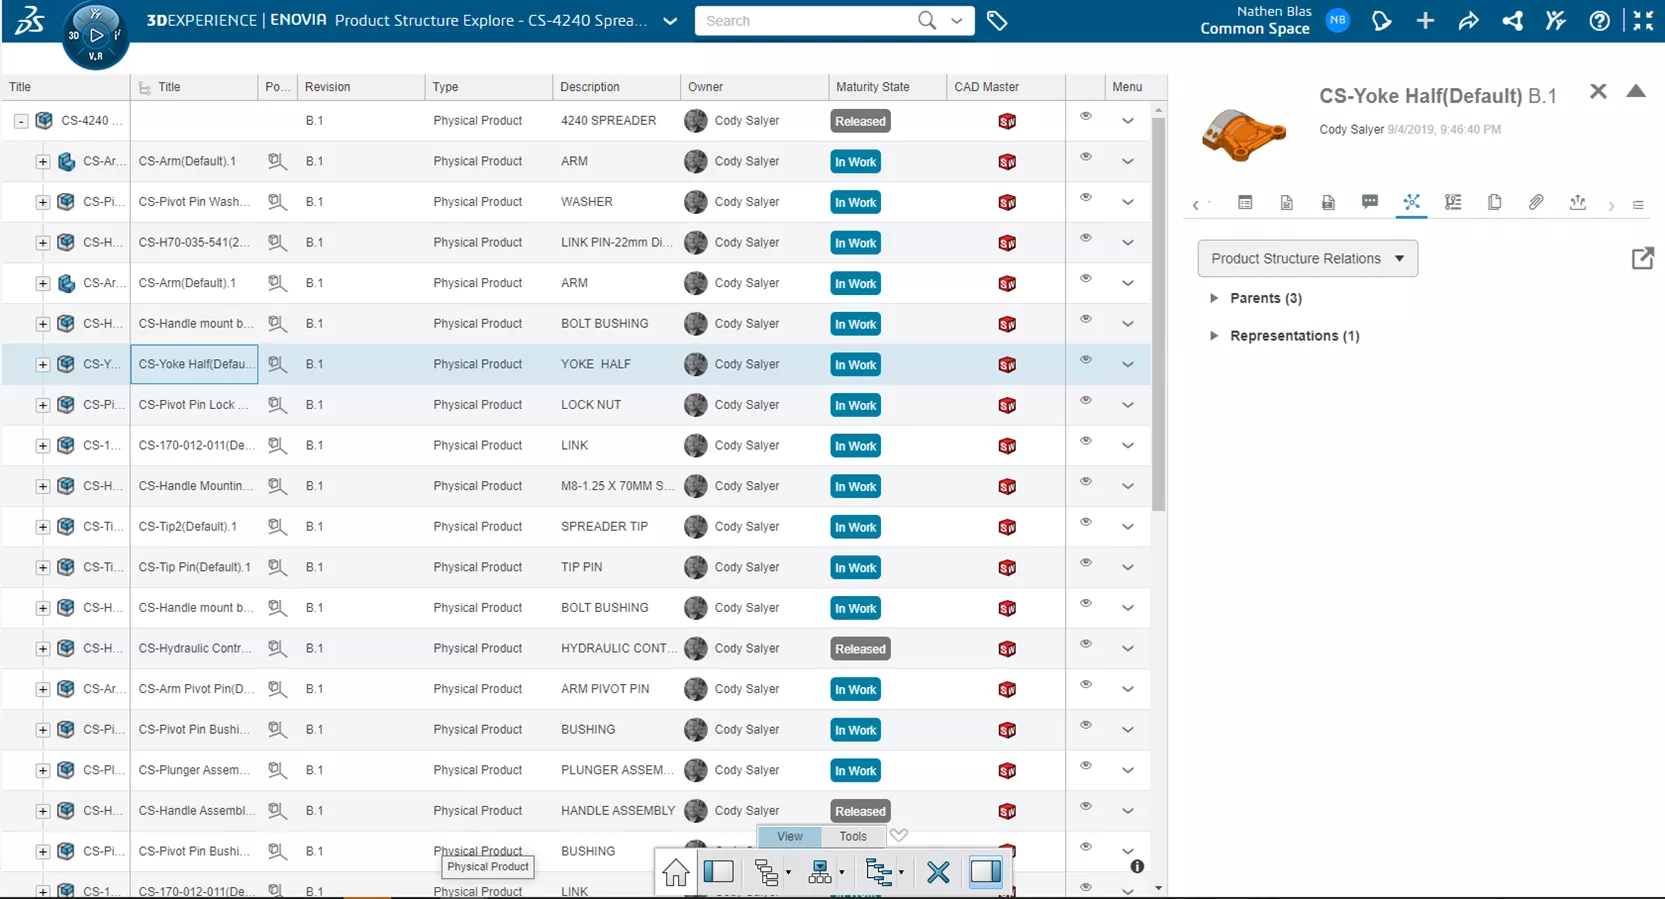
Figure 20: Product Explorer view
When dragging and dropping the Product Explorer onto the viewport, notice a third app already added: 3D Navigate. This is a viewer that will let you see the 3D data for your product if it exists.
Now that the widgets have been added, we can configure the layout as desired and then choose to have the tab set to Scroll or Fit.
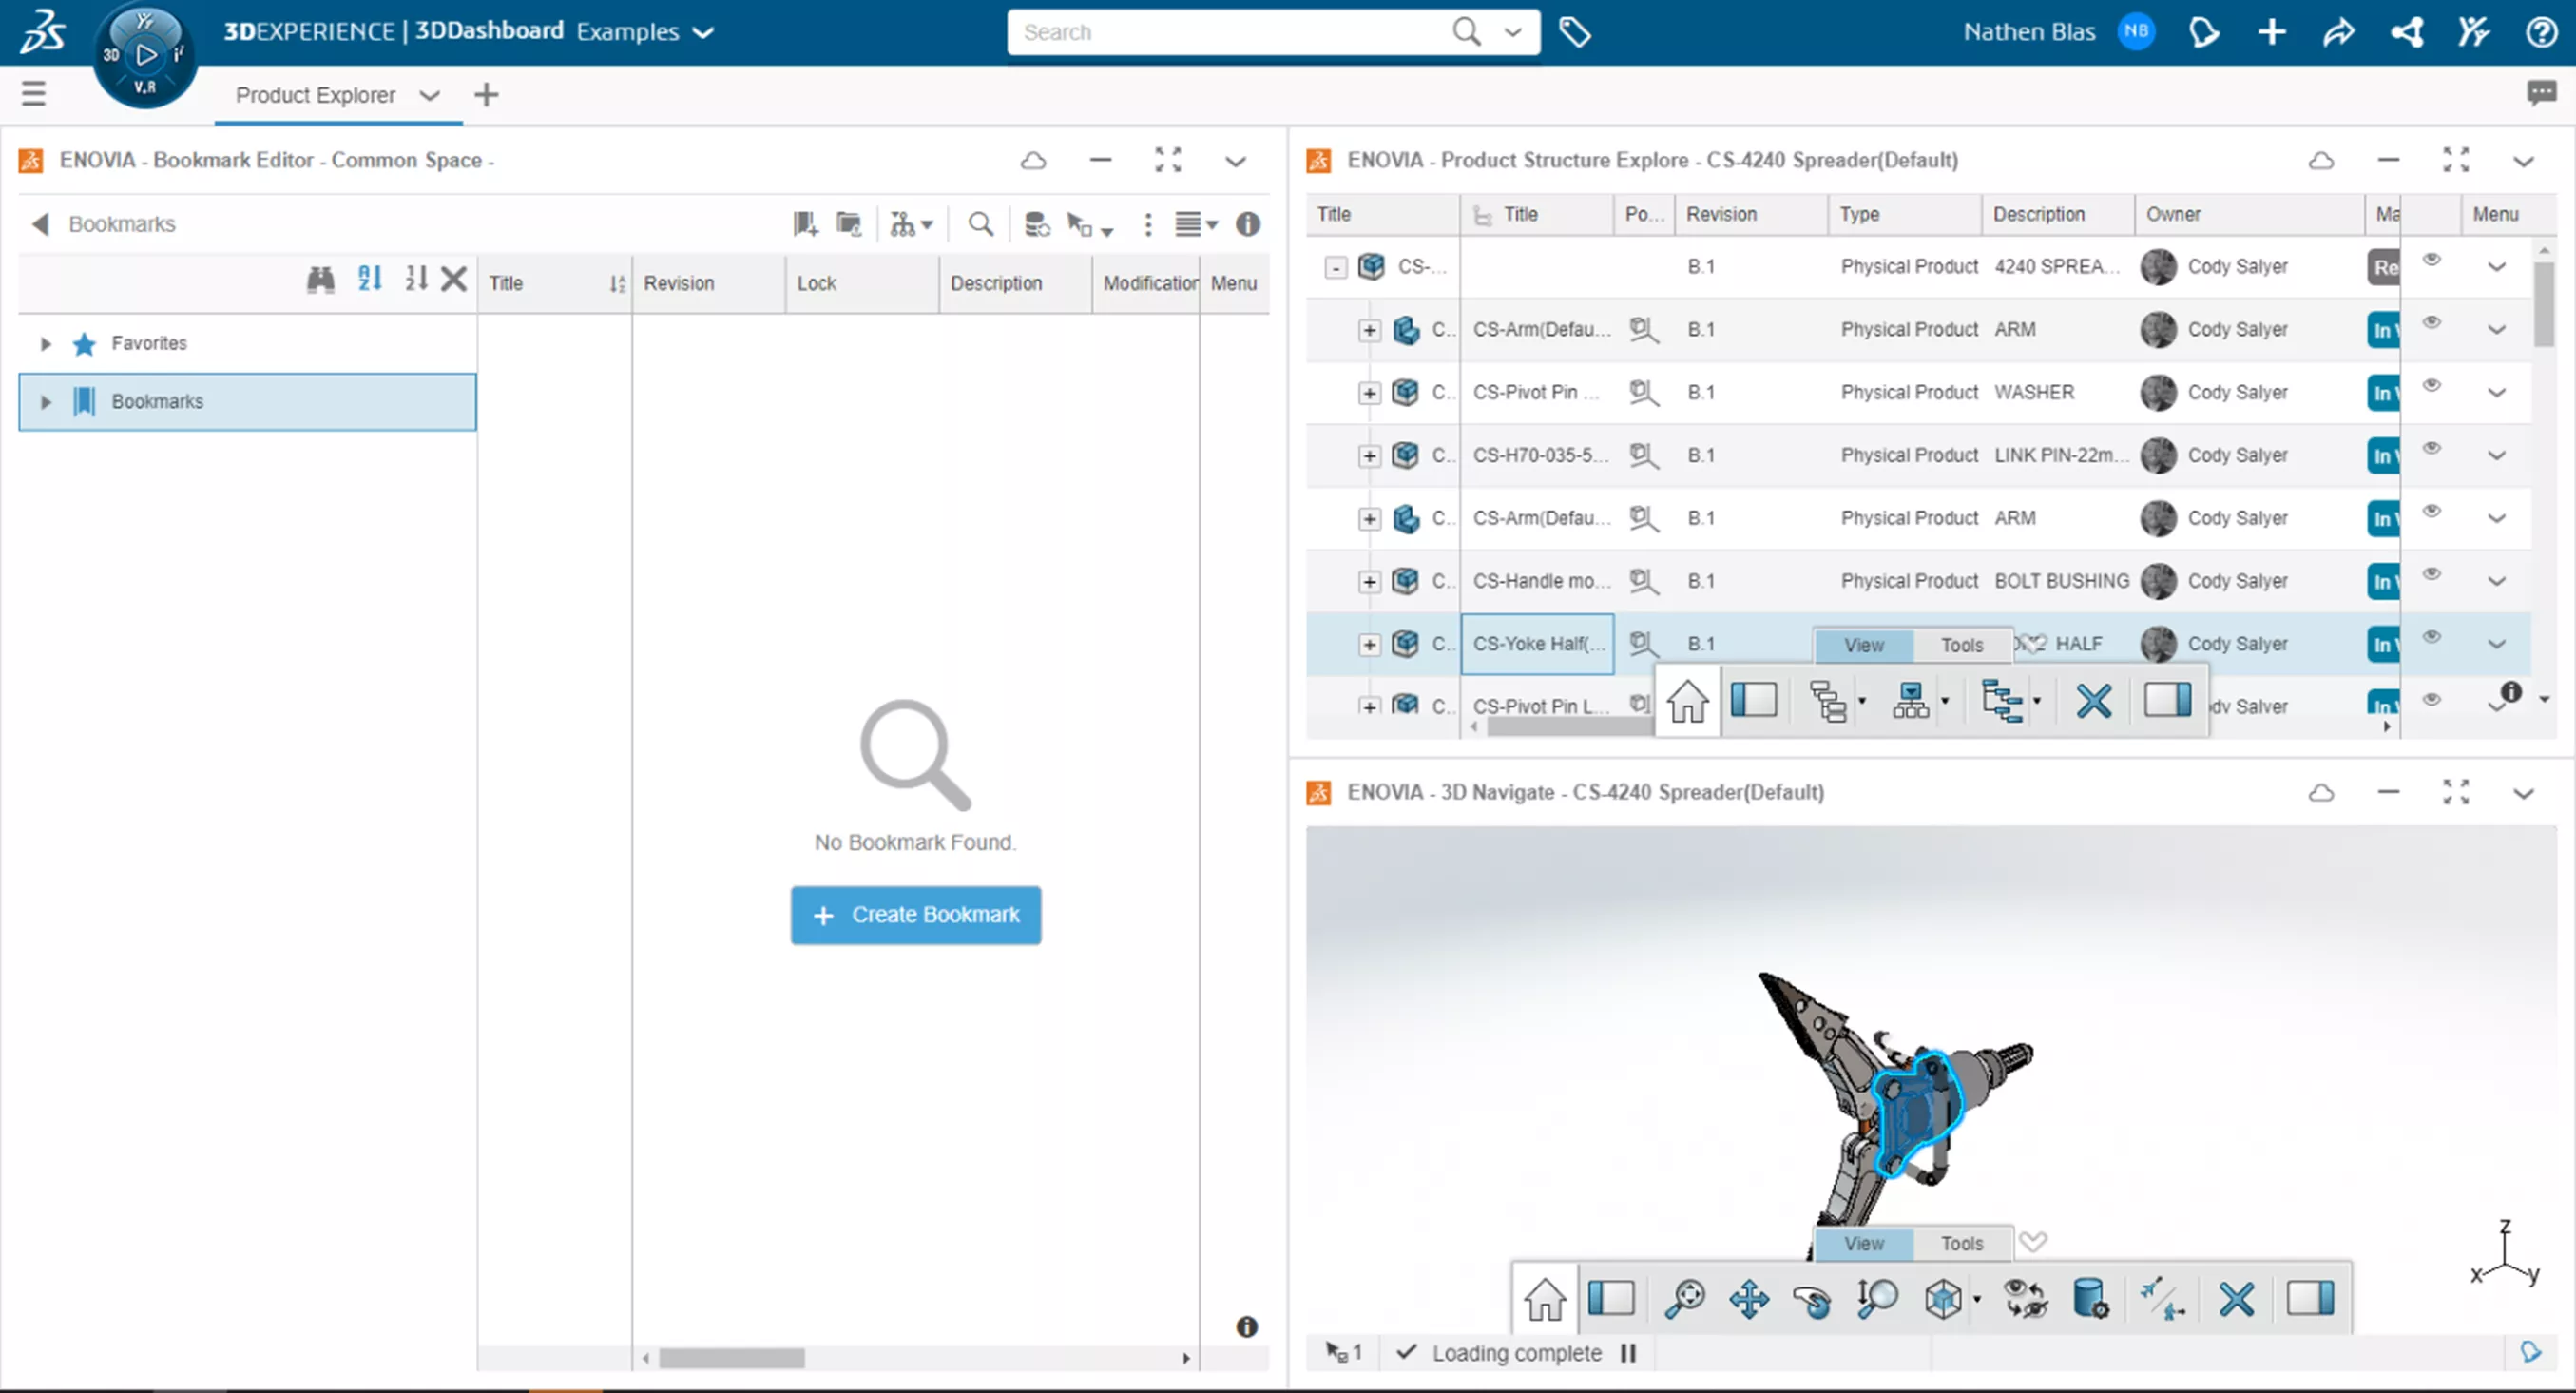
Figure 21: Configure layout
Now that we can navigate and view all products, let's do something with them and create a Tasks tab.
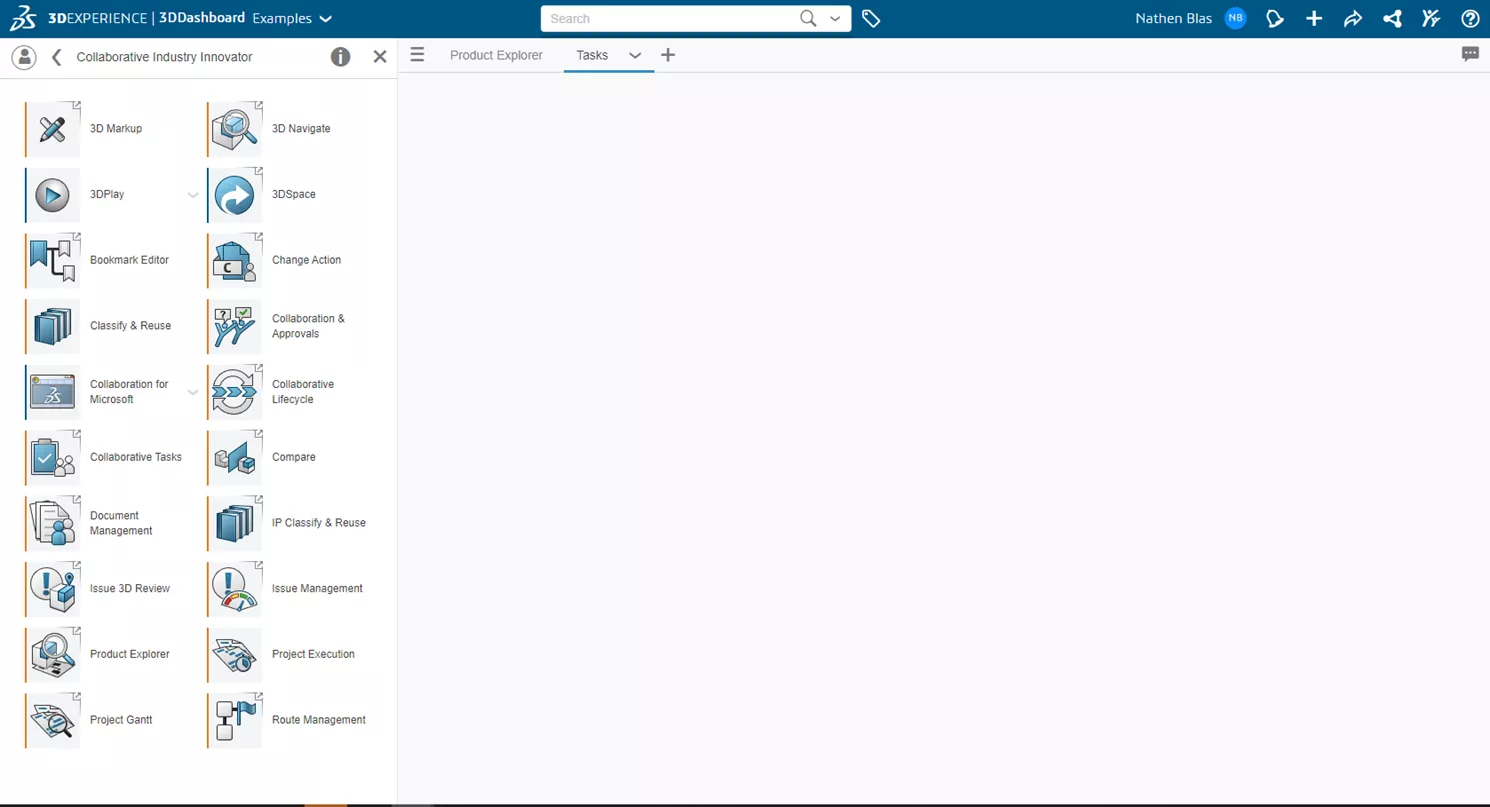
Figure 22: Tasks Tab
Again, a simple tab with the Bookmark Editor widget added first, and the second Collaborative Tasks widgets added after.
When making tabs, if you know the name of the App/Widget, use the Search bar to find it by clicking on the spyglass icon.
Figure 23: Search icon
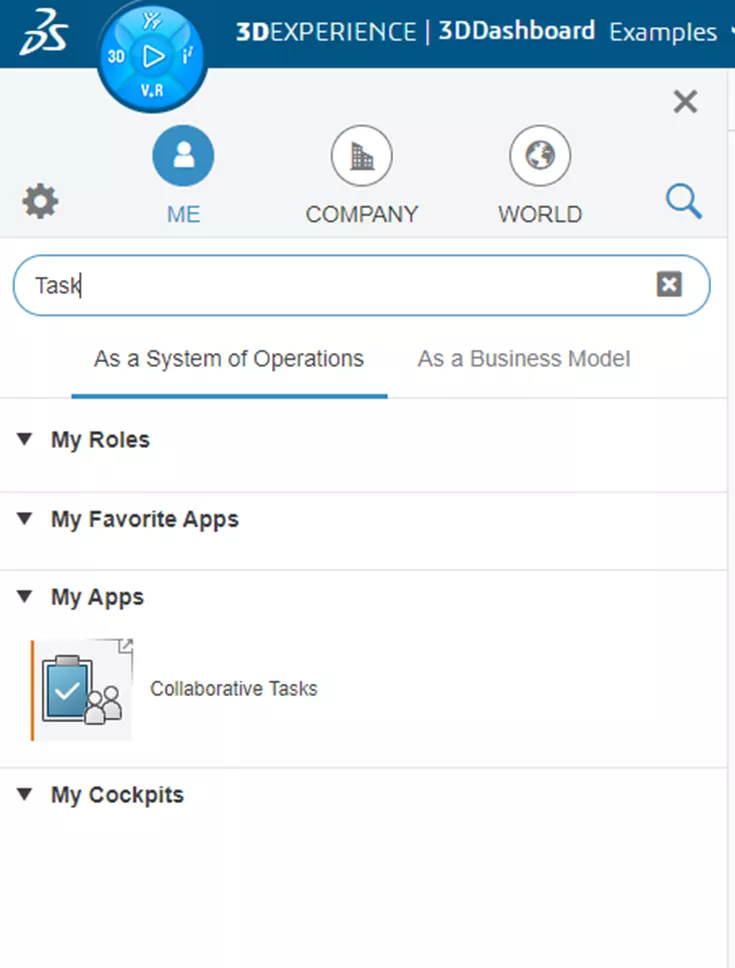
Figure 24: Task search
In this example, we will stack the two Widgets on top of each other and set the view to Fit.
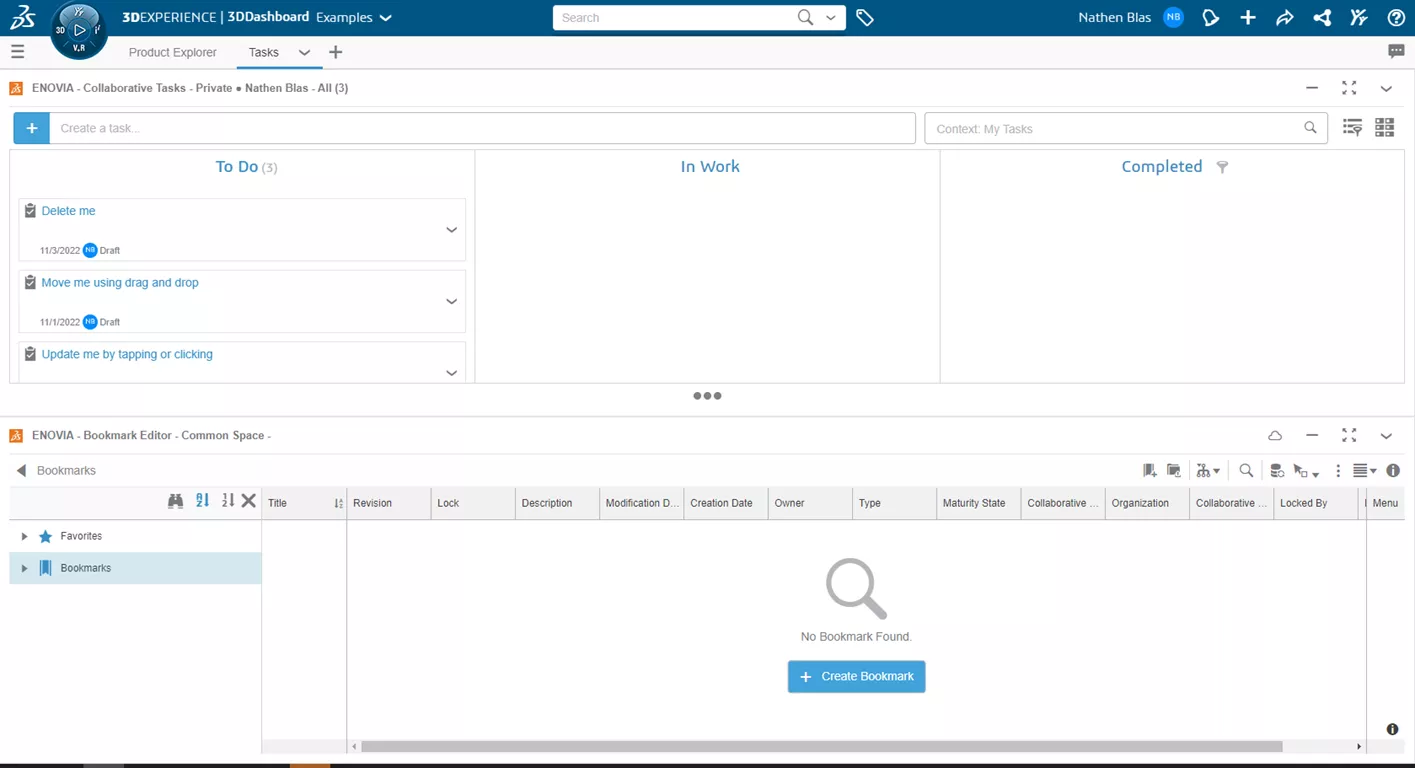
Figure 25: Tasks tab complete
After setting up our tab, we may not always want to view one of the widgets while working in the other. To expand the view, we can minimize one of the widgets. This can be done by clicking on the flat bar icon or by double-clicking the header. Double-clicking will either minimize or maximize the App depending on its current state.
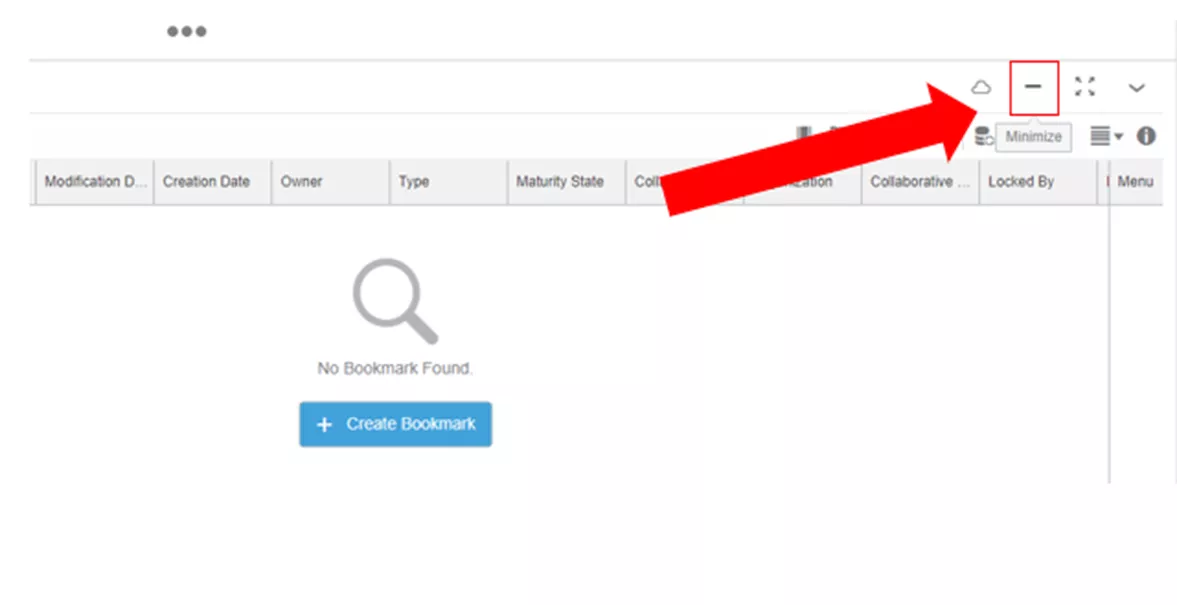
Figure 26: Minimize Widget
From here, we can navigate through all our bookmarks and create, assign, and track any tasks needed.
Since our tasks are underway, we will want to control the Maturity of our products. We will do this with the Release tab.
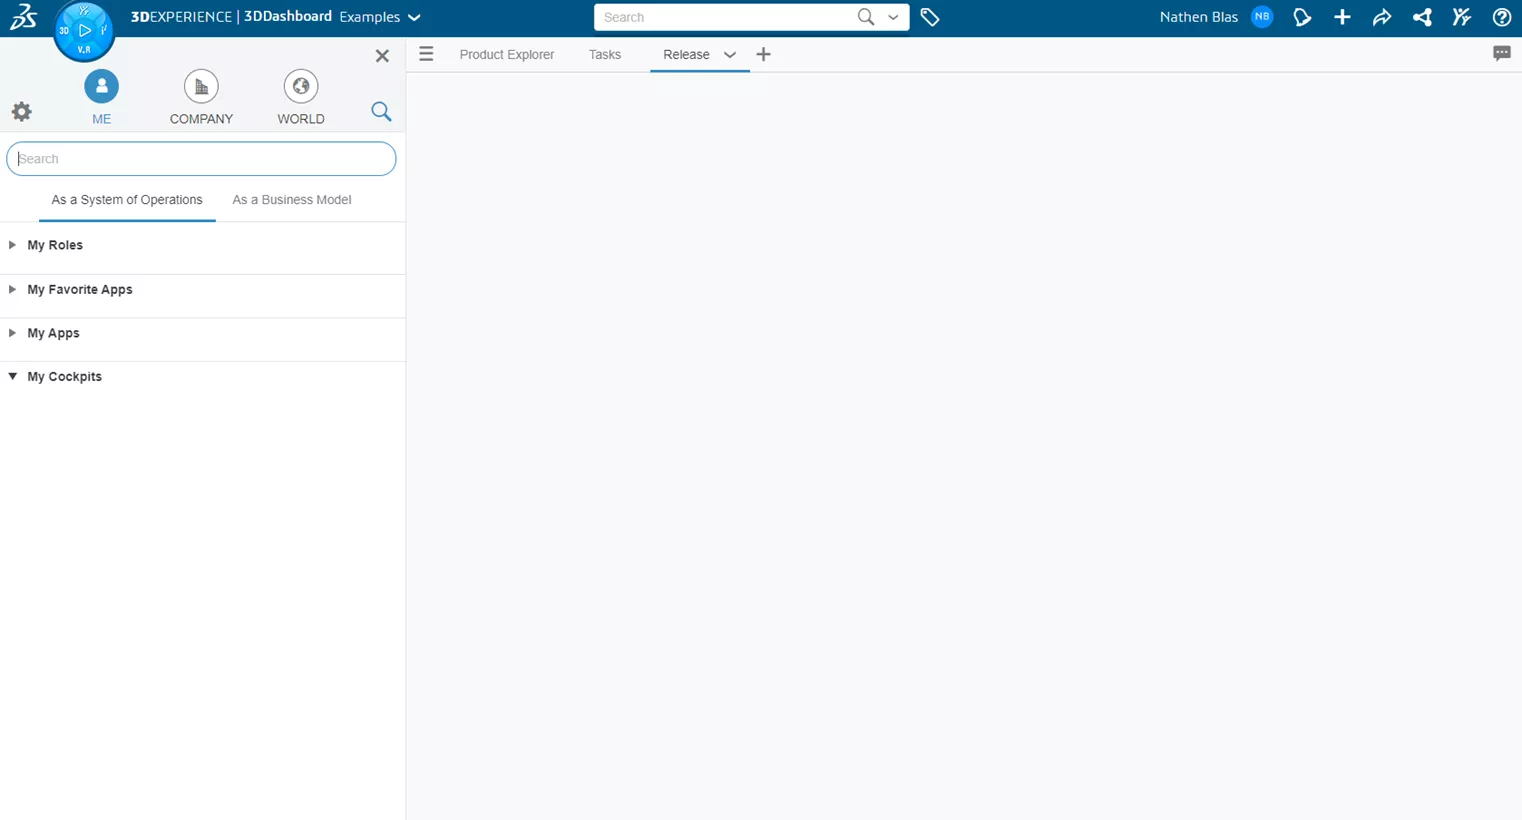
Figure 27: Release Tab
The Release tab is very similar to the Product Explorer tab, with all the same widgets listed there, but we will also add the Collaborative Life Cycle widgets. This will allow us to Navigate to different products and then drag and drop them in the Lifecycle app and change the Maturity as needed.
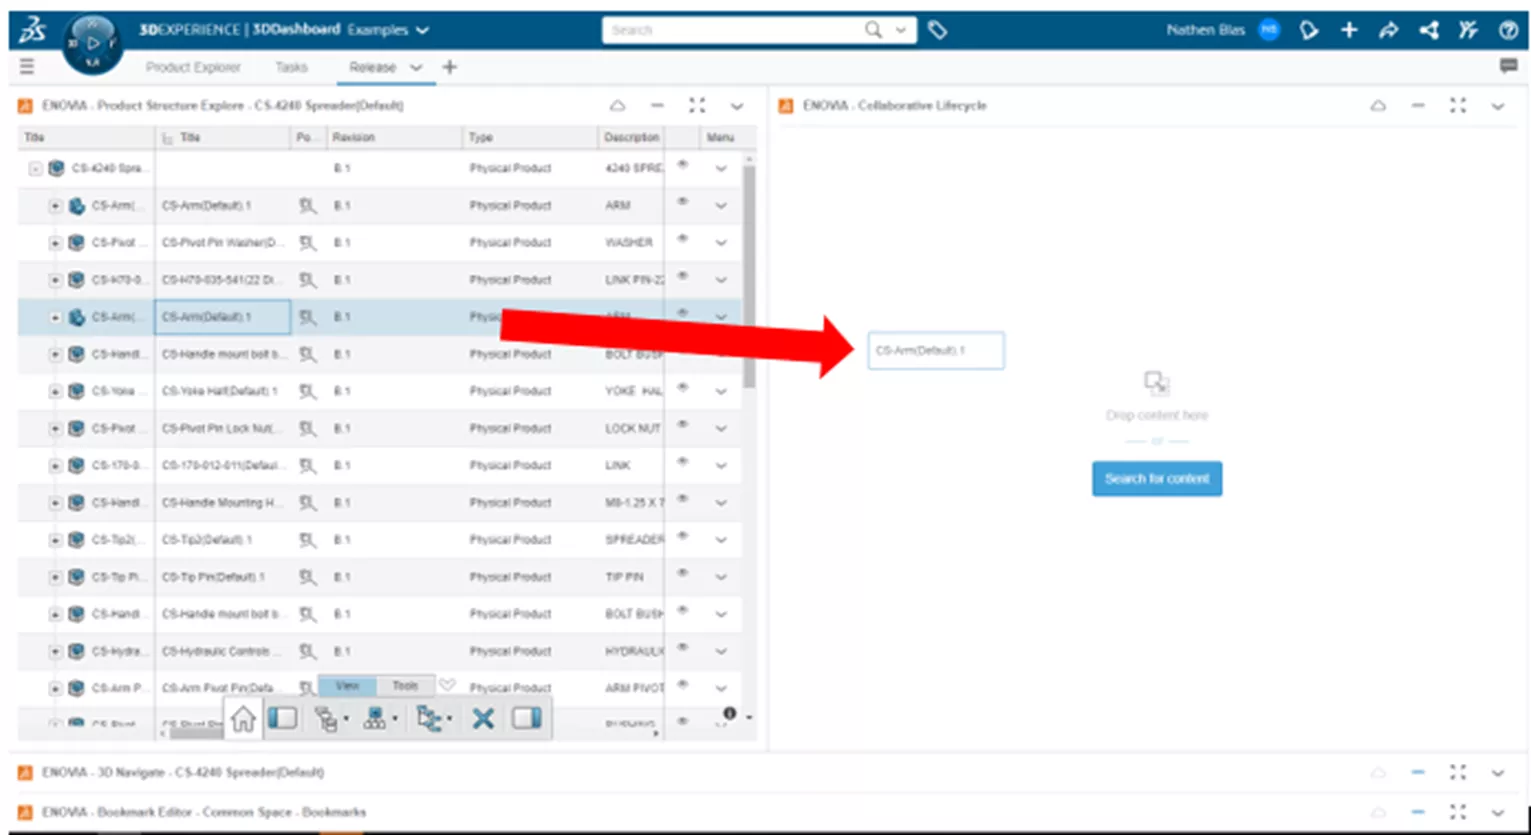
Figure 28: Drag and drop product

Figure 29: Manage product maturity
For this type of workflow, it is beneficial to have the Product Explorer widget next to the lifecycle widget to easily drag and drop. If the configuration was different, the process would be clunky and not as easy to use, so keep this in mind when setting up tabs.
Going outside of general use tabs, another tab we can set up is the Document tab. We will include the Bookmark Editor and the Document Manager, which allows us to manage non-CAD documents such as photos, specifications, attachments, etc.
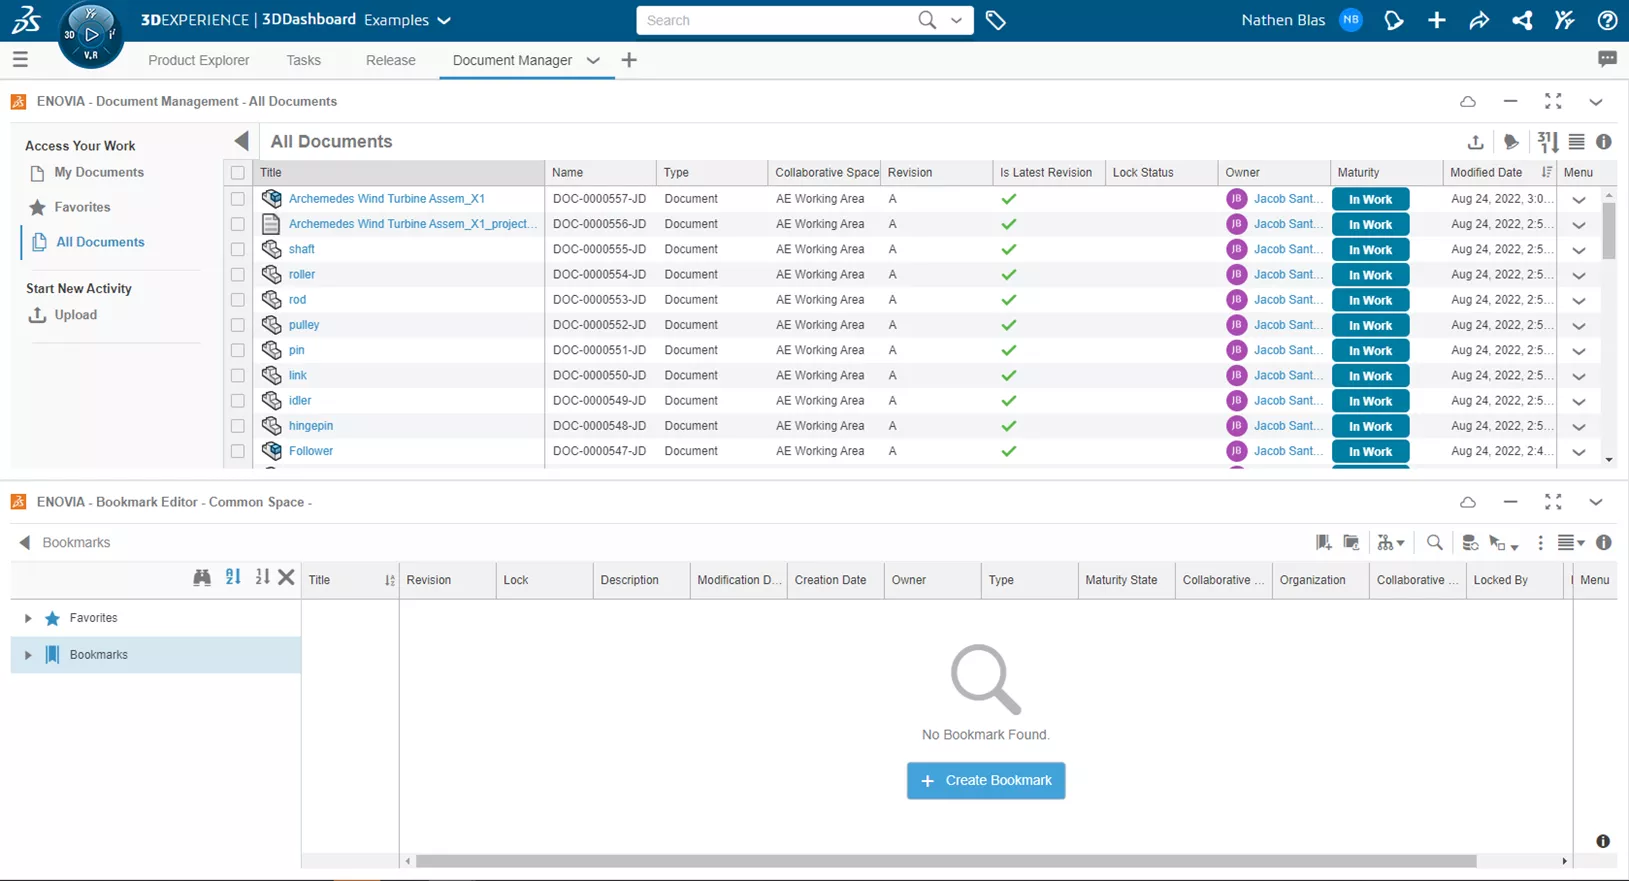
Figure 30: Document Manager
More tabs that can be of use but don’t strictly fall under a task (but more of a common action) would be Advanced Searches. We won't go into full detail about Advanced Searches in this article, but we will show how to pin a search to a dashboard in the Advanced Searches Tab.

Figure 31: Advanced Searches Pin to Dashboard
This provides a dynamic list of all the files that fall under this search. When making these advanced searches, you can pin them to the dashboard in an existing Tab (like we mentioned above), but you do not have to select an existing tab but instead create one for the specific search.
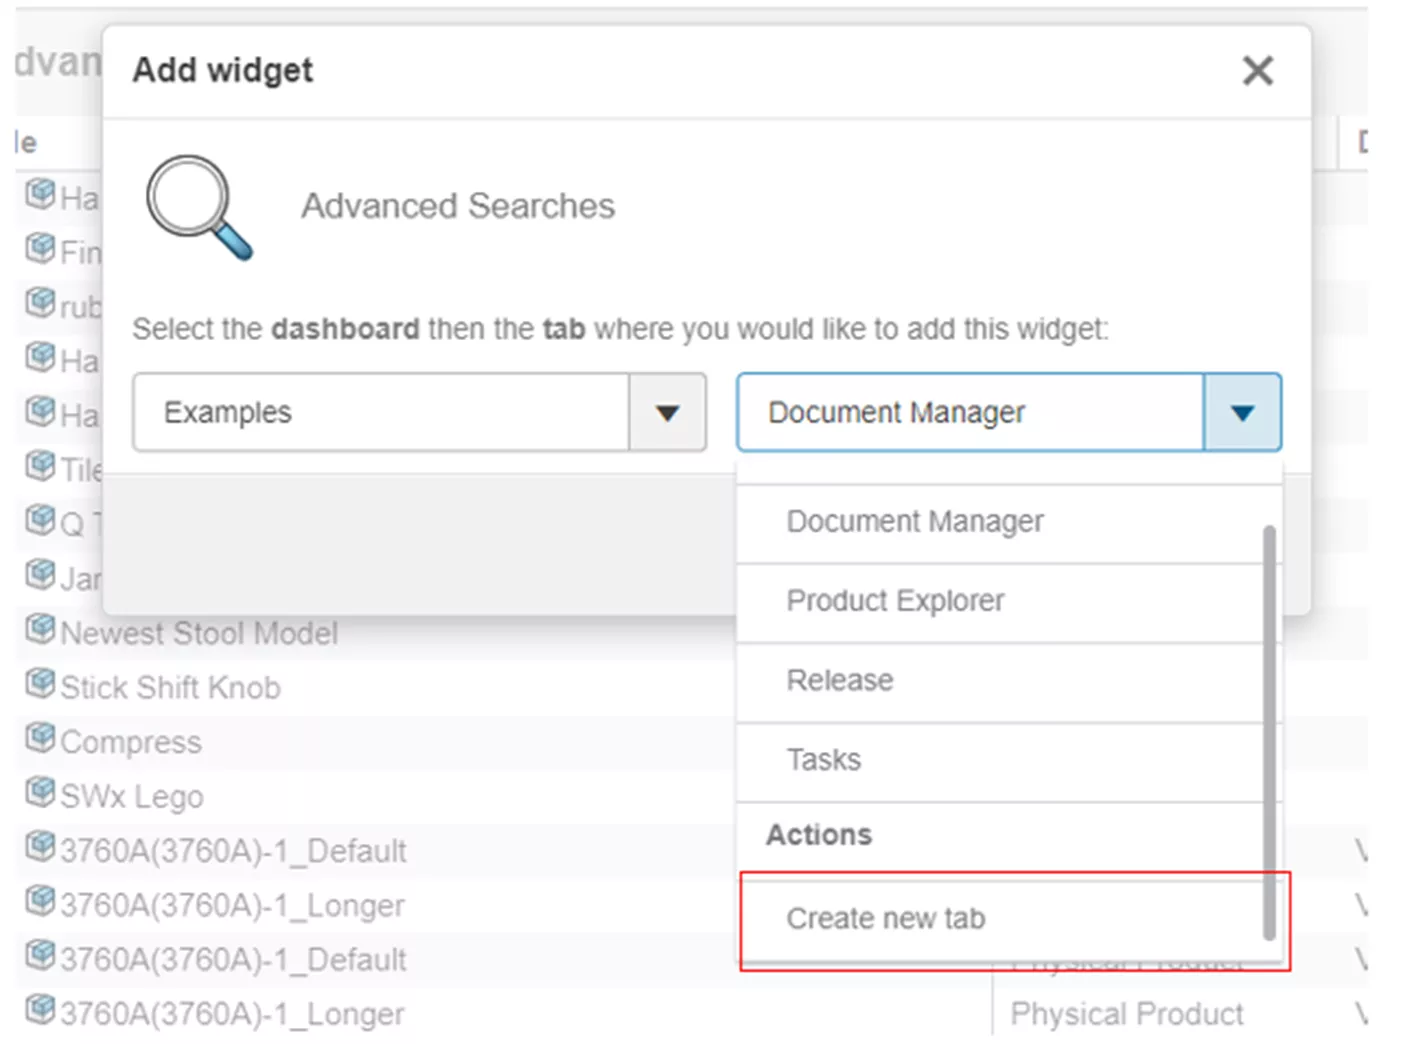
Figure 32: Create new Tab for Advanced Search
This will create a new tab, which you can then rename to label this search.
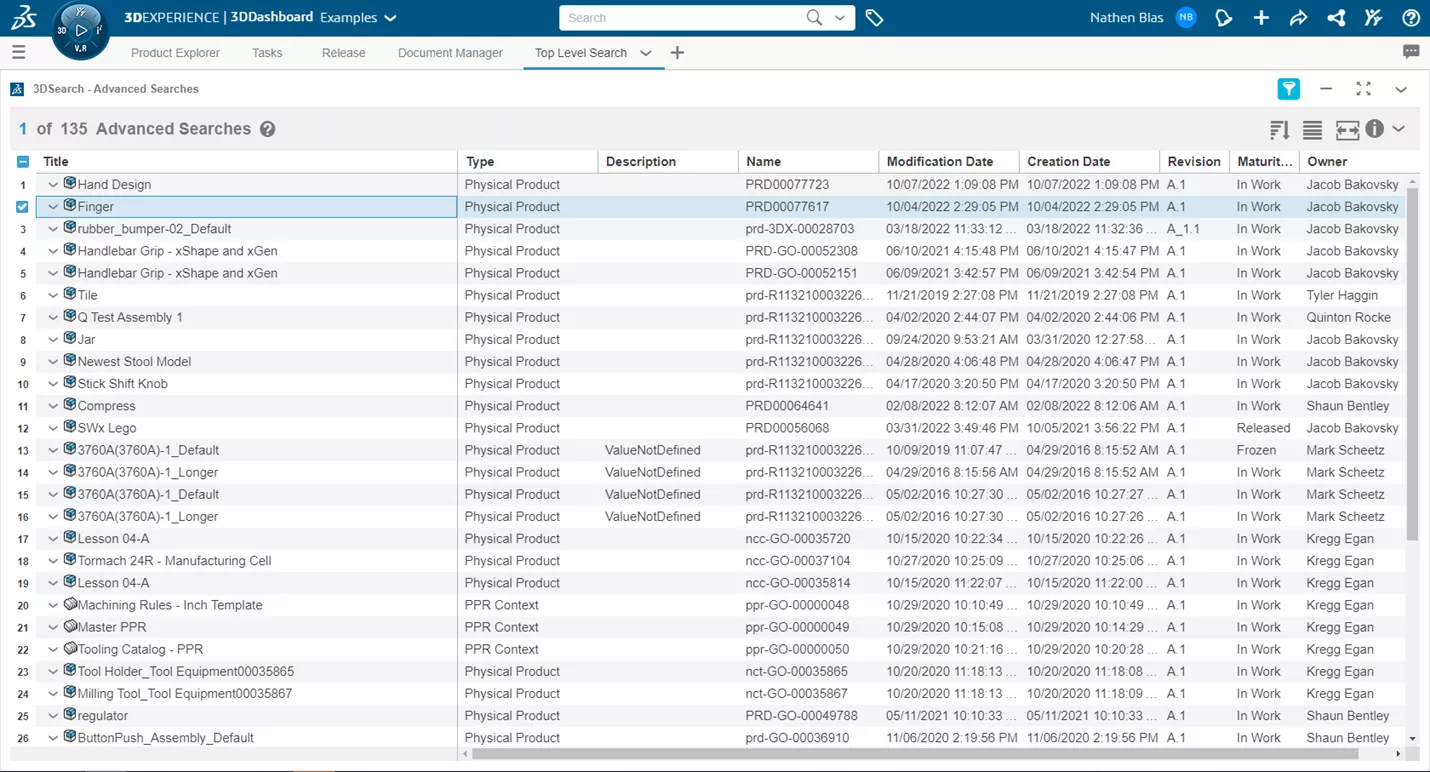
Figure 33: Top Level Search Tab
This concludes how to create and customize dashboards and tabs in 3DEXPERIENCE. To see these steps in action, watch our YouTube video here.
Join the GoEngineer Community to connect with others in the engineering community, create forum posts, and answer questions from other 3DEXPERIENCE and SOLIDWORKS users.
Related Articles
How to Create User Groups on the 3DEXPERIENCE Platform
Getting Started with 3DEXPERIENCE: Setup, Dashboards, Connectors & More
How to View File History in 3DEXPERIENCE
SOLIDWORKS vs 3DEXPERIENCE SOLIDWORKS: What's the Difference?
2 Ways to Mass Upload SOLIDWORKS Files to the 3DEXPERIENCE Platform
![]()
About Nathen Blas
Nathen Blas is a SOLIDWORKS Technical Support Engineer based out of our Headquarters in Salt Lake City, Utah. He earned his Bachelor’s degree in Mechanical Engineering at the University of Utah in 2018 and joined the GoEngineer family that same year.
Get our wide array of technical resources delivered right to your inbox.
Unsubscribe at any time.