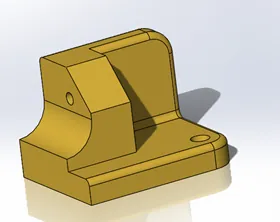
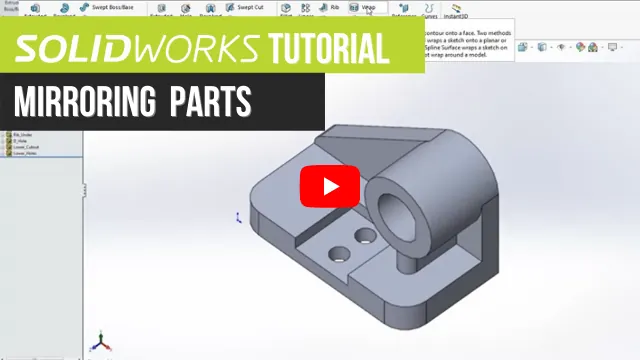
How to Mirror Parts in SOLIDWORKS Two Different Ways
In this guide, we'll show how to mirror parts in SOLIDWORKS using two different methods. The first method stores a mirrored version of the same part. The second method creates a derived part, using the mirror part command.
Method #1: Mirrored Version, Same Part
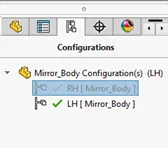
With the SOLIDWORKS part you want to mirror open, create a configuration and give it a name. In this instance, we will call it LH (Left Hand).
Within that configuration, select the Mirror option from the CommandManager.

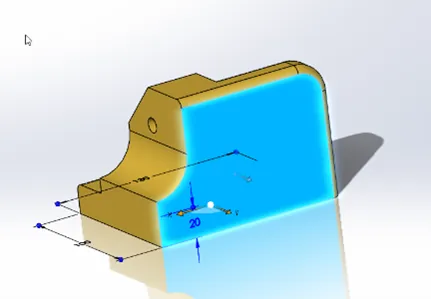
Select a face that will serve as the plane of symmetry for the mirror.
There are a few different options depending on what you are mirroring:
- Features to Mirror
- Faces to Mirror
- Bodies to Mirror
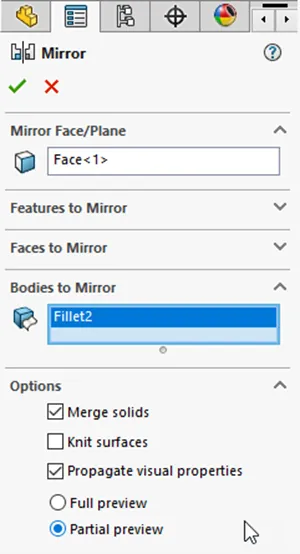
Each option will mirror the selection you choose. For this instance, we will use the Bodies to Mirror option.
Note: Be sure to uncheck Merge Solids if you do not want the two bodies to be merged together.
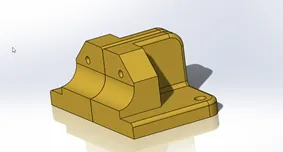
Once the newly created mirror body is created, you can then delete the initial part with a delete bodies command. (Insert > Features > Delete/Keep Body).
With the body now deleted, the process is complete and you can toggle between the right-hand and the left-hand configurations within the part.
Method #2: Mirrored Part, Derived Version
Have the SOLIDWORKS part you wish to mirror open and, prior to selecting the mirror command, have a plane selected to be the plane of symmetry. This step must be done for the command to even become available.
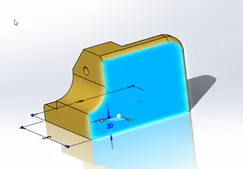
With the face you plan to use as the plane of symmetry selected, go to Insert > Mirrored Part. Once the command is active, you will see the Insert Part PropertyManager window with selections for what will come across as well as the option to establish a reference between the new part and the source part.
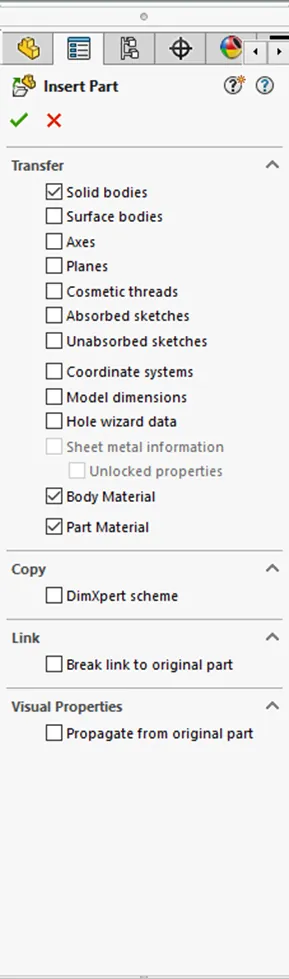
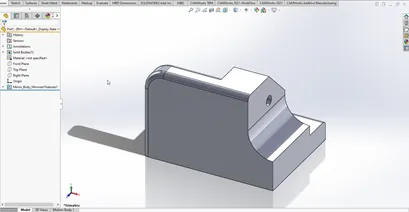
If you keep the link intact, you will see changes flow from the source part to the mirrored part. If you do not want that, be sure to break the link between the two files. With the selections you want selected, click Okay and you have now created a derived part from a mirror.
Please also note, that when selecting Break Link, it brings over the part without any available options to choose from (as shown in the video below).
Now you know how to mirror parts in SOLIDWORKS. Check out more tutorials below!

SOLIDWORKS CAD Cheat Sheet
Our SOLIDWORKS CAD Cheat Sheet, featuring over 90 tips and tricks, will help speed up your process.
More SOLIDWORKS Tutorials
Using Cosmetic Threads: SOLIDWORKS Best Practices
SOLIDWORKS Wrap Feature Tutorial
Global Variables in SOLIDWORKS Explained
Easy Way to Link Properties to a SOLIDWORKS Drawing
Creating a Non-circular Helix in SOLIDWORKS with Surfacing Commands

About Krystal Petersen
Krystal Petersen is a SOLIDWORKS Technical Support Engineer based out of Auburn Hills, Michigan. Krystal studied Product Engineering at Oakland Community College and has earned her CSWA and CSWP Certifications. She joined the VAR channel in 2015 with DASI (now GoEngineer). Krystal is a huge fan of Star Wars and likes to spend her off time fishing and camping.
Get our wide array of technical resources delivered right to your inbox.
Unsubscribe at any time.