Installing and Using a Report Generator File in SOLIDWORKS Enterprise PDM
This article will cover the steps to install and use a SOLIDWORKS Enterprise PDM Report Generator file (.crp file) to query the SOLIDWORKS Enterprise PDM database as well as the steps to export the result to Microsoft Excel.
Install the report query
First, you must have the permissions to be able to install the report query. You can use the "Admin" superuser account or you can verify that you have permissions to install report queries:
Log into the SOLIDWORKS Enterprise PDM Administration tool > double click on your user account or group name > click on Administrative Permissions > ensure that "can update report queries" is checked.
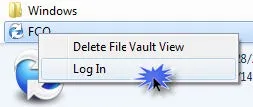
Next, log into the SOLIDWORKS Enterprise PDM Vault View.
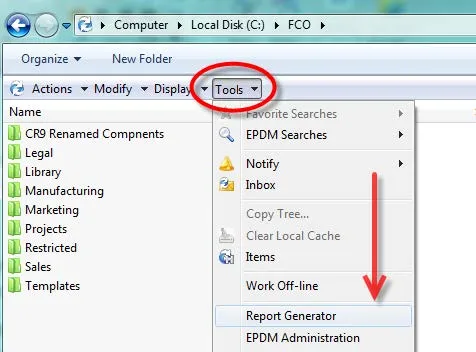
Once you have logged in, navigate to Tools > Report Generator.
After the SOLIDWORKS Enterprise PDM - Report Generator window appears, import the report query. Browse for and select the report query file to open it.
File > Import Query... > browse > select report query file > click Open.
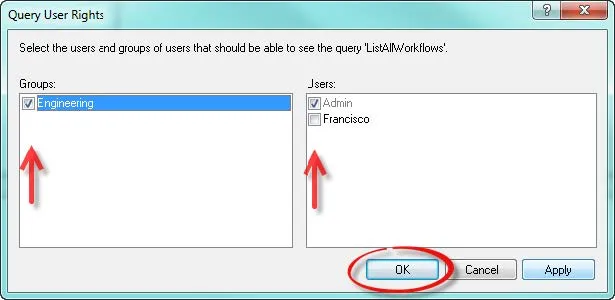
At the Query User Rights window, select the groups and or users that should be able to see the report query we are installing and click OK.
Note: Once the report queries are installed they can be run without the need to install them again.
You should see a small window reporting that there as one or more queries added. Click OK.
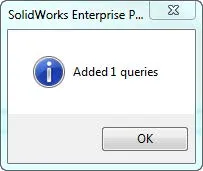
Note: If the window states "Added 0 queries" this means that the report query you are installing already exists in the database or you have canceled the installation.
Run the report query
Now that the report query is installed, run the query.
Select the report query to run > select the vault to query > click the Run button.
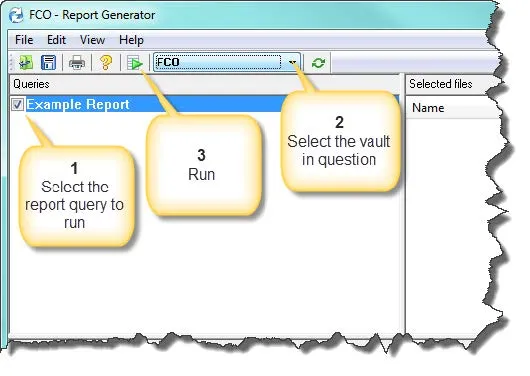
The results will show in the results section of the Report Generator window.

Import the results to Excel
The results can be exported to a Comma Separated Values (CSV) file. The CSV file can then be imported to Microsoft Excel to take advantage of its filtering and sorting capabilities.
Export Results
To export the results, click File > Export Results... > Browse to the location where you would like to save the CSV > Give the file a name > click Save.
Import the CSV to Excel
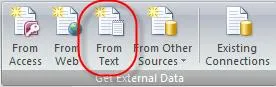
To import the CSV file to excel, open Excel > Click the "Data" tab > in the command bar, in the "Get External Data section", click on "From Text" > Browse and select the CSV file > click Import.
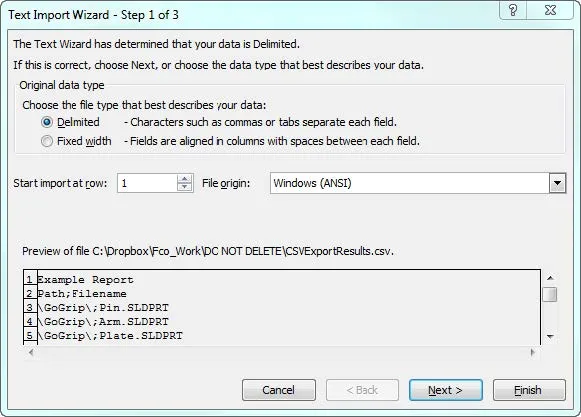
In the Text Import Window, ensure you have the selections below and click Next.
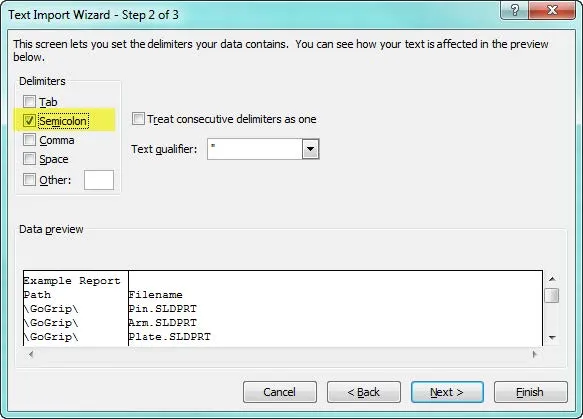
Set Semicolon as the delimiter type and click Next.
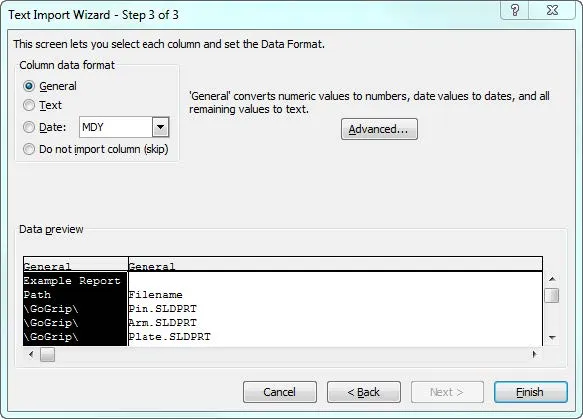
Select the column data format. In this example, we will choose "General" for all columns. Click Finish.
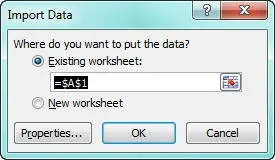
Select where to place the data. In this example, we will use the first cell in the first column in Sheet1. Click OK.
You now have queried data from the SOLIDWORKS Enterprise PDM database in an Excel spreadsheet. You can now take advantage of Excel's tools on your queried data.
Related Articles
SOLIDWORKS Enterprise PDM SQL Maintenance Plan: Reorganizing and Rebuilding Database Indexes
Best Practices to Avoid Losing Work in Enterprise PDM
Restoring Files From a Crashed Computer: SOLIDWORKS Enterprise PDM

About Francisco Guzman
Francisco Guzman is the PDM Technical Support Lead at GoEngineer, and is pursuing his degree in mechanical engineering at the University of Utah. In addition to providing guidance and support to SOLIDWORKS and SOLIDWORKS PDM customers, Francisco also provides support for DriveWorks design automation. He won the world-wide DriveWorks reseller CPD contest as the best DriveWorks AE for 2015. For fun, he designs, 3D-Prints, builds and races custom first-person-view (FPV) racing drone frames.
Get our wide array of technical resources delivered right to your inbox.
Unsubscribe at any time.