How to Print Current Screen Image in SOLIDWORKS
In this step-by-step tutorial, learn how to print a current screen image in SOLIDWORKS.
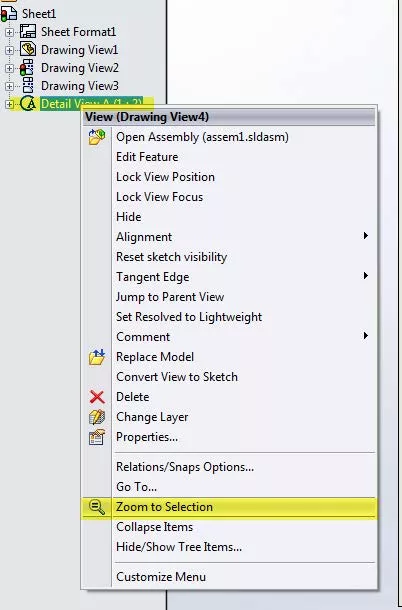
- Right-click on the View in the FeatureManager Design Tree that you want to print and Zoom to Selection.
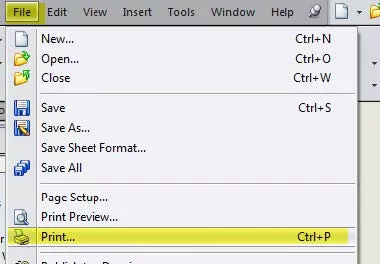
- Go to File then Print.
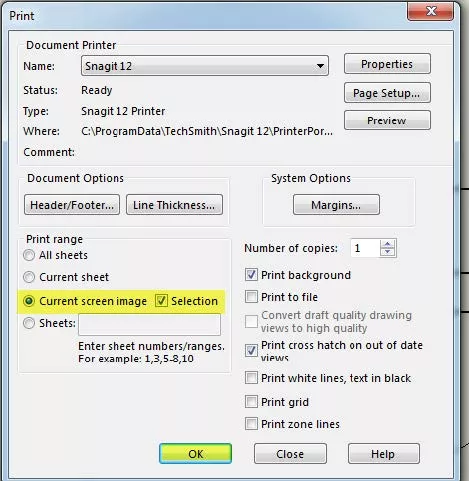
- The Print dialog box will appear. Under the Print range option, select Current screen image and check the box next to it that says Selection, then select OK.
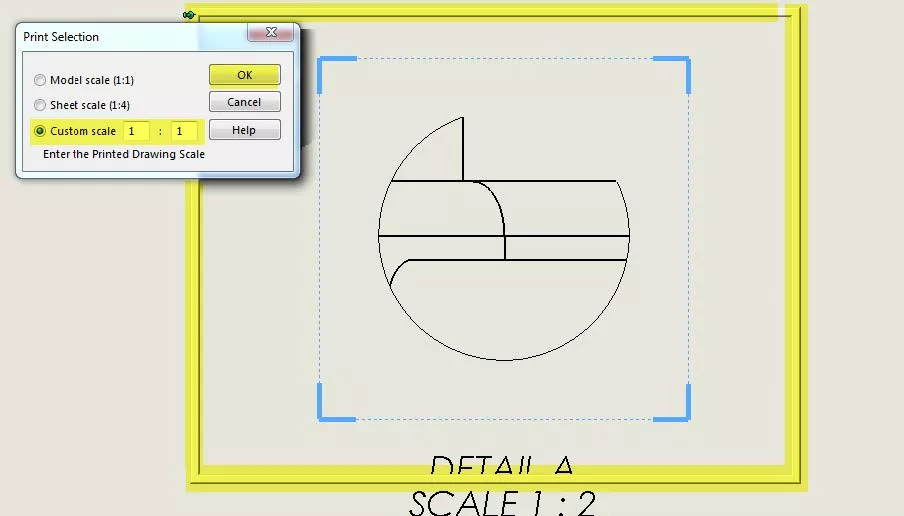
- The Print Selection pop-up will appear.
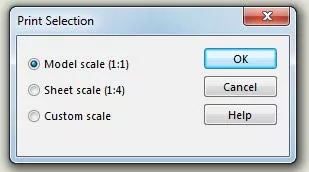
- Select Custom scale and enter in the values you desire. Notice that a semitransparent frame will appear. You can move the frame by clicking once on it and dragging. This is how to position what you want to print. Everything inside the frame will print. Select OK.
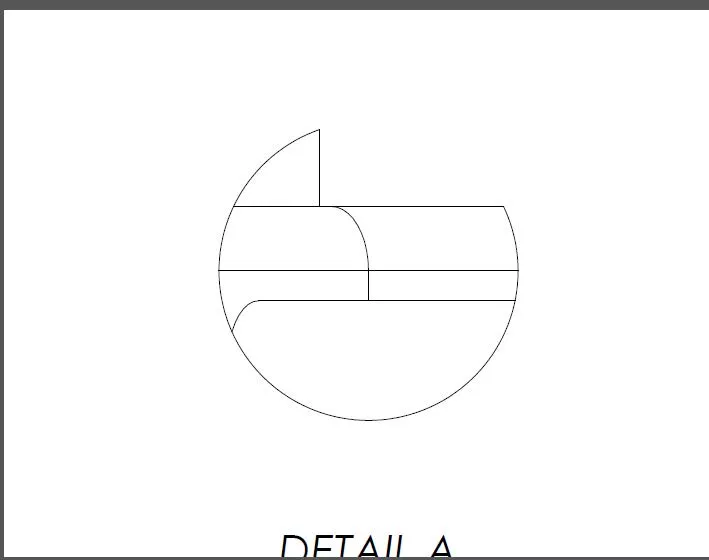
This is what you will see if you print it to an image or PDF or if you print it to a printer.
More SOLIDWORKS Tutorials
Saving a SOLIDWORKS File as a PDF vs Print to PDF
Creating Reference Planes in SOLIDWORKS: Offset, Angle, Mid, & Cylindrical Surface
Smart Explode Lines in SOLIDWORKS Explained
2 Ways to Reference a Cross-Section in SOLIDWORKS
Creating and Adding Weld Beads in SOLIDWORKS Models & Drawings
![]()
About GoEngineer
GoEngineer delivers software, technology, and expertise that enable companies to unlock design innovation and deliver better products faster. With more than 40 years of experience and tens of thousands of customers in high tech, medical, machine design, energy and other industries, GoEngineer provides best-in-class design solutions from SOLIDWORKS CAD, Stratasys 3D printing, Creaform & Artec 3D scanning, CAMWorks, PLM, and more
Get our wide array of technical resources delivered right to your inbox.
Unsubscribe at any time.