Scan-to-Print Workflow: Tips to Optimize 3D Printed Food Models
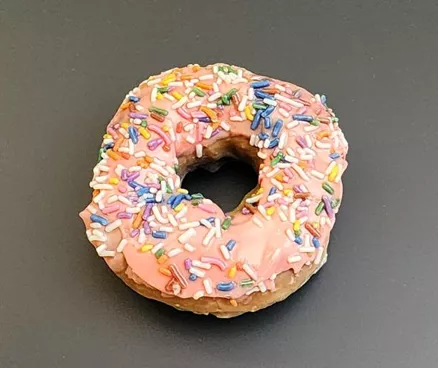
Consider for a moment what options are available to food manufacturers or restauranteurs to showcase their products. Mesh modeling software programs allow designers to sculpt, shadow, and texture 3D models, but it's a time-consuming process and the finished models may not accurately reflect reality. Some companies offer injection molded mock food models, but they too often lack the appearance and realism required by customers. Thankfully, today's 3D scanning technology opens up a new avenue to producing high-quality digital food models, with full-color high-resolution 3D printers able to bring them into physical reality.
It Starts with Quality Scanned Data
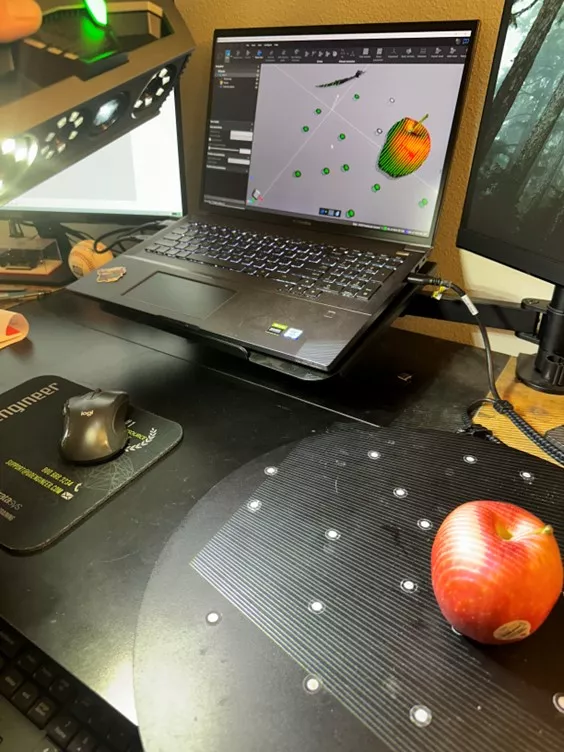
The first step in developing a 3D printed part is to acquire high-quality image data of the object. The quality of the image data directly affects the efficiency of the workflow process and the realism of the final product. Therefore, choosing the correct 3D scanner is critical.
Although laser scanners have high accuracy, portable white light 3D scanners, like the Creaform Go!SCAN Spark , can quickly capture high-quality shapes, colors, and textures and then generate a watertight mesh file that can be effortlessly sent to a 3D printer. This helps eliminate a lot of post-image processing and time-consuming texture mapping to prepare models to print.
Scan reconstruction parameters directly affect image quality, so proper settings must be in place to optimize the data used for 3D modeling. For example, shutter speed resolution and accuracy enhancements should be used when scanning multiple colored objects. Strategic acquisition techniques and workflow should be adopted to optimize the entire workflow and final printed object.
Preparation
The preparation process is also critical for acquiring a quality scan. The main purpose of planning and preparing is to save time by eliminating failed attempts or insufficient mesh data. Once the areas of interest and difficult features have been identified, the food item must be fixed in place. This means tricky components like toppings or sauces must not change mid-scan, as this will lead to significant misalignment.
A useful tip is to freeze an object before scanning it. For example, having the cheese frozen on a cheeseburger allows the user to scan the top side and then flip it over to scan the bottom side without the cheese sagging or changing shape.
Understanding if the mesh file should be multiple entities or a single body is also important to clarify. Experienced technicians usually have insights into other tricks such as spacers to allow light to capture overhanging areas that are hard to capture. Once acquisition is complete, the point cloud graphic body will be constructed of triangles in various sizes and shapes. The file will need to be decimated, cleaned, texture mapped, and have optimized color for printing. This process must be carefully monitored to avoid inadvertently changing the model. Once the model is finalized, the point cloud will be converted to a mesh body that is watertight and ready to print.
Export the model as an .OBJ file with linked .MTL (material library) and a .JPG that has full-color texture. Now the file is ready to be sent to slicing software, like GrabCAD Print , allowing us to view/modify layers, estimate material usage, and print times.
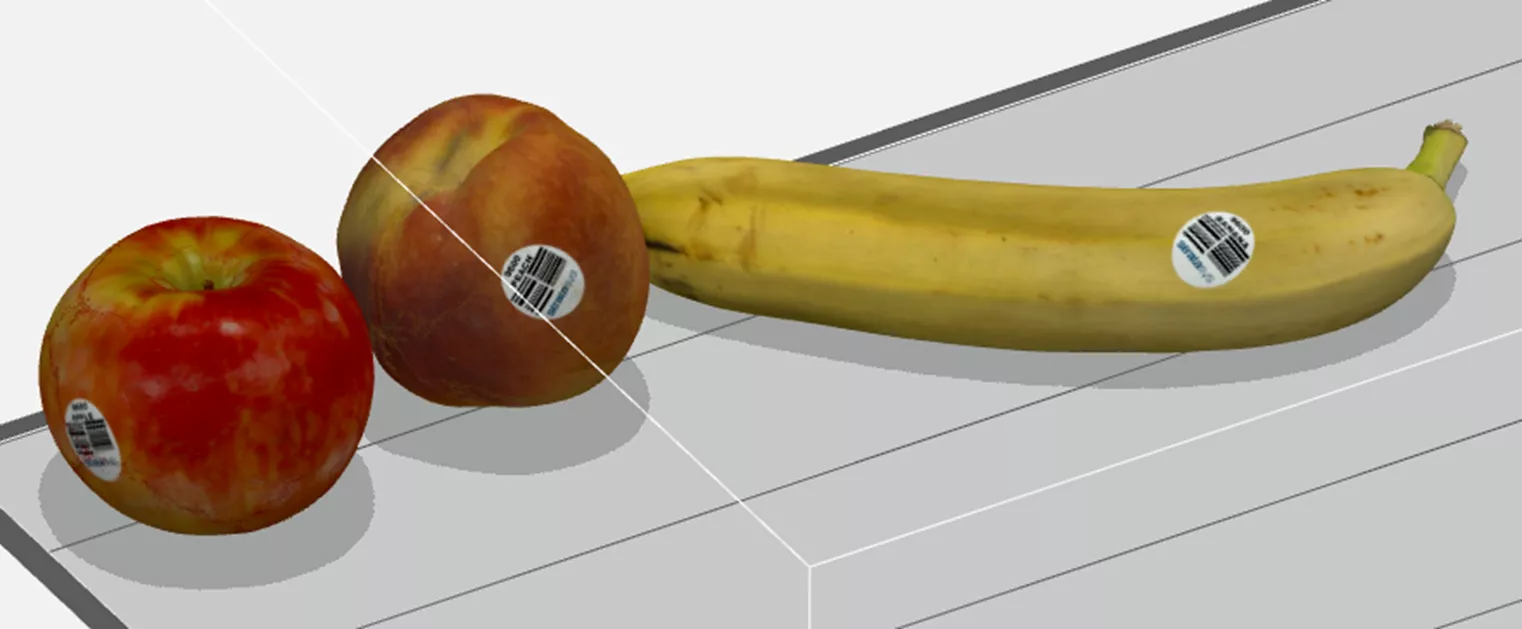
Image courtesy of grabcad.com
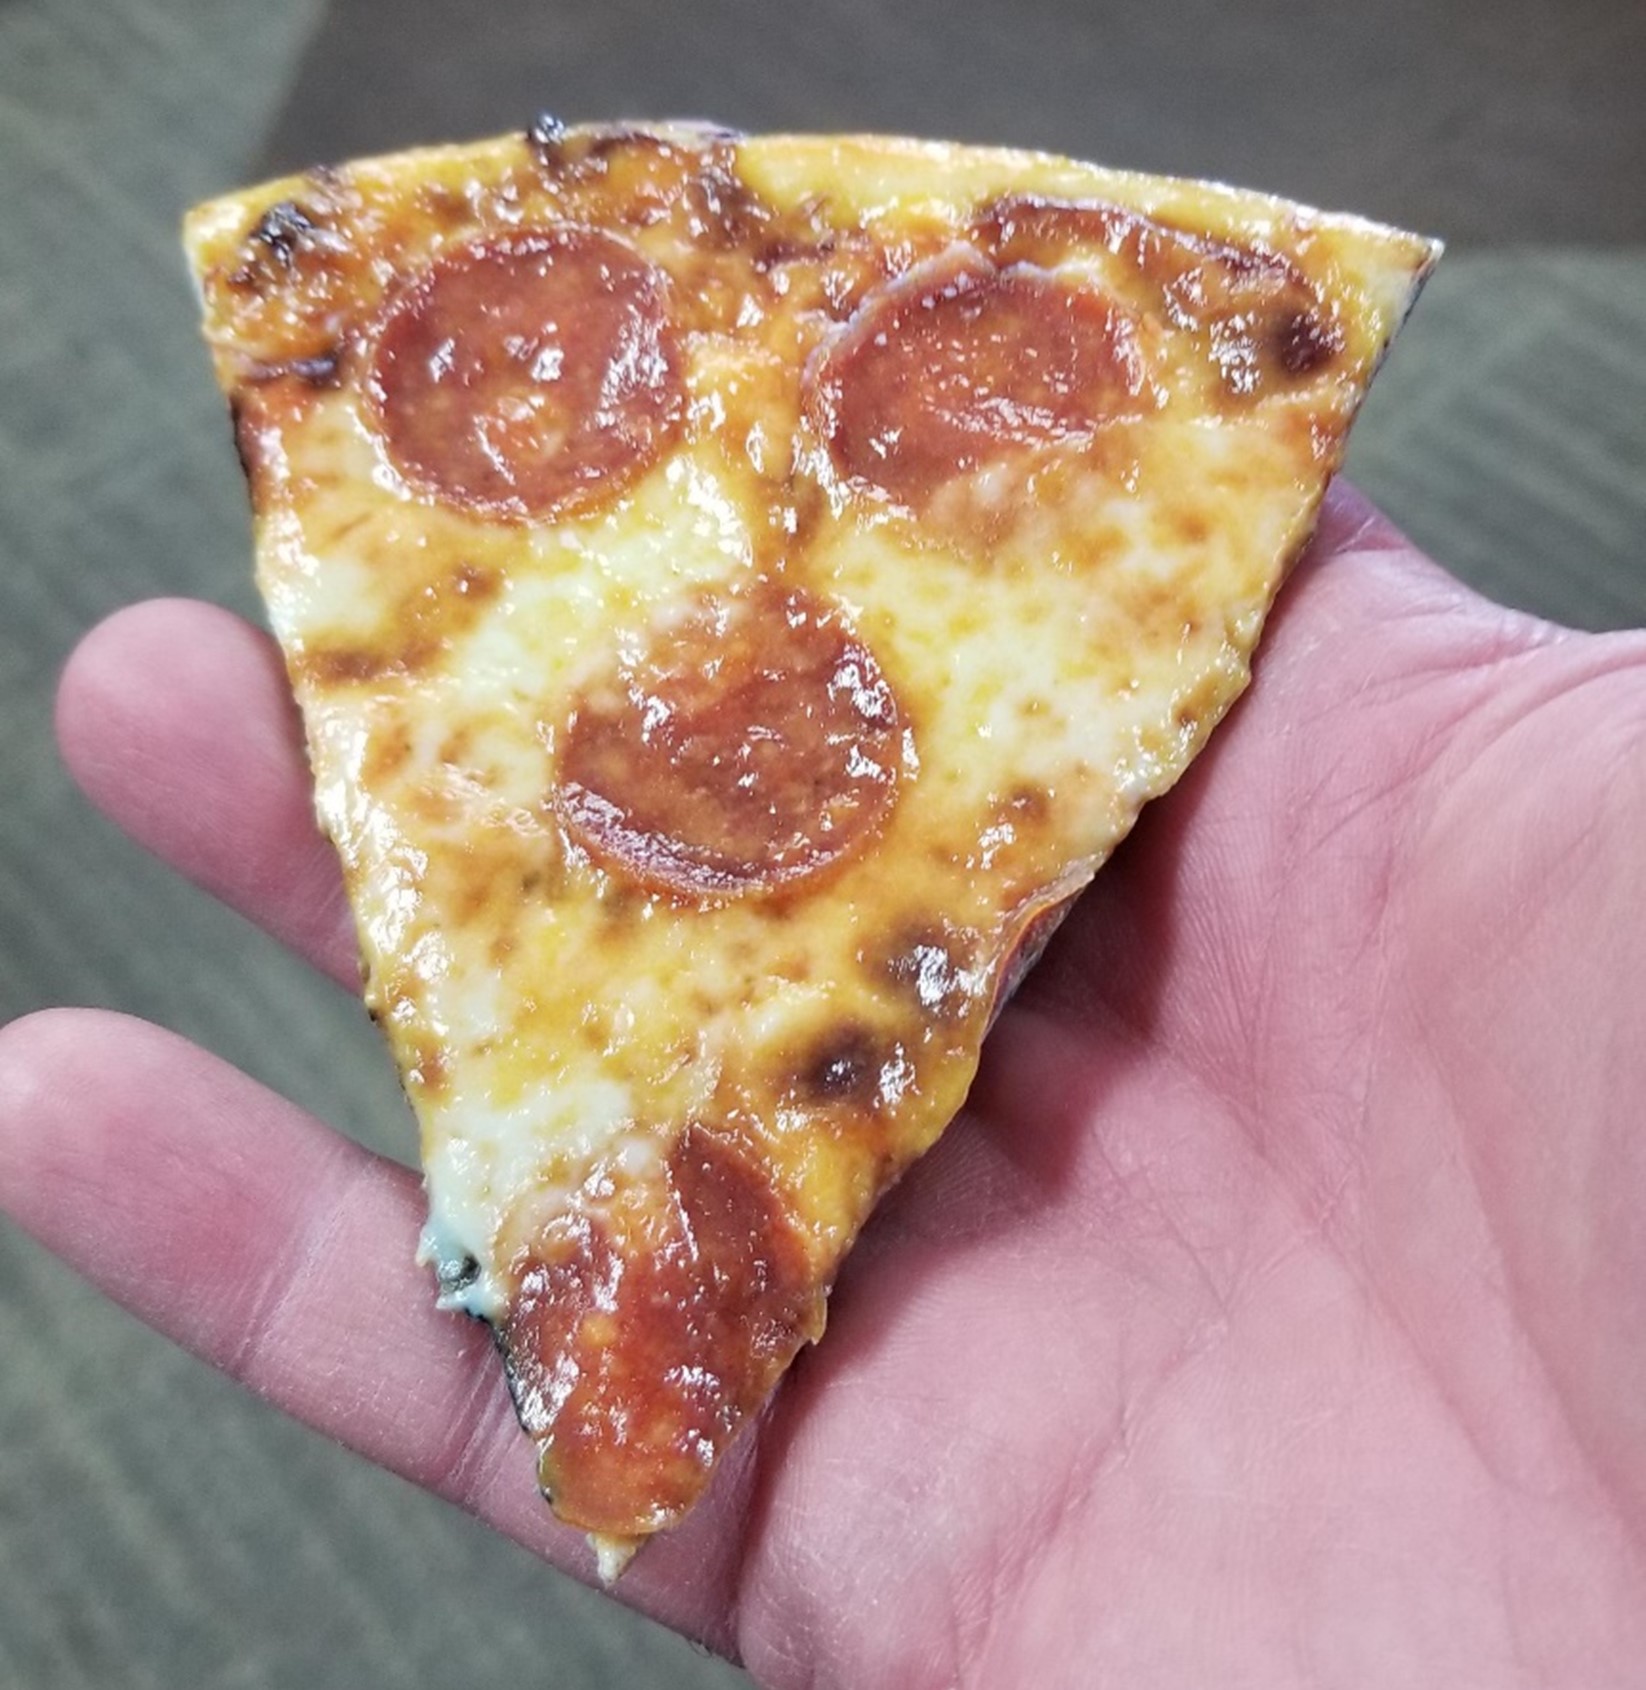
Printing Accurate and Realistic Models
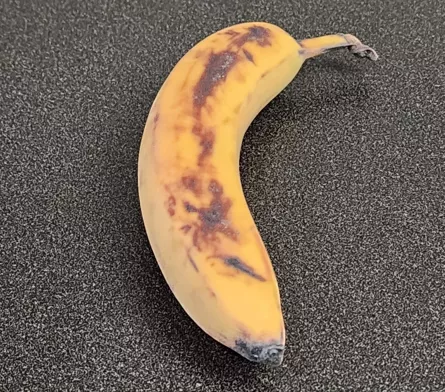
Selecting the correct 3D printing material to represent the realistic texture and feel is also important. Companies like Stratasys offer an industrial line of full-color PolyJet 3D printers like the J850 or J55 that will facilitate impressive food models such as the banana (shown below) that was printed using Stratasys full-color Agilus30 that provides a very realistic look and squishy feel.
Leveraging knowledgeable partners like GoEngineer will help you choose the best part orientation, materials, and printers as well as ensuring your printers are properly maintained for optimal performance accuracy and repeatability.
In conclusion, using modern digital tools such as Creaform handheld 3D scanners makes the scan-to-print process significantly faster and easier. Having the ability to scan the 3D printed part and do an overlay comparison to the original scanned object gives confidence that the models are built accurately.
Interested in learning more? Please contact us for more information about 3D scanning technology & applications.
Related Articles
Choosing a 3D Scanner: Light vs Lasers, Applications, & Considerations
3D Scanning for Automotive: Applications, Hardware, & Software
New Creaform HandySCAN Max Elite & Other Updates
Choosing Reverse Engineering Software: Creaform & Geomagic Considerations

About Ryck Hoopes
Ryck Hoopes is a Hardware Application Engineer at GoEngineer. With a background in domestic and international manufacturing, he brings extensive knowledge of R&D, quality control, and supply chain management. Having worked in Aerospace, Healthcare, Marine, and Consumer Goods industries, Ryck is well versed in common challenges many companies face today. When he’s not working, Ryck enjoys mountain biking, snowboarding, and spending time with his friends and family in the mountains. He also coaches little league football, baseball, and snowboarding.
Get our wide array of technical resources delivered right to your inbox.
Unsubscribe at any time.