SOLIDWORKS Trim Entities Command Capabilities
When removing sketch entities in SOLIDWORKS, deleting a specific portion can require extensive cleanup and adding additional sketch entities. However, the Trim Entities command will automate a lot of the busy work and allow you to trim or extend entities in your sketch in one single operation. This article explains, in-depth, uses of the SOLIDWORKS Trim Entities command and provides an overview of all the different selection options.
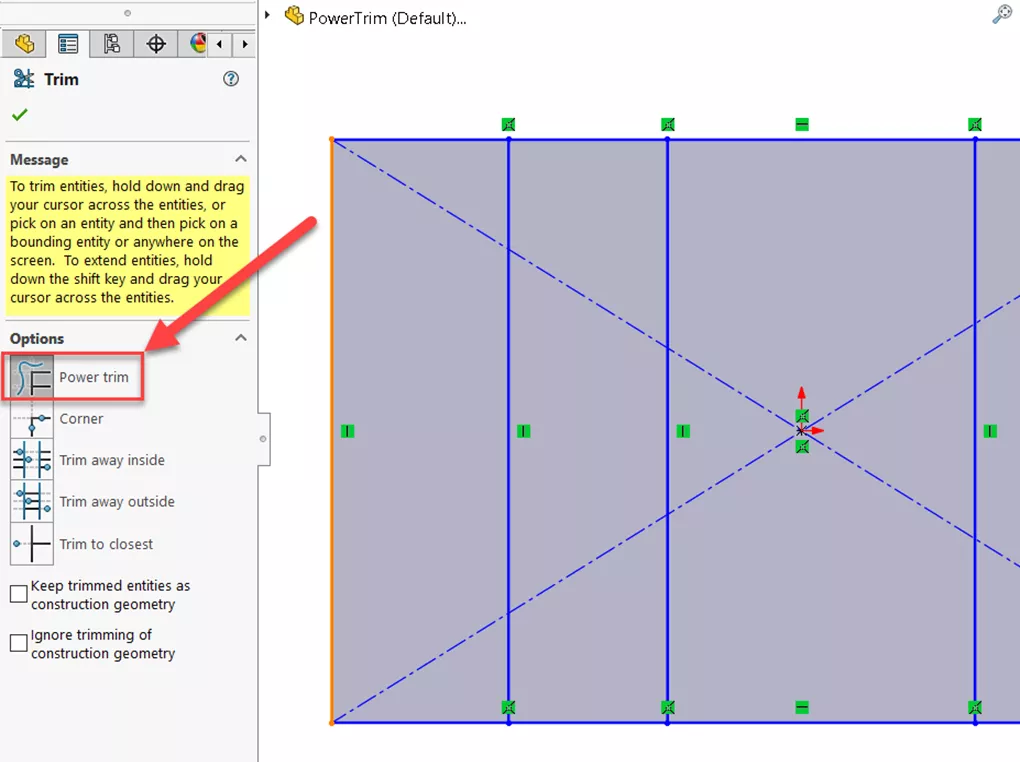
Power Trim
The first and most versatile option within the Trim Entities command is Power Trim. Power Trim allows users to delete and extend individual segments of their sketches. What makes the Power Trim command unique from the standard deleting process is its ability to dynamically create new sketch entities.
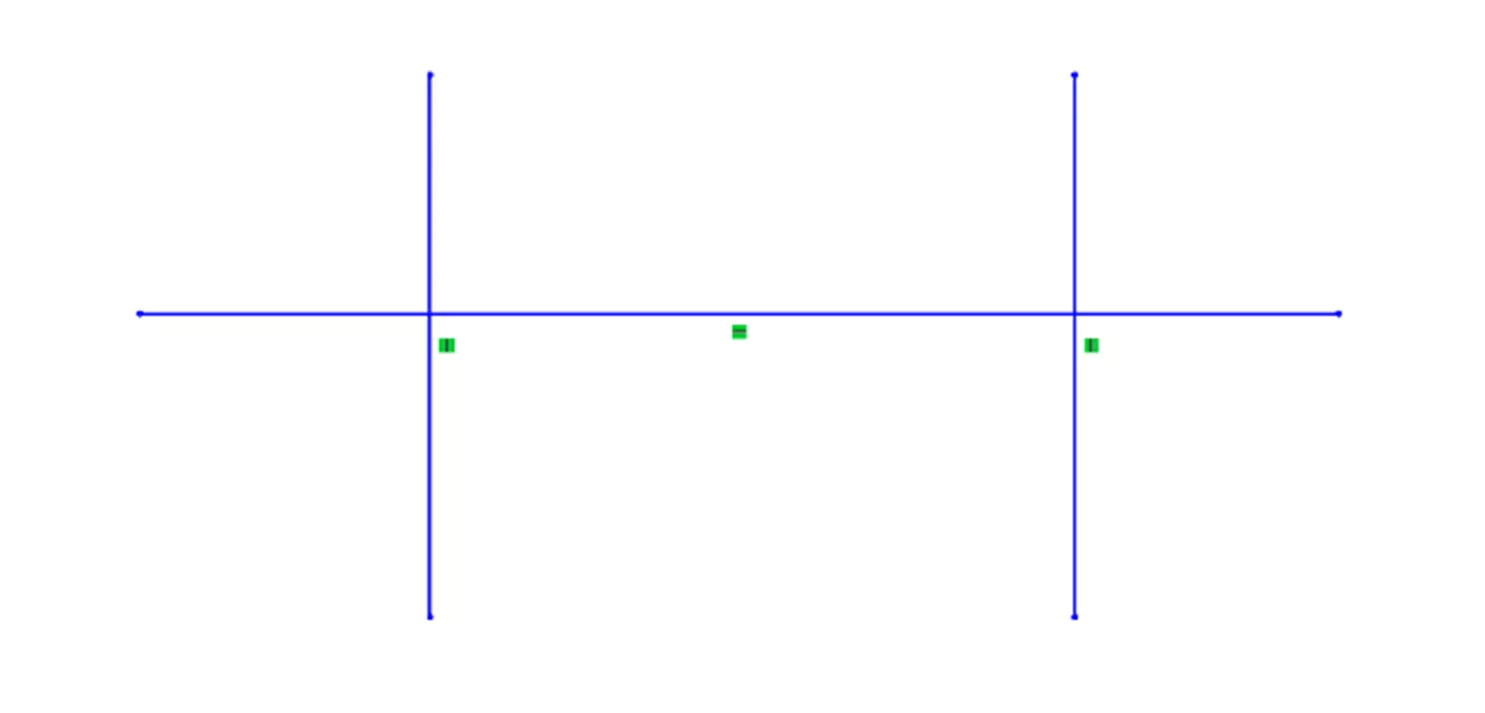
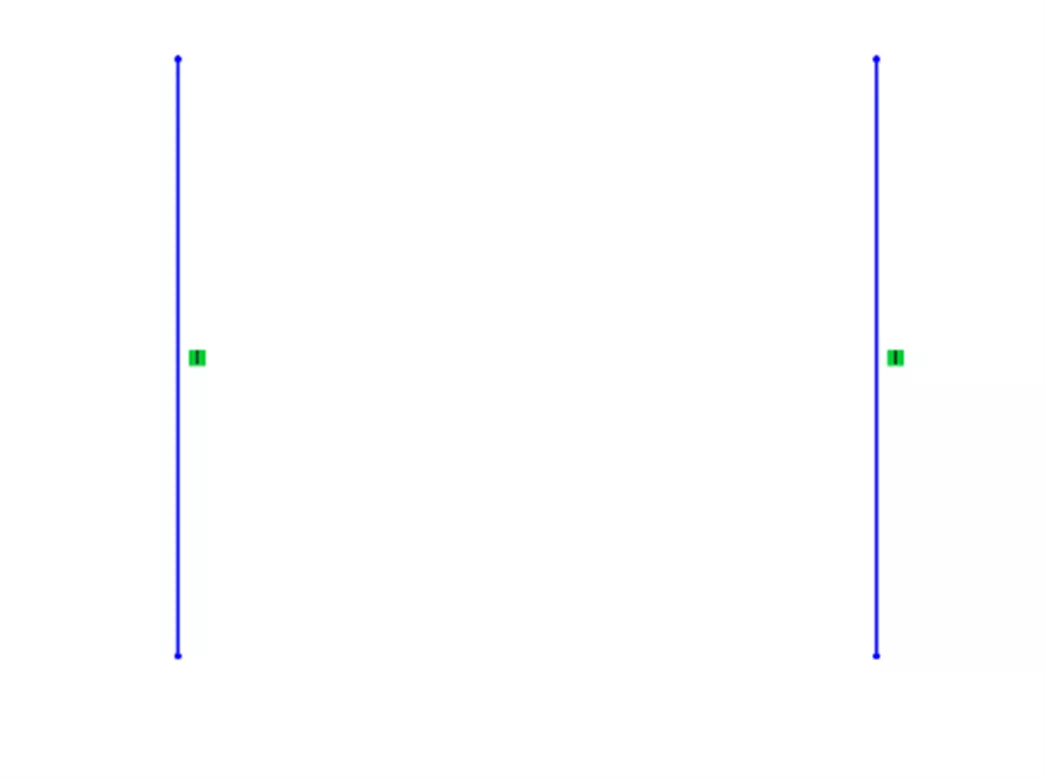
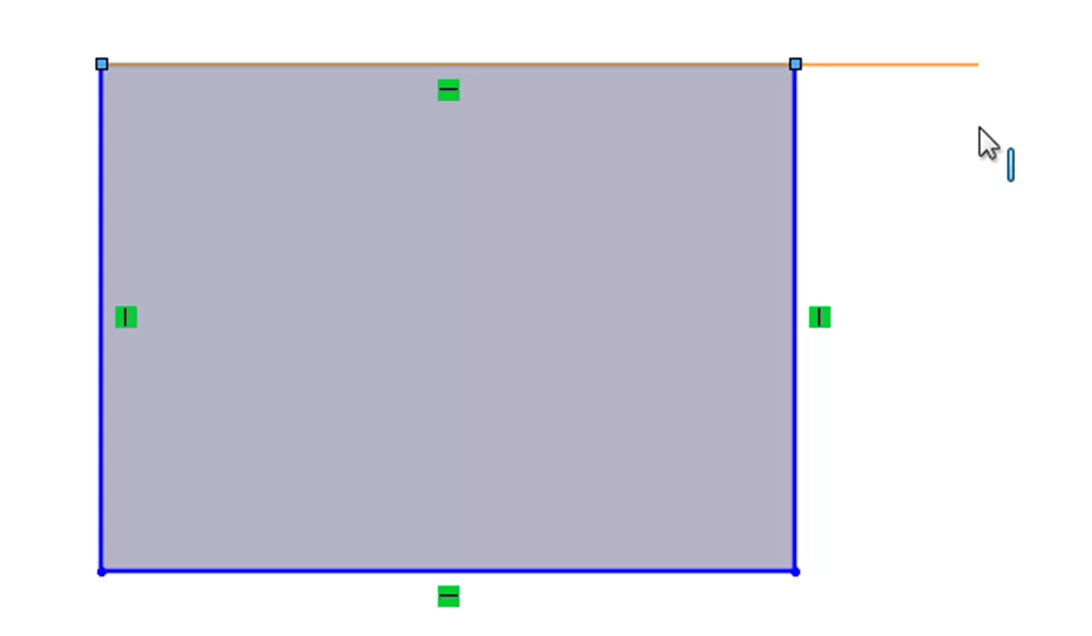
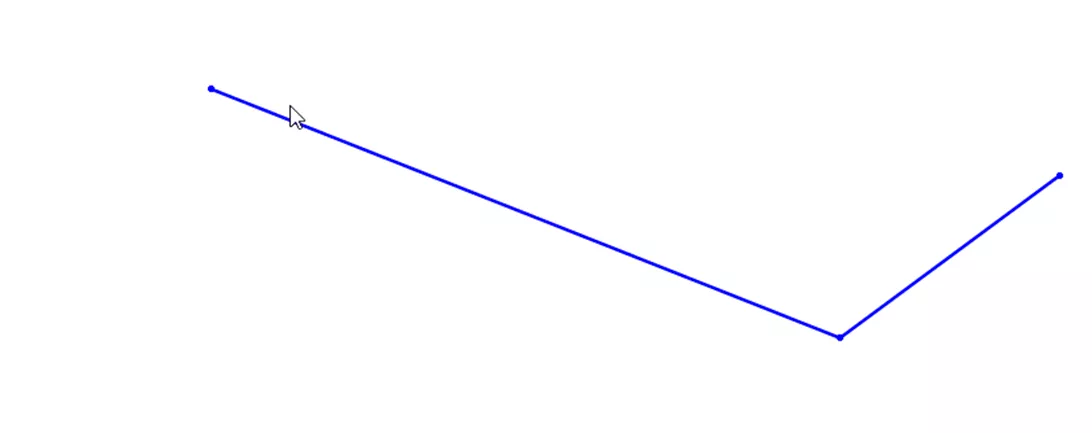
As you can see below, if you delete the line going through the center, the entire line will be deleted, including the overhangs on the side.
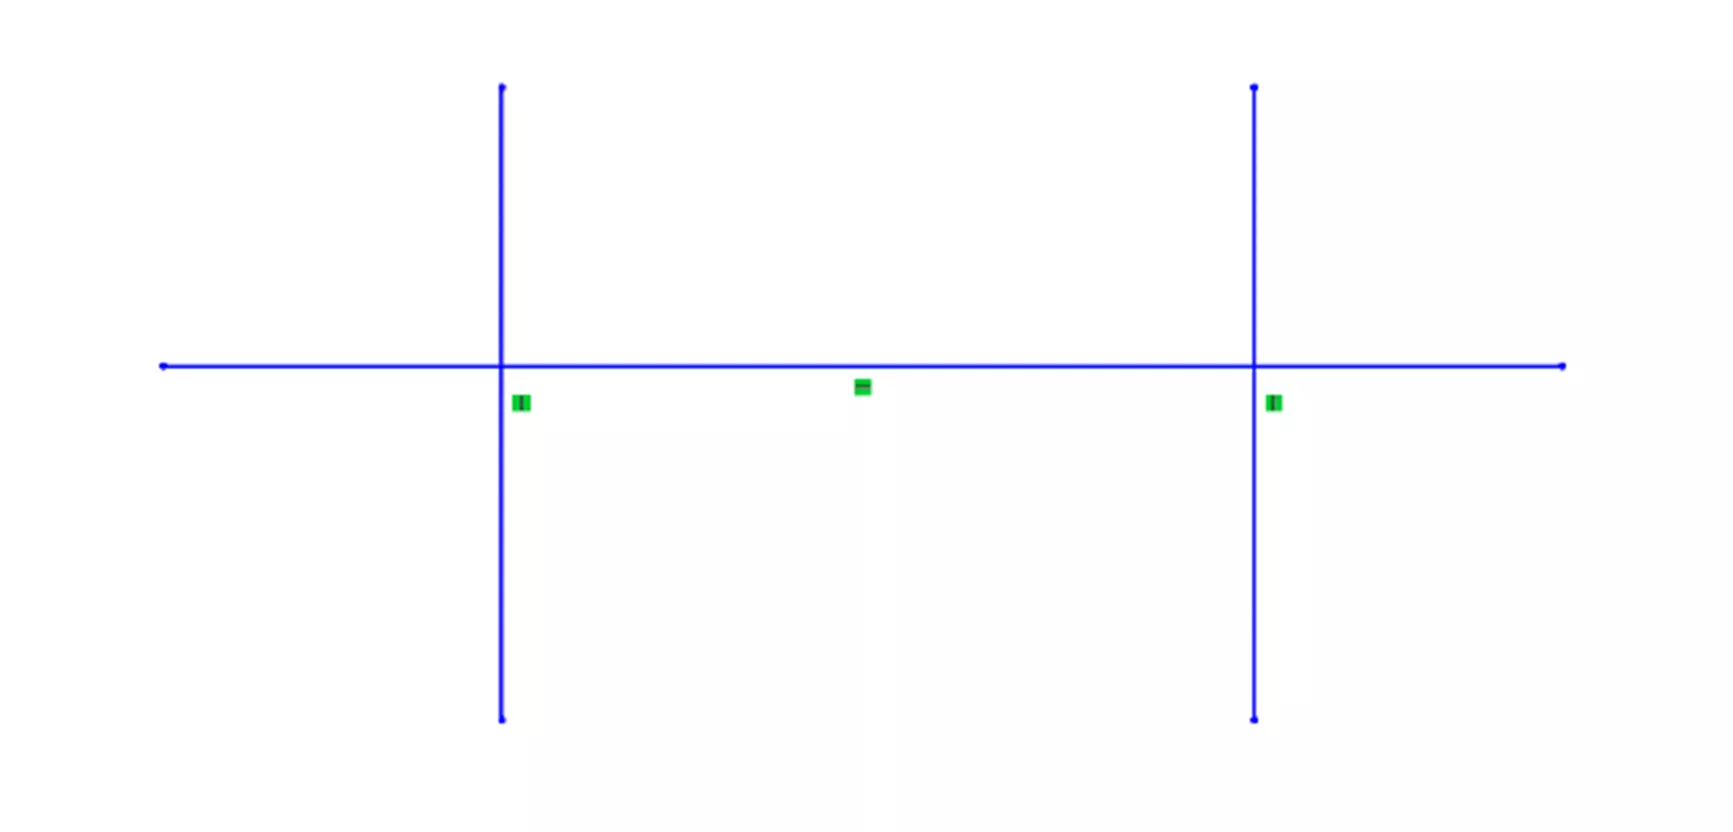
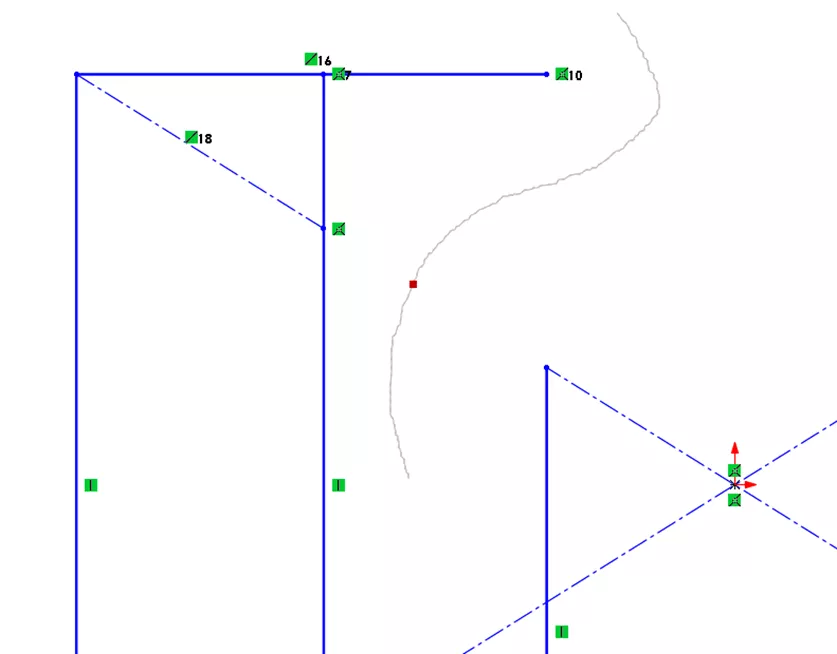
However, if you instead Power Trim the center, the original line will be automatically segmented, and the lines on the side will be given a new relation to locate them in the sketch.
To use the Power Trim command, launch the Trim Entities Command from the CommandManager and ensure Power Trim is selected in the PropertyManager.

Left-click in the graphics area and drag your cursor to begin trimming any entity the dotted path touches. A red square will appear wherever the last entity was trimmed. Releasing your left click will allow you to start a new selection.
The Power Trim option allows for efficient edits to sketches without having to redraw the horizontal, vertical, and construction lines.
Power Trim Extension
If you wish to extend a sketch entity, it may seem easiest to draw another sketch entity at the end to lengthen it. However, that new extension will also need its own dimension to be fully defined, and this can both complicate dimensioning work and make further design changes more difficult.
Thankfully, the Power Trim command can also be used to extend sketch entities. With the Trim Entities command open and with Power Trim selected, left-click the sketch entity to extend, and move your mouse to either side of the entity to preview how the extension will look.
Once the direction and magnitude match your design intent, left-clicking again will add the extension and create a new sketch entity combining both.
Corner
The Corner option within the Trim Entities tool allows you to extend two sketch entities until the point they would naturally meet in a corner.
From within the Trim Entities Command, select Corner in the PropertyManager and choose the entities you wish to connect. After left-clicking one of the entities and hovering over the second, a preview will display the expected new geometry.
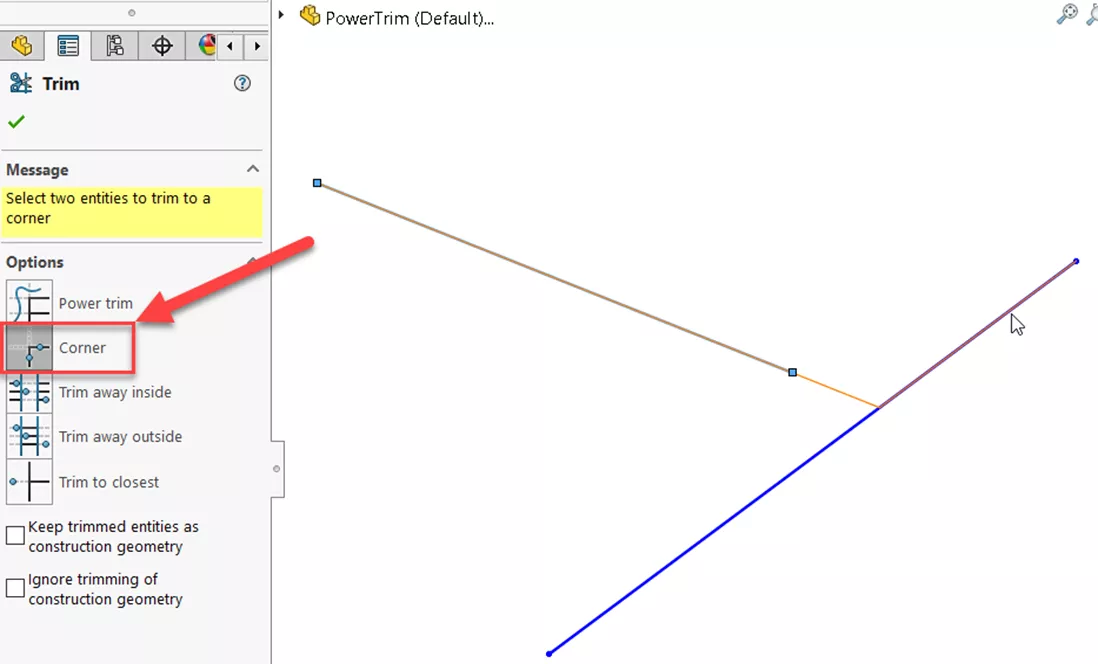
Note: The Corner tool will both trim and extend entities to make the corner, so any overhang will be removed.
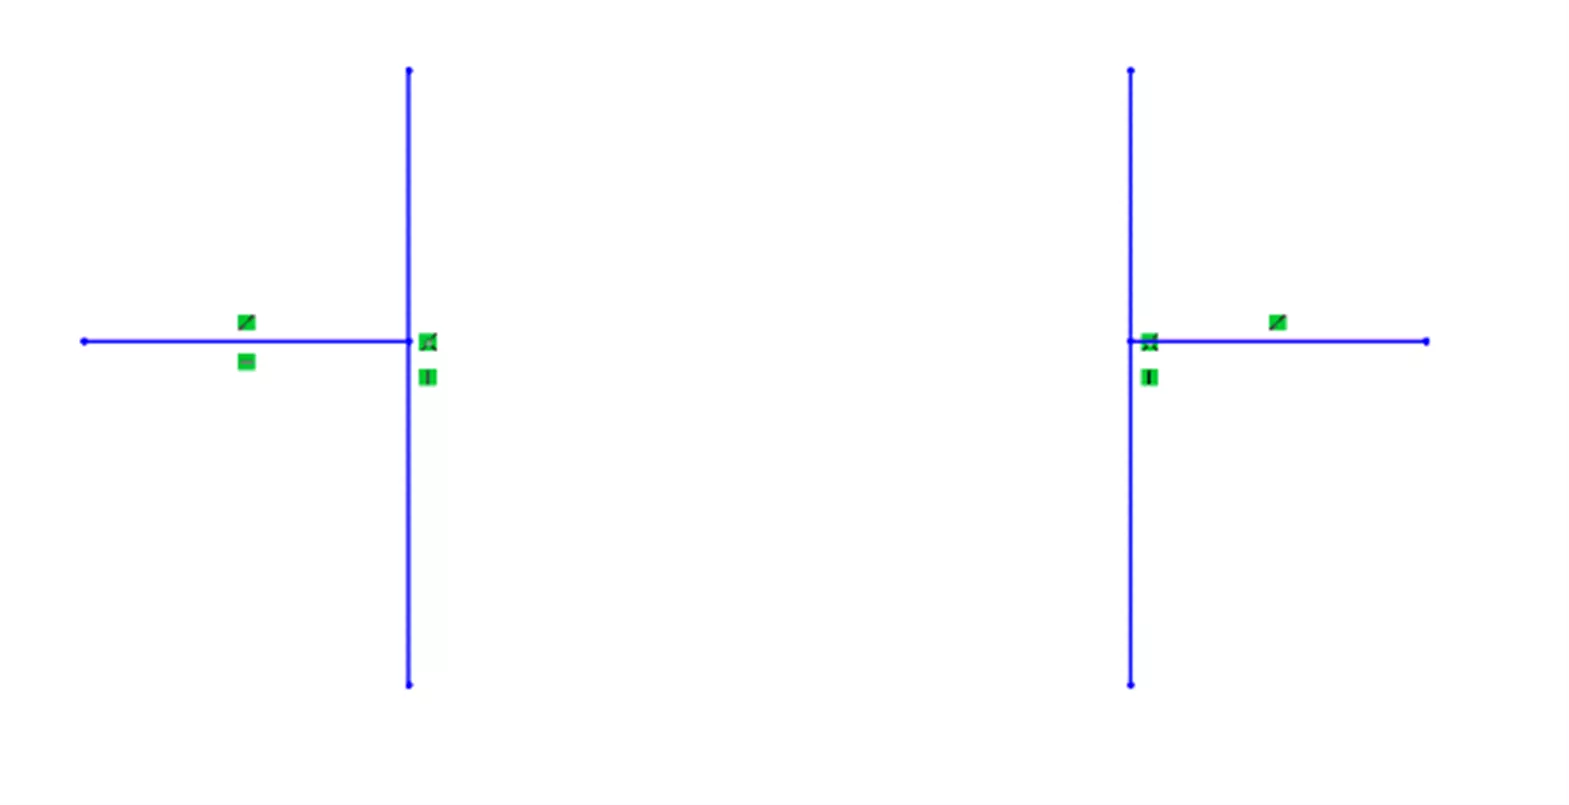
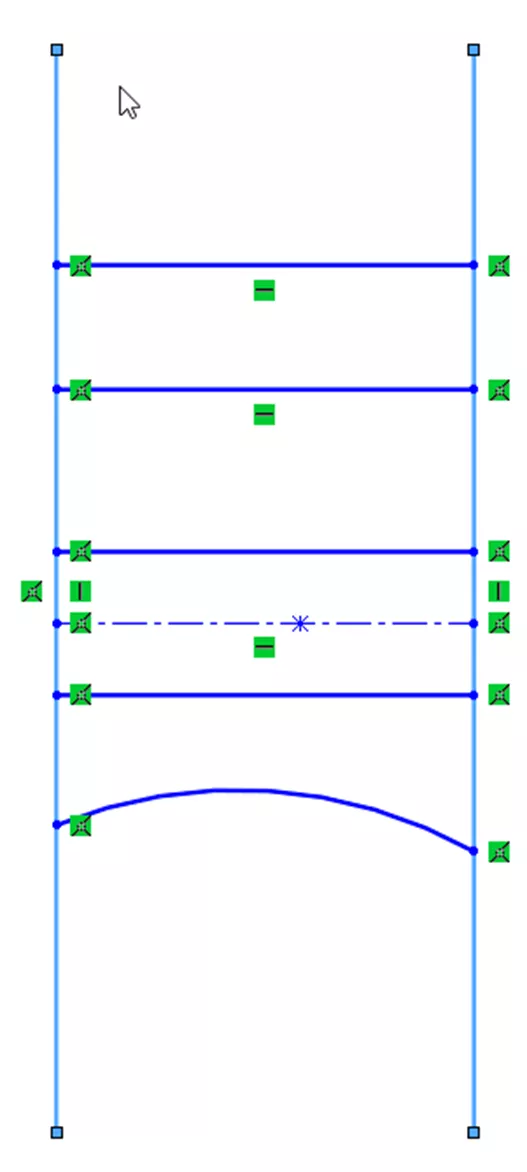
Trim Away Inside/Outside
Power Trim is a very powerful tool for deleting or extending sketch entities, however, it can often be too broad a brush for more detailed sketches. The Trim Away Inside/Outside option allows you to select a region to trim entities from, reducing the chance of accidentally deleting elements you wish to keep.
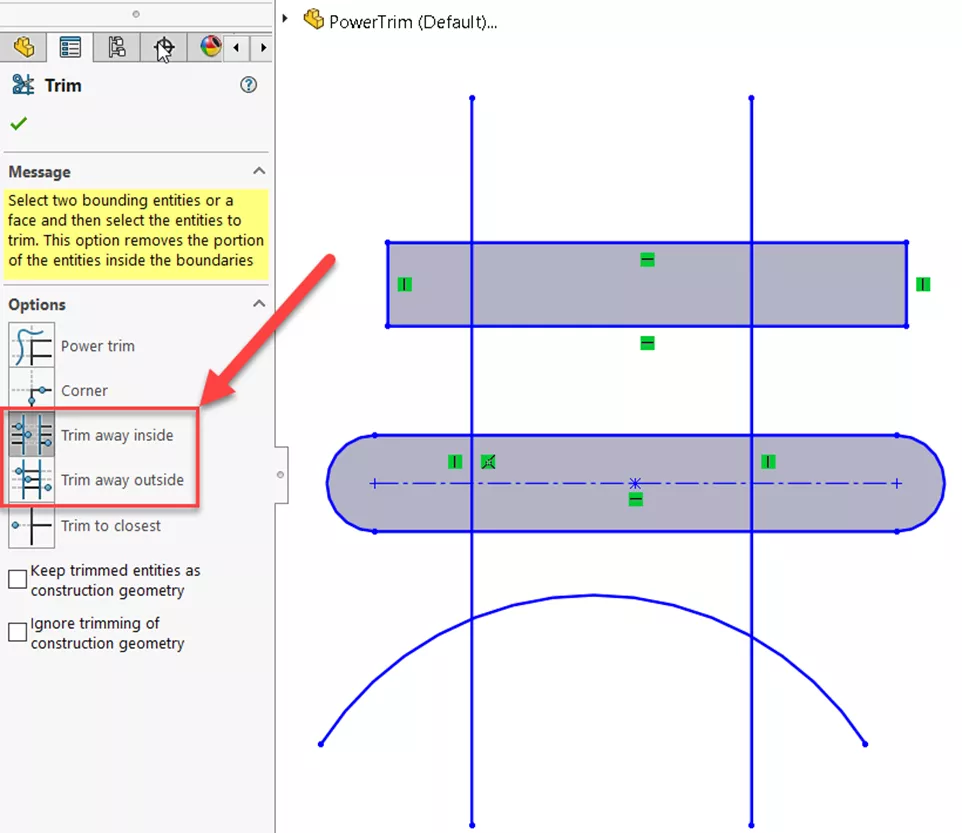
To use the Trim Away tool, select the Trim away inside or Trim away outside option in the PropertyManager.
For the Inside option, select two sketch entities to be the outside boundaries of the region; left-clicking on any elements contained within these boundaries will be deleted similarly to the Power Trim.
In a similar manner, selecting the Outside option will only allow you to trim entities outside of the selected region.
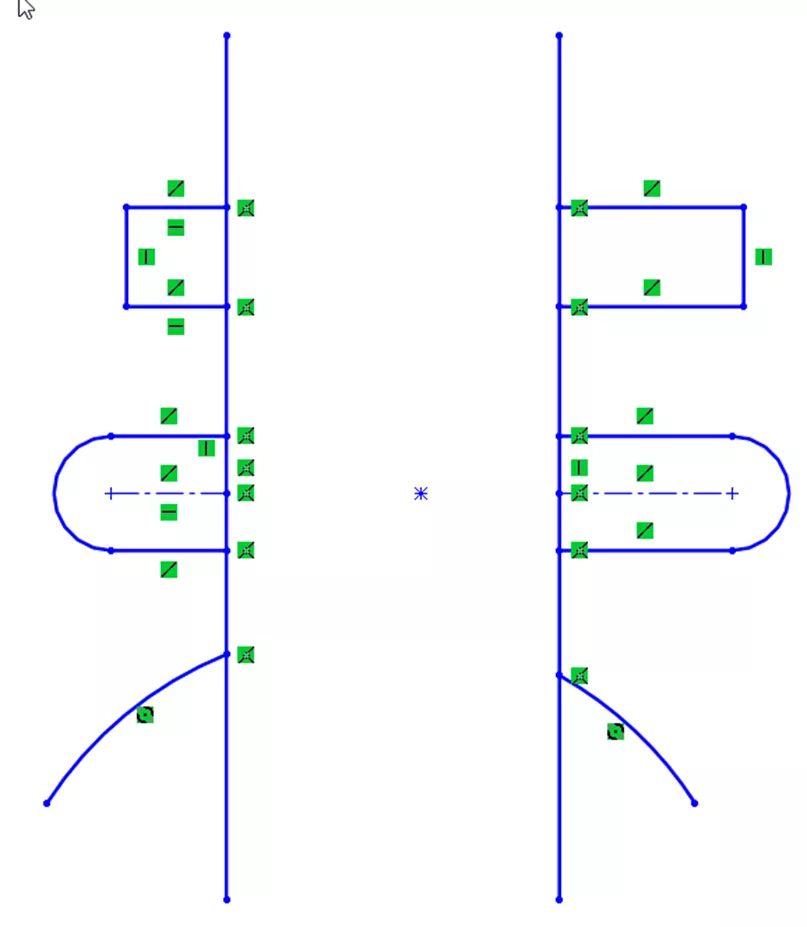
The images above show the difference between Trim away inside and Trim away outside options using the two vertical lines as the boundary region.
Trim to Closest
The final trim option in the Trim Entities command is Trim to Closest. Trim to Closest is a simplified version of Power Trim, but instead of drawing a path to delete sketch entities, you can instead left-click specific sections to delete them while preserving the other sketch geometries.
The main advantage this gives over the regular Power Trim is that it allows you to precisely click entities instead of dragging, reducing the chance of accidentally deleting other entities in complex sketches.
Options
Two option boxes at the bottom of the PropertyManager change the behavior of the Trim Entities command: Keep trimmed entities as construction geometry and Ignore trimming of construction geometry.
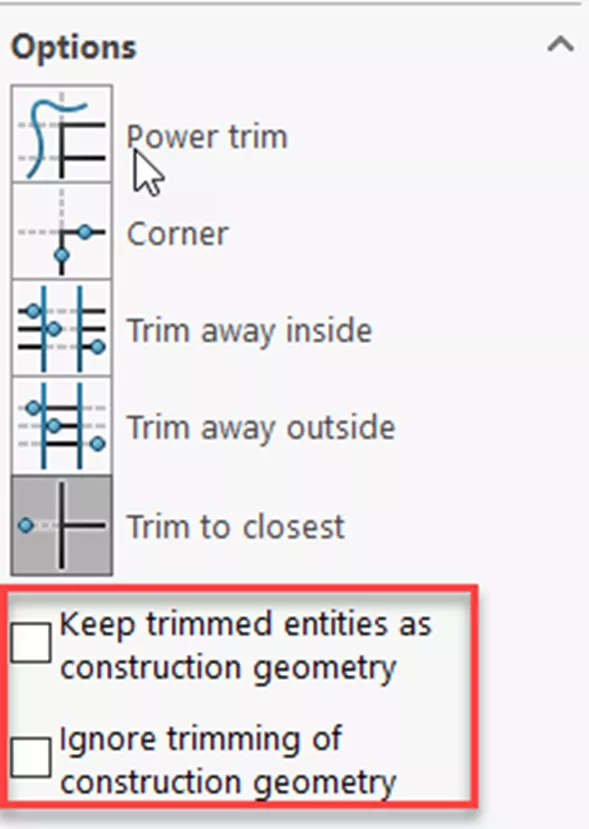
If you want to keep a reminder of which entities have been trimmed or wish to have another sketch entity attached to the same point, selecting the first box will convert all trimmed entities into construction geometry instead of deleting them.
Also, if you have already converted some entities into construction geometry or if you have existing centerlines or other construction geometry, you can ignore trimming of construction geometry so you do not accidentally remove them with the Power Trim.
Conclusion
The Trim Entities command is incredibly versatile and provides varied options to remove or extend sketch entities in a sketch. Use the Power Trim to quickly clean up a rough drawing and remove a line in the center, or get more specific with the Trim to Closest if the sketch is too complex to drag your mouse.
The ability to delete these entities while preserving design intent and definition states makes this tool incredibly adaptive and useful for large sketch changes. If you have any questions regarding the Trim Entities tool or SOLIDWORKS in general, please reach out to GoEngineer.
Want to Learn more?
Take your SOLIDWORKS skills to the next level. In our SOLIDWORKS Essentials training course learn how to use SOLIDWORKS to build 3D parametric models of parts and assemblies and prepare drawings of those parts and assemblies.

I hope you found this article showcasing the capabilities of the SOLIDWORKS Trim Entities command helpful. Check out more tips and tricks listed below. Additionally, join the GoEngineer Community to participate in the conversation, create forum posts, and answer questions from other SOLIDWORKS users.

SOLIDWORKS CAD Cheat Sheet
SHORTCUTS ⋅ MOUSE GESTURES ⋅ HOT KEYS
Our SOLIDWORKS CAD Cheat Sheet, featuring over 90 tips and tricks, will help speed up your process.
More SOLIDWORKS Tutorials
How to Create Text Around a Circle in SOLIDWORKS
Work Smart with SOLIDWORKS Smart Components
SOLIDWORKS Costing: Sheet Metal Parts
SOLIDWORKS Unabsorb Sketches Explained
Ultimate Guide to SOLIDWORKS Blocks: Toolbar Options, Block Creation, Walkthrough, and More

About Brandon McGoey
Brandon McGoey is a SOLIDWORKS Application Engineer based out of San Diego, CA. Coming from an Education and Instructional Design background since 2020, he teaches new users of the software Essentials and Advanced functionality. He earned his Bachelors in Mechanical Engineering from San Diego State, and enjoys 3D printing as a hobby.
Get our wide array of technical resources delivered right to your inbox.
Unsubscribe at any time.