SOLIDWORKS Tutorial: Master Modeling Techniques
In SOLIDWORKS, propagating changes from one file is a smart strategy to control design flow. But the reality is that picking the source for where these changes occur can be a bit tricky. In this blog, we’ll demonstrate master modeling techniques that fine-tunes this process when it comes to updating multiple parts inside an assembly.

This workflow is referred to as master modeling, where a single target, such as a sketch, can be modified to control multiple parts at the same time. The advantage of having this source is to speed up the design changes where a layout can be constructed to be the foundation for quick editing.
Creating the sketch & master part file
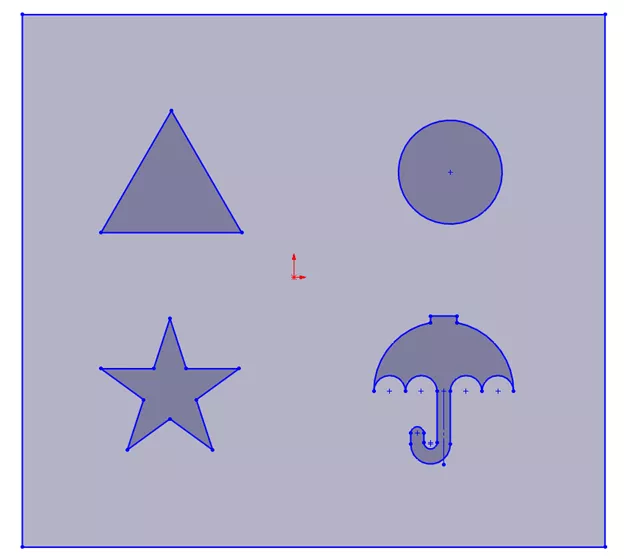
In this example, we’ll create different shapes that fit through a block. The sketch for the centerpiece contains the rectangular outline along with the shape profiles inside. In the part, we can reference this single sketch to allow it to be reused in multiple part files.
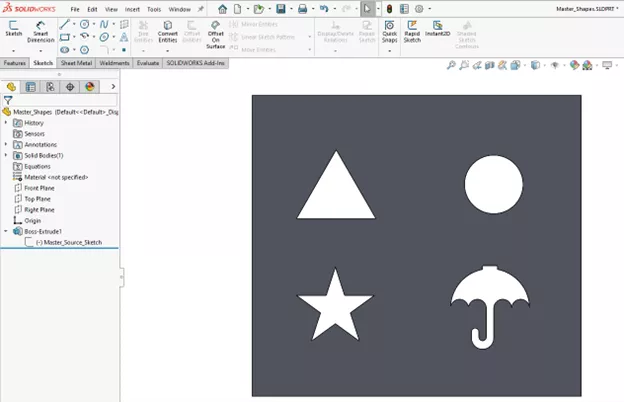
In the same part file, we’ll extrude the inner contour to construct the rectangular plate with the shapes cut out. Once finished, the part will be saved out and will also serve as the master control file.
Reusing the master part file
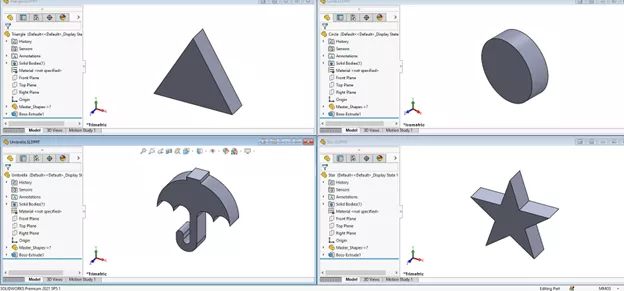
In order the create the shapes as separate pieces, we’ll need to have a way to link them to the master source sketch. To do so, start a new part using the Insert Part command.
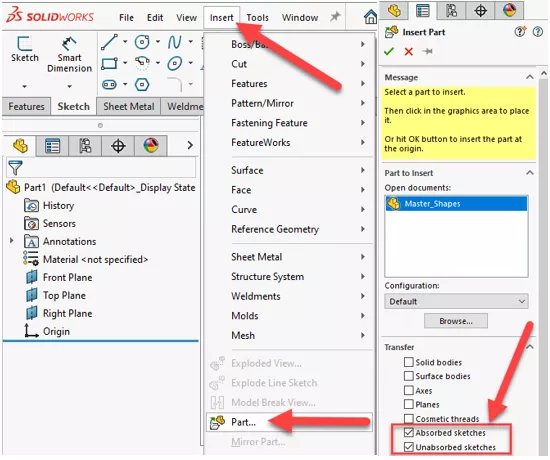
The options to check the Absorbed sketches or Unabsorbed sketches will bring all sketches into the new part in their original form. Once completed, we’ll use each shape contour to extrude it to a new boss extrude and then save it as a new part.
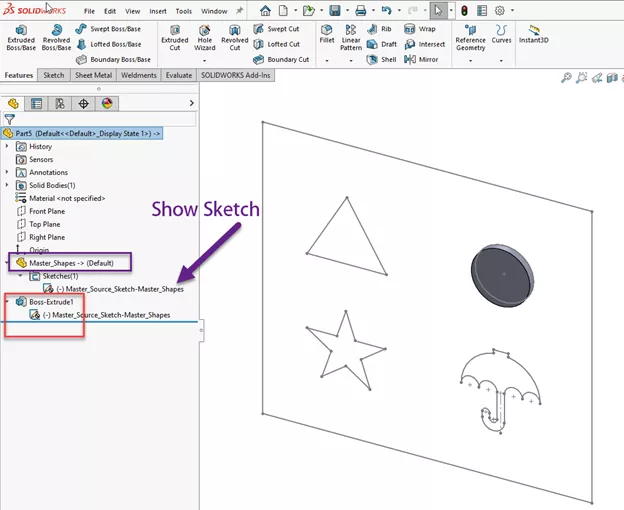
Repeat this process for every shape. Once the parts are created, we will insert them into a new assembly.
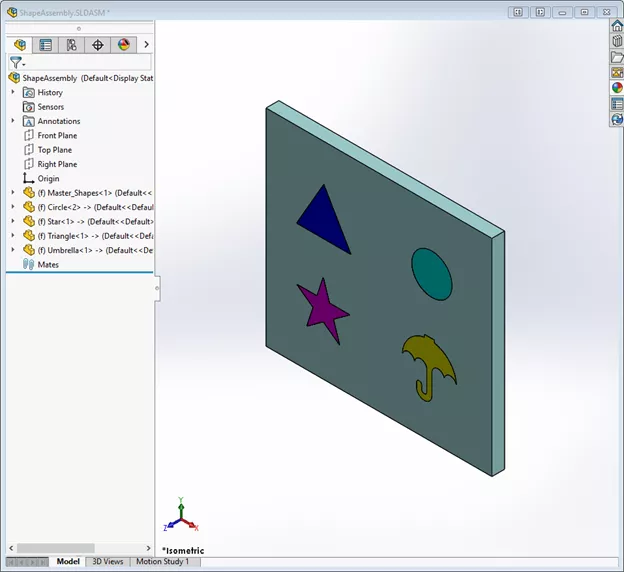
Placing files into a new assembly
To avoid using mates, the trick is to insert each component at its exact location where they were created by placing each component at the same origin. From the previous step, the Insert Part command allows each shape to remain in the same position where the master source sketch was used.
Editing the master part file
Once the parts are inserted inside the SOLIDWORKS assembly, feel free to open and edit the original master model, and, from changing any element on the sketch, the parts will automatically update as well as the assembly.
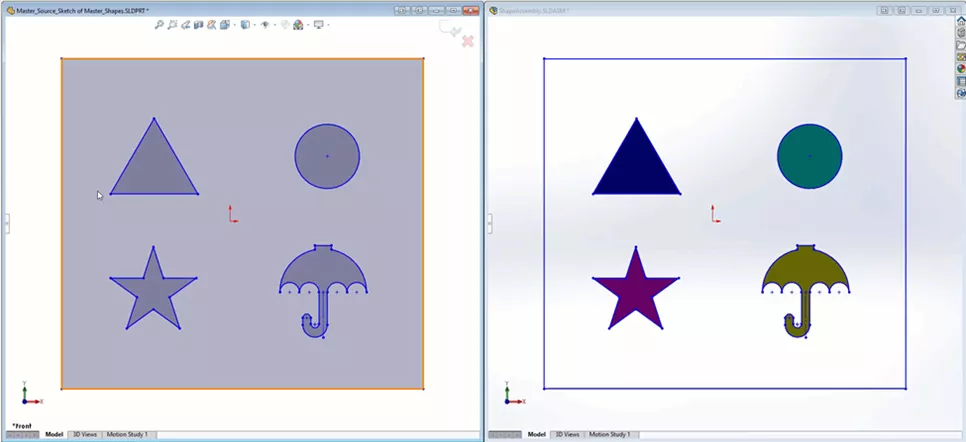
As demonstrated above, any changes in the master part file will reflect the changes to the existing parts and the assembly updates with relative ease.
![]() Want to learn more? Check out our YouTube video for a tutorial using SOLIDWORKS master model techniques.
Want to learn more? Check out our YouTube video for a tutorial using SOLIDWORKS master model techniques.
More SOLIDWORKS Assembly Tutorials
How to Save a SOLIDWORKS Assembly as an STL File
Create a SOLIDWORKS Assembly from a Multibody Part
Propagating Assembly Features to Parts
Understanding Hierarchy of SOLIDWORKS Appearances

About Jackie Yip
Jackie Yip is a Technical Support Engineer at GoEngineer. When Jackie isn’t assisting customers or teaching a SOLIDWORKS Essentials class, he enjoys road biking and keeping up on the latest tech trends.
Get our wide array of technical resources delivered right to your inbox.
Unsubscribe at any time.