How to Change Orientation of an Existing SOLIDWORKS Part
Over the years, GoEngineer customers have asked Technical Support how to change the orientation of a part file created in SOLIDWORKS. This tutorial explains a couple of ways to do this on a feature-based model.
Update Standard Views
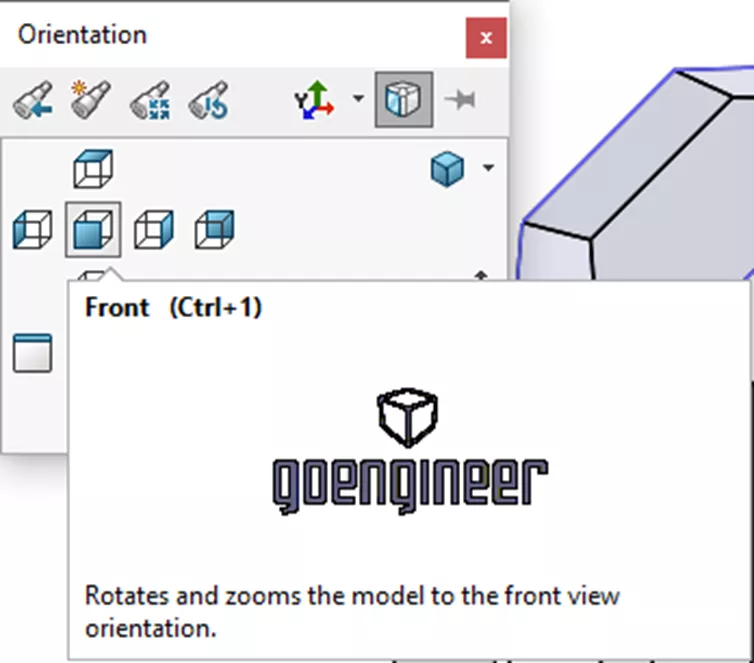
The best method we have found to change the orientation of an existing SOLIDWORKS part is using the Orientation dialog box. This is an older version of the View toolbars used today, but it can have its benefits. To get to this dialog box, simply hit the Space Bar while in SOLIDWORKS.
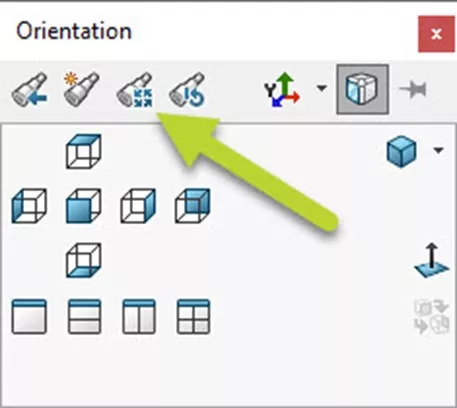
The Orientation dialog box shows all Standard views. There are four buttons at the top-left of the dialog box: Previous View, New View, Update Standard Views, and Reset Standard Views.
We want to focus on the Update Standard Views button.
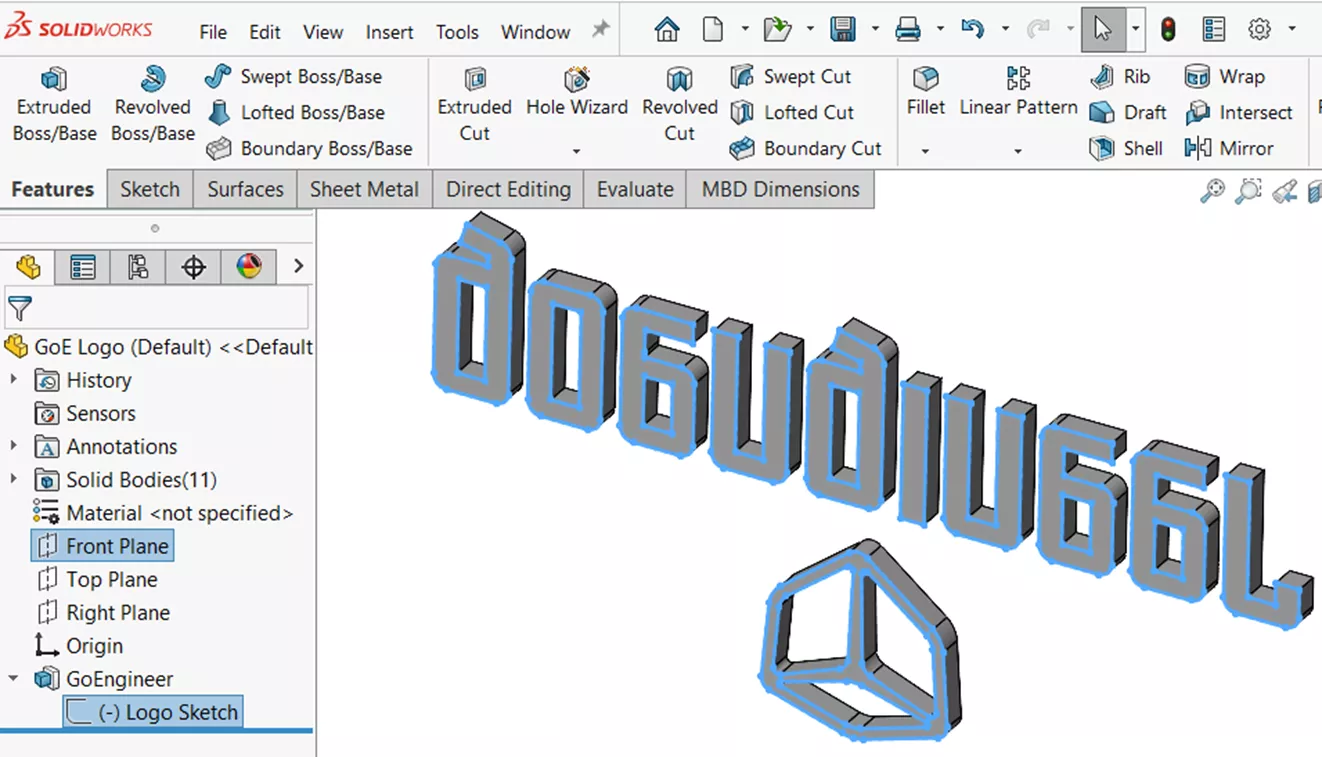
SOLIDWORKS allows us to redefine the Standard Views of a part. This sample part was created with the logo on the top plane, but suppose we want the logo to face the front plane.
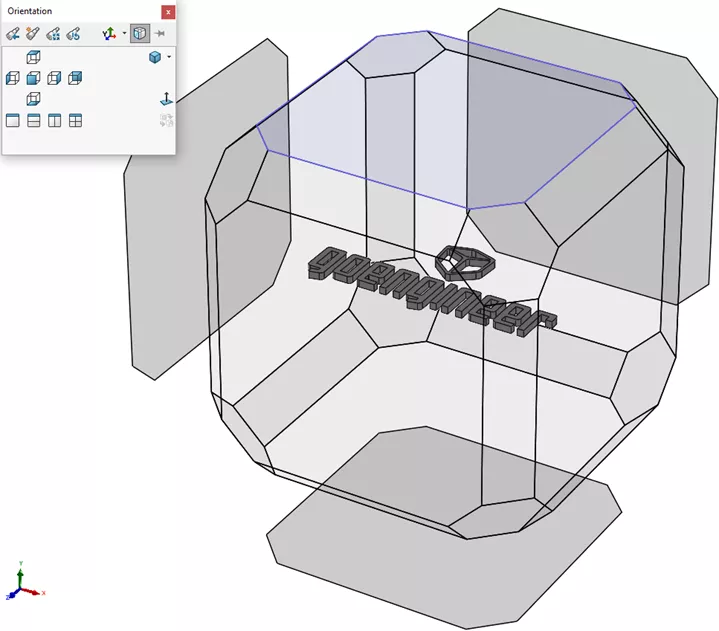
To update the standard views from the Orientation dialog box:
- Rotate, select a face and view Normal To, or go to a standard view to get the part in the orientation desired.
- Hit the Space Bar.
- Click the Update Standard Views button in the Orientation dialog box.
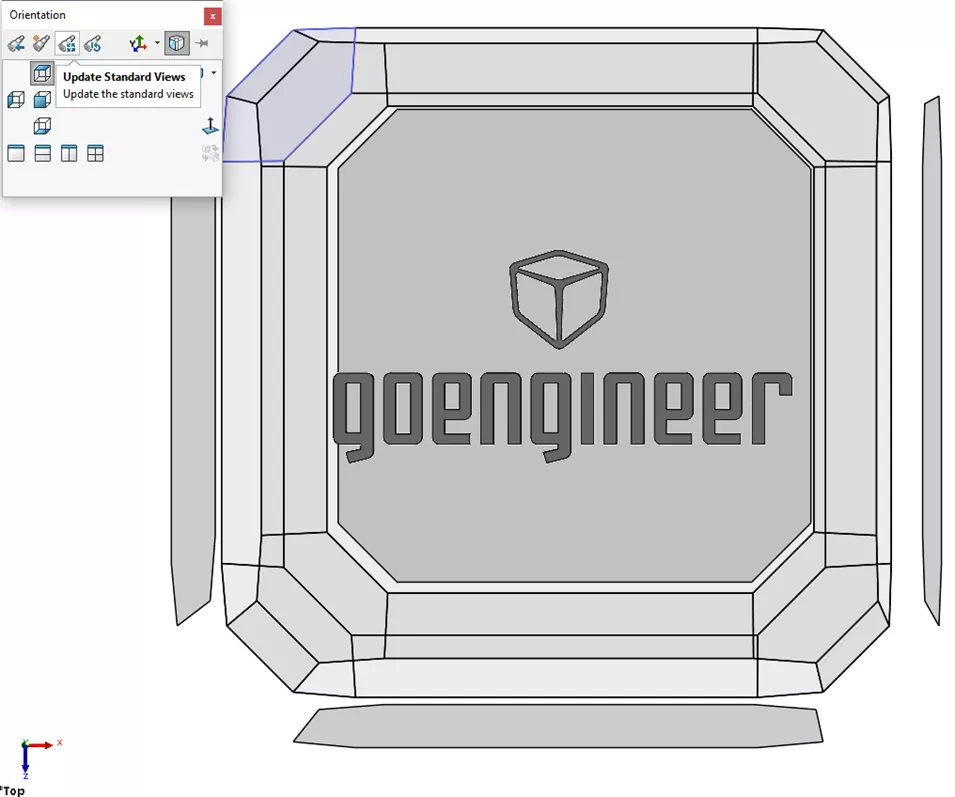
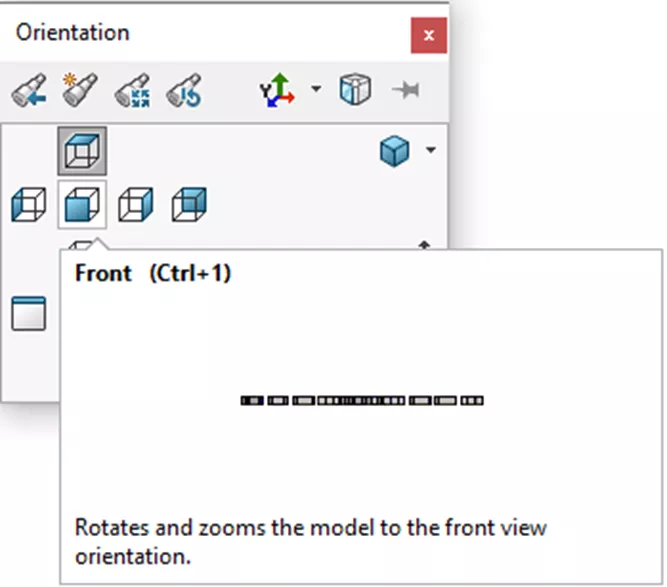
- We are prompted to Select the Standard View to assign the current view to. Simply click one of the Standard View buttons in the Orientation dialog box.
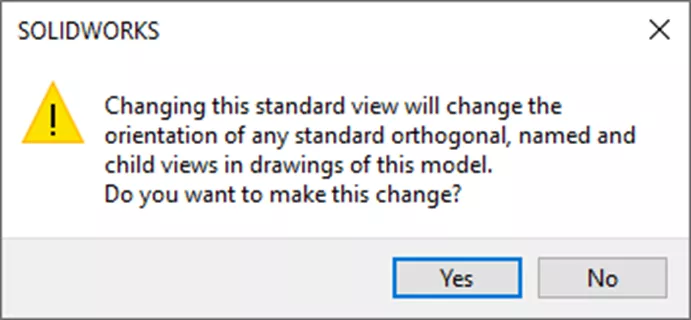
- Click Yes to the warning message.
- That’s it! Click Escape. Your views have been changed.
Note: Do not forget about the potential issues. If we already had a drawing file created for the part, we will have to go in and do some cleanup work on that as well. Check out this video to learn more about this process.
Edit Sketch Plane
An alternative method to change the orientation of a part file created in SOLIDWORKS is to change the Sketch Plane the base feature is created from.
This method is not our top choice because it has the potential for other features in the SOLIDWORKS part document to fail. We need to think about other features in the model and how their sketches were defined.
If the sketches were all defined off of other model faces, then everything may work out okay. But if anything was based off of a plane, it is more than likely to fail, and we will have to spend time fixing these features. Again, if we already had a drawing file created for the part, we will have to go in and do some cleanup work on that as well.
To edit the base features sketch plane:
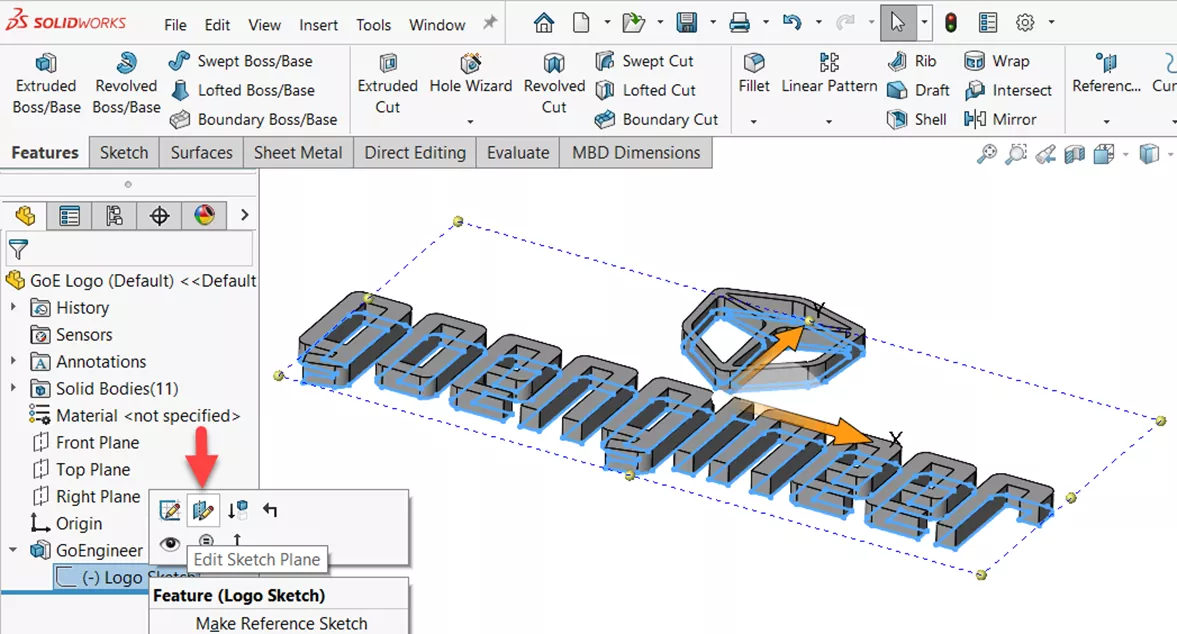
- Expand the base feature in the FeatureManager Design Tree.
- Right-click on the sketch and pick the Edit Sketch Plane button.
- The current plane or face will be shown. Click on the plane to use in its place. In this example, we will pick the Front Pane to replace the Top Plane.
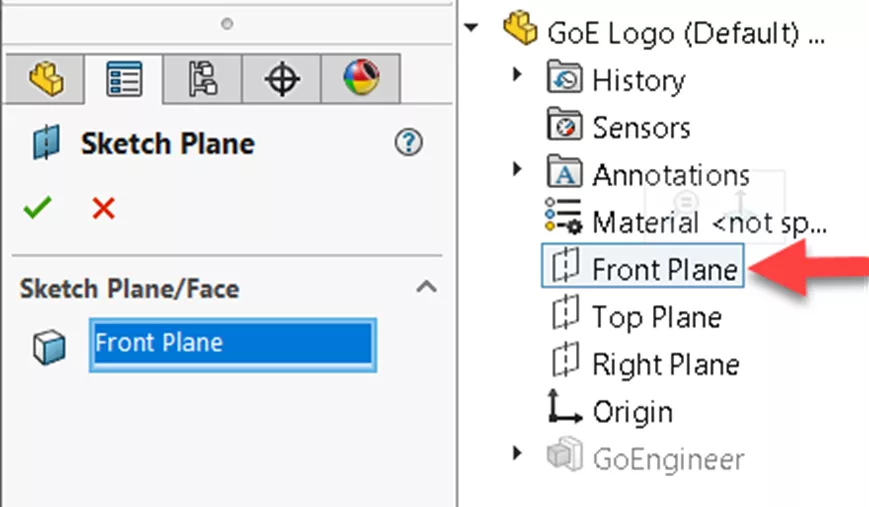
- Click the OK green check mark.
The base feature sketch plane has now changed. As we can see, though, we do not have an opportunity to select the correct orientation of the sketch on the new plane.
Best Way to Change the Orientation of an Existing SOLIDWORKS Part
The clear winner to change the orientation of an existing SOLIDWORKS part is to use the Update Standard Views button in the Orientation dialog box.
What's great about using the Update Standard Views method is that we can always go back to the original view orientation by using the Reset Standard Views button in the Orientation dialog box to reset everything back to the way the part was first modeled.

I hope you found this tutorial helpful. Check out more SOLIDWORKS tips & tricks below.
More SOLIDWORKS Tutorials
7 Important Tips for New SOLIDWORKS Users
How to Rotate and Customize a SOLIDWORKS Drawing View
How to Use Layers in SOLIDWORKS Drawings
Managing External References in SOLIDWORKS Assemblies

About Neil Bucalo
Neil Bucalo is a Mechanical Engineer based out of Louisville, KY. Neil joined the GoEngineer family all the way back in 1997 at their Buffalo Grove, IL office focusing on support and training, technical writing, and web development. In 2002, Neil moved to Kentucky and joined his uncle, becoming a co-author and publisher of SolidWorks for the Sheet Metal Guy. Since late 2008, Neil has been back with the GoEngineer family as a certified SOLIDWORKS Support Engineer.
Get our wide array of technical resources delivered right to your inbox.
Unsubscribe at any time.