Understanding Colors In SOLIDWORKS
Applying colors in SOLIDWORKS is an easy thing to do, but not having a full understanding of the different levels in which colors can be applied can lead to much confusion.
Related >> Customizing Colors in SOLIDWORKS Drawings
SOLIDWORKS Colors at the Part Level
Colors can be applied to a face, feature, body, and at the overall part level.
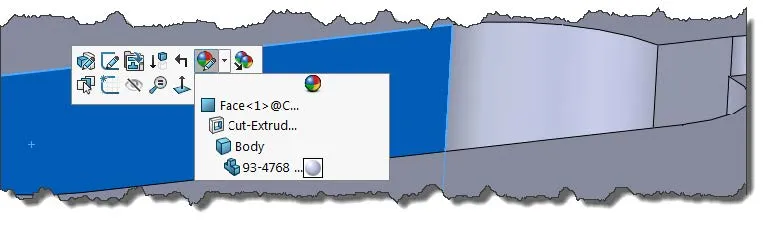
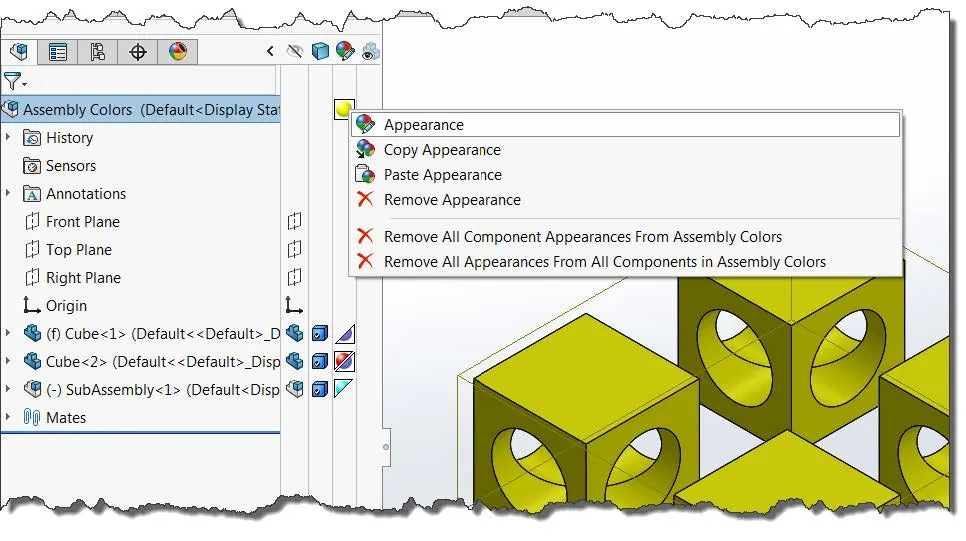
To apply color in SOLIDWORKS, right-click on any face of a part and chose the Appearances icon.
You will then get a small drop-down menu where you will have to choose at what level you want to apply the color. As mentioned earlier this will include the face, feature, body, or part level.
So how does SOLIDWORKS determine which color will take precedence if there are colors applied at each level?
If you notice in the graphic above, there is an order that has also been repeated a couple of times so far in this guide. This order is known as Color Hierarchy in SOLIDWORKS. A color applied at a lower level of the hierarchy will always get overridden by a color applied at an upper level. A good way to remember this is: Face over feature, over body, over part.

Related >> Understanding Hierarchy of SOLIDWORKS Appearances
In the part file below we have a cube with two holes and four colors applied; a face color (magenta), a feature color, (yellow), a body color (green), and a part level color (purple).
- To see this more clearly you can click the Appearances tab at the top of your Feature Tree and select Hierarchy in the sort order.

*Magenta (face color) is overriding one of the faces in the yellow hole feature.
*Both colors (yellow and magenta) are overriding their respective places on the green body.
*The purple (part level) color is completely overridden by the green body color.
So if you are not sure why your colors aren’t displaying properly then check your Color Hierarchy to see if you have any upper-level colors that are overriding them.
SOLIDWORKS Assembly Color Settings
When you add colors in an assembly you have an additional level to choose from that overrides all part level colors.
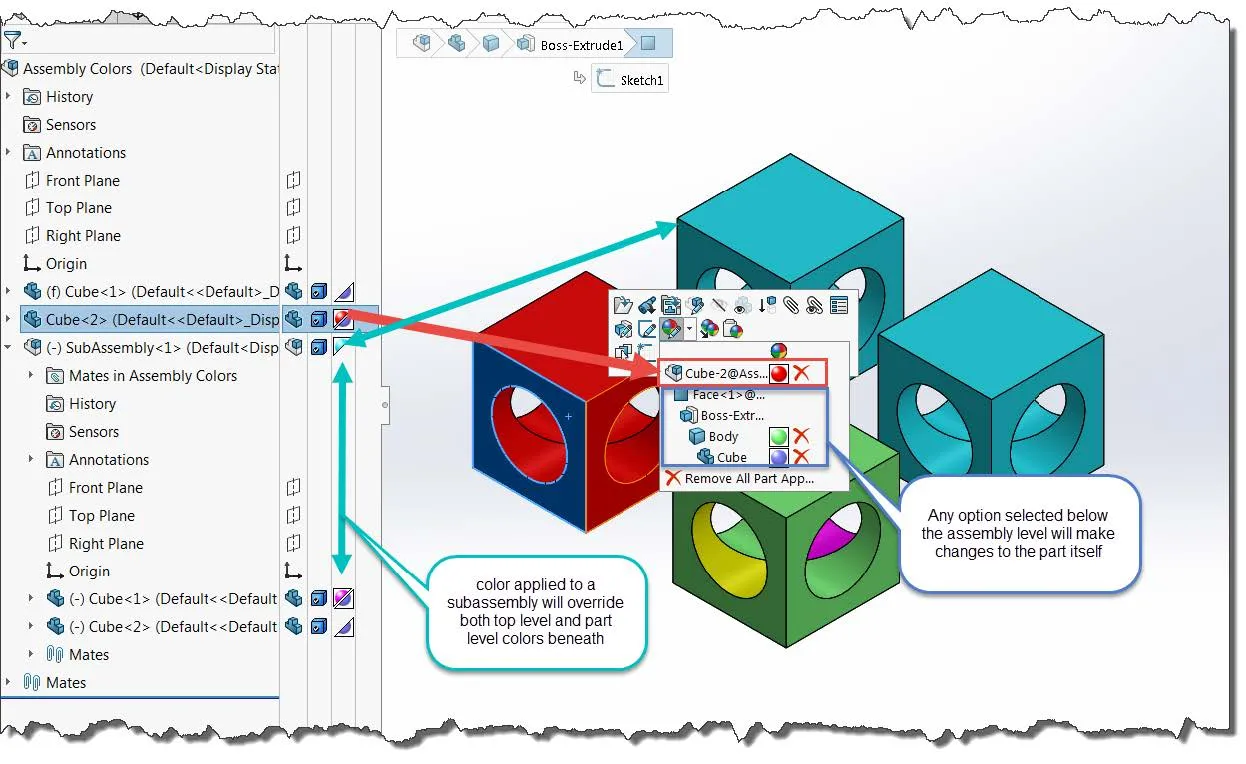
Note: While this color does stay at the assembly level, an important thing to remember is when you add any color to the face, feature, body, or part (while in assembly mode) it will make the changes at the part level.
In the Appearances column of the Display Pane, there are visuals next to each component in your Feature Tree to let you know at what level the colors are added.

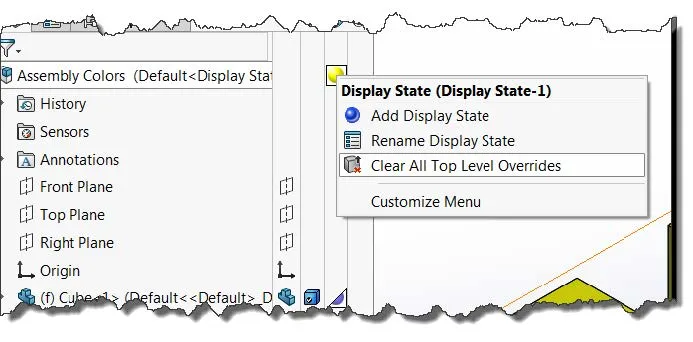
You may also add color to the very top-level assembly to override all other colors in the Display Pane.
Note: Clear all Top Level Overrides will not clear the assembly color from the Display Pane. It will clear ALL Hide/Show Overrides, Part Color Overrides and Display Mode Overrides.
I hope you liked this quick tip regarding the use of color and how it pertains (or appears) to the models and their features in both assembly and parts. Get more SOLIDWORKS tips and tricks below.
Expand Your SOLIDWORKS Skillset
Easily Save SOLIDWORKS Configurations as Separate Parts
Linking a Custom Cut List Property to a SOLIDWORKS Drawing Balloon
SOLIDWORKS Warning: A Journal File Could Not Be Created

About Zach Brown
Zach Brown is a certified SOLIDWORKS Expert and a Technical Support Engineer. Prior to working at GoEngineer, he spent 15 years as a mechanical designer, CAD support tech, and instructor using SOLIDWORKS. His hobbies include playing guitar, riding motorcycles, and skiing.
Get our wide array of technical resources delivered right to your inbox.
Unsubscribe at any time.