How to Run a Pattern Test: Stratasys J35 & J55 3D Printers
The pattern test is a tool to help monitor the health of print heads on Stratasys PolyJet 3D printers. This is a beginner-level test that anyone with basic user training can run and apply to the J35, J55, J5 MediJet, J5 DentaJet, or J3 DentaJet (turntable-style 3D printing). Minor details may vary (e.g., the number of print heads), but the concept is the same for all models.
While the purpose of the pattern test is to keep track of the condition of nozzles in the print heads, it is not a tell-all test. Even if the pattern test looks perfect, other issues can cause parts to fail (but it is a good place to start).
A pattern test will show any currently clogged nozzles. I say currently because it's normal for nozzles to clog and unclog themselves during printing. So, if you can't get a clog to clear up even after repeated cleanings, those nozzles are likely to be permanently clogged, and the print head likely needs to be replaced.
Note: Print heads are considered working properly (as far as nozzles are concerned) if there are fewer than 15 missing nozzles or any group of 5 in a row. And, to be clear, this refers to the number of clogged nozzles that remain after multiple cleaning attempts.
When Should You Run a Pattern Test?
If parts are printing correctly, you won't need to run a pattern test very often - checking once a month should suffice (or as prompted by the software). Some customers have reported running it every week to watch for problems. This level of frequency might be overkill since many factors can lead to poor prints. However, if you're experiencing rough surfaces or indented stripes on top surfaces, the pattern test is a great place to start.
The following instructions are the steps to complete as presented on the screen, starting with the software's notification that it's time to run a pattern test. (Optionally, start it anytime from the Wizards menu under Pattern Test.)
Running a Pattern Test
Here, we see some alerts in the lower left corner. In this case, one of the actions is to run the pattern test. Tap into the alert to learn more.
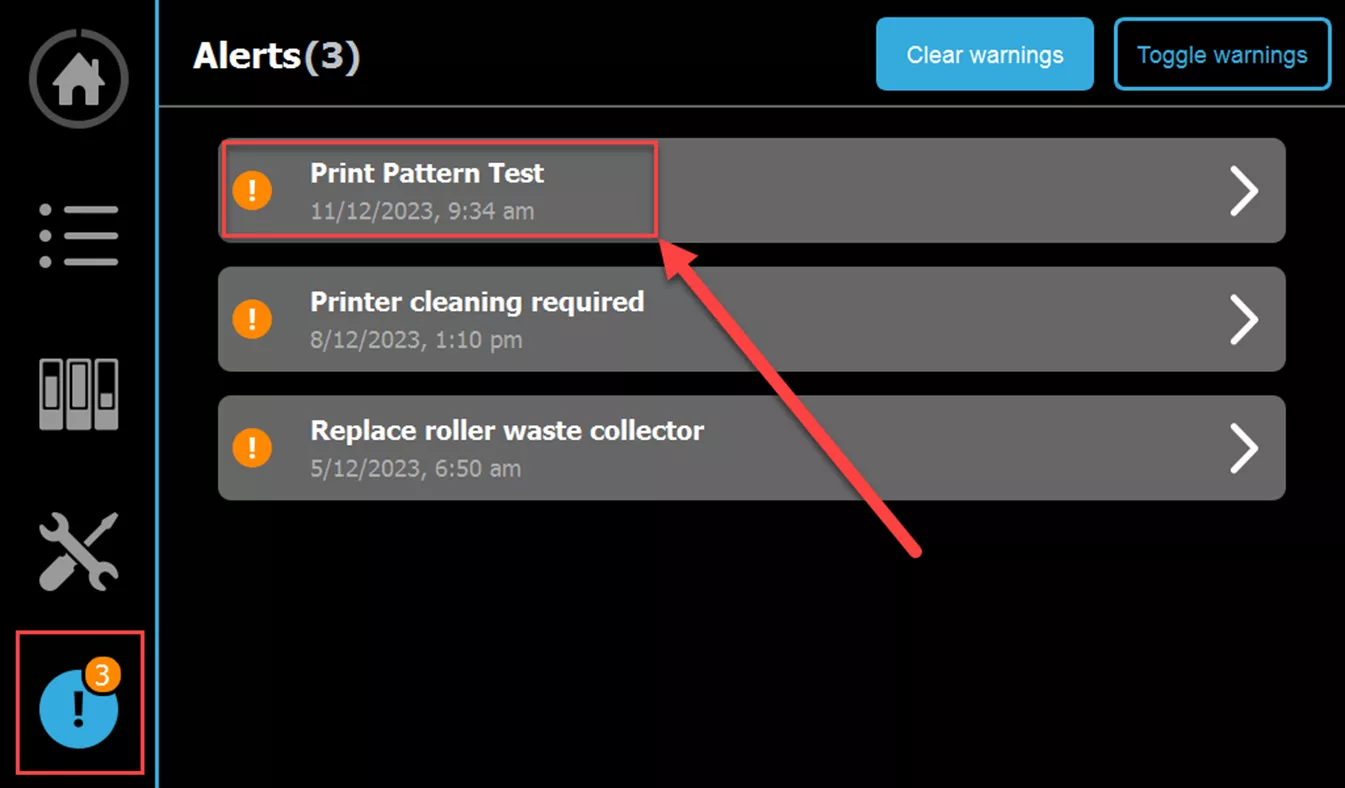
The alert window provides additional information and what steps to take next. In this case, a button allows us to launch the pattern test from here.

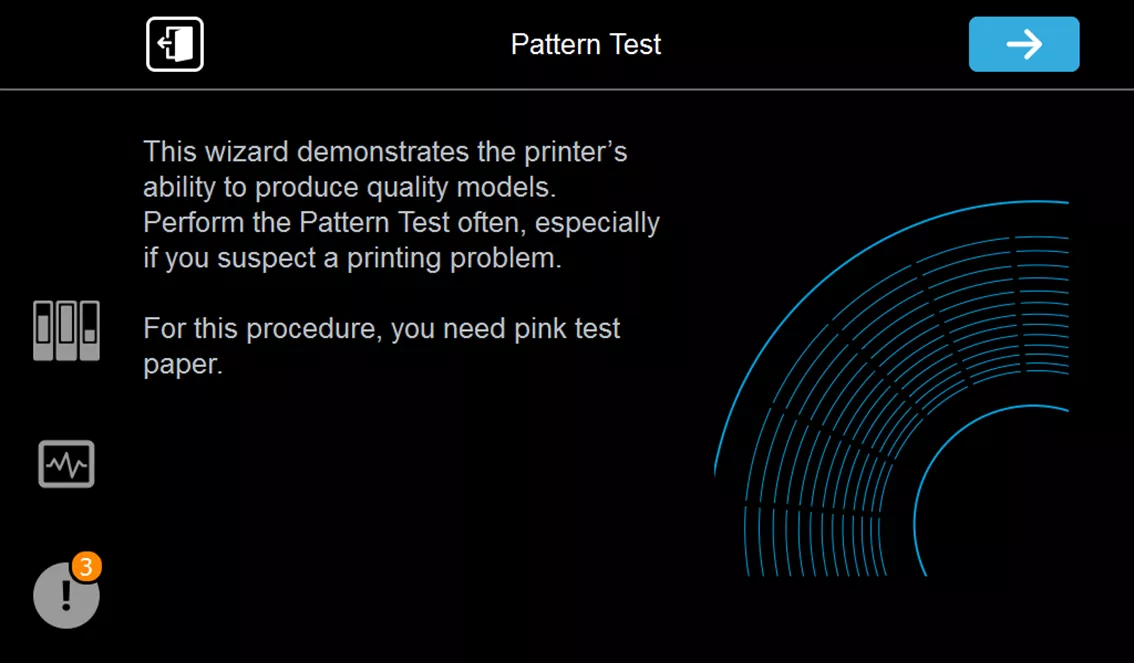
The Pattern Test Wizard screen tells the operator what supplies are needed. Typically, the paper received with the printer is pink, but if that is inaccessible, white printer paper will work just as well. Though the wizard doesn't mention the need for tape, have some ready as well. Scotch tape works best, but blue painter's (or masking) tape works great too.
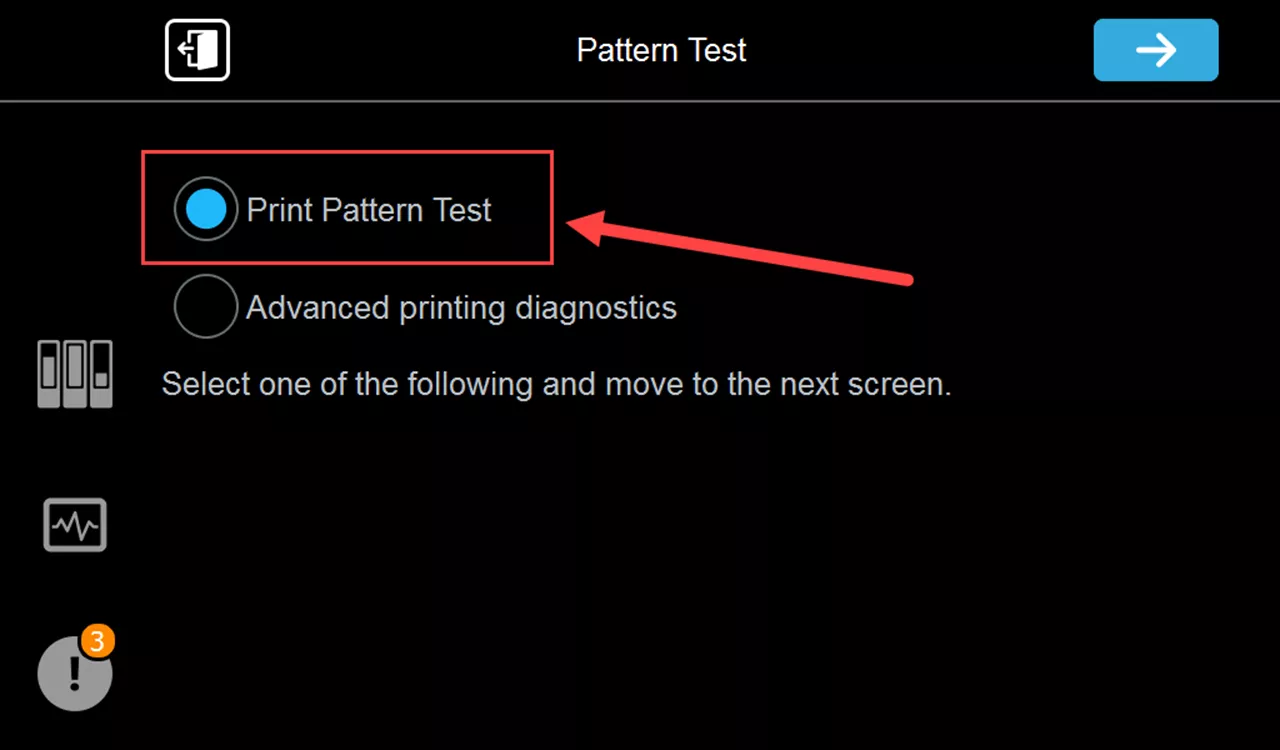
After gathering the supplies, tap the advance button in the top right corner. The next screen shows the option to select a normal Pattern Test or Advanced Printing Diagnostics. Choose the basic Pattern Test and press the advance button. (Note: Only Certified Field Technicians from a VAR (like GoEngineer) or Stratasys should use the Advanced Printing Diagnostics option.)
The next screen shows where to place the paper on the tray. This is where the test pattern will be printed as the tray spins, so it's important that the paper be placed properly.
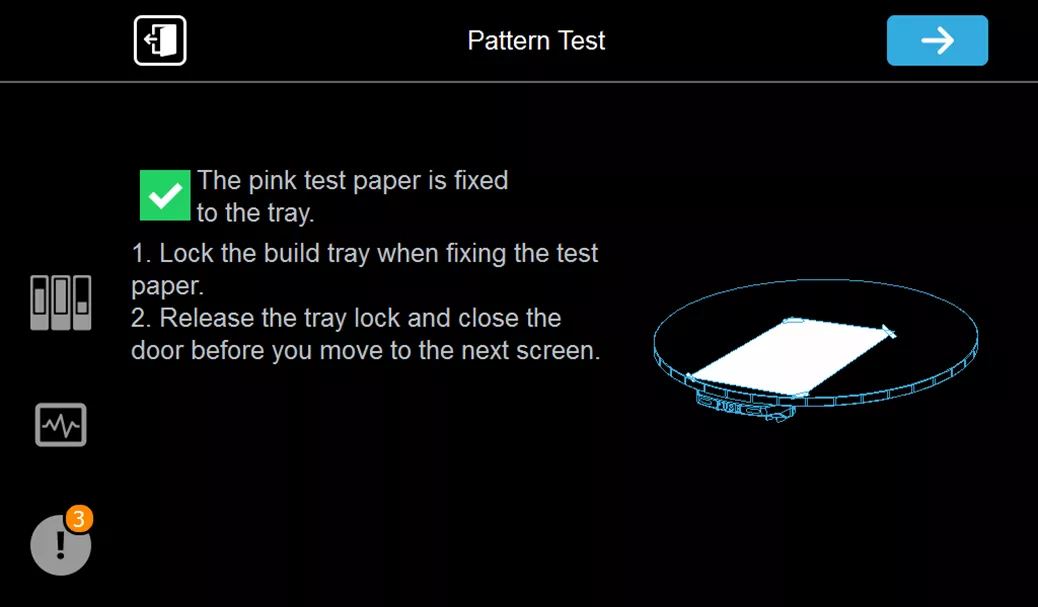
Tape down the paper, being careful not to rotate the tray from the current position (lock it if necessary). The print tray spins while printing, so we must keep the paper in place. Tape it (as shown) with the corners on the edge of the tray but not hanging over.
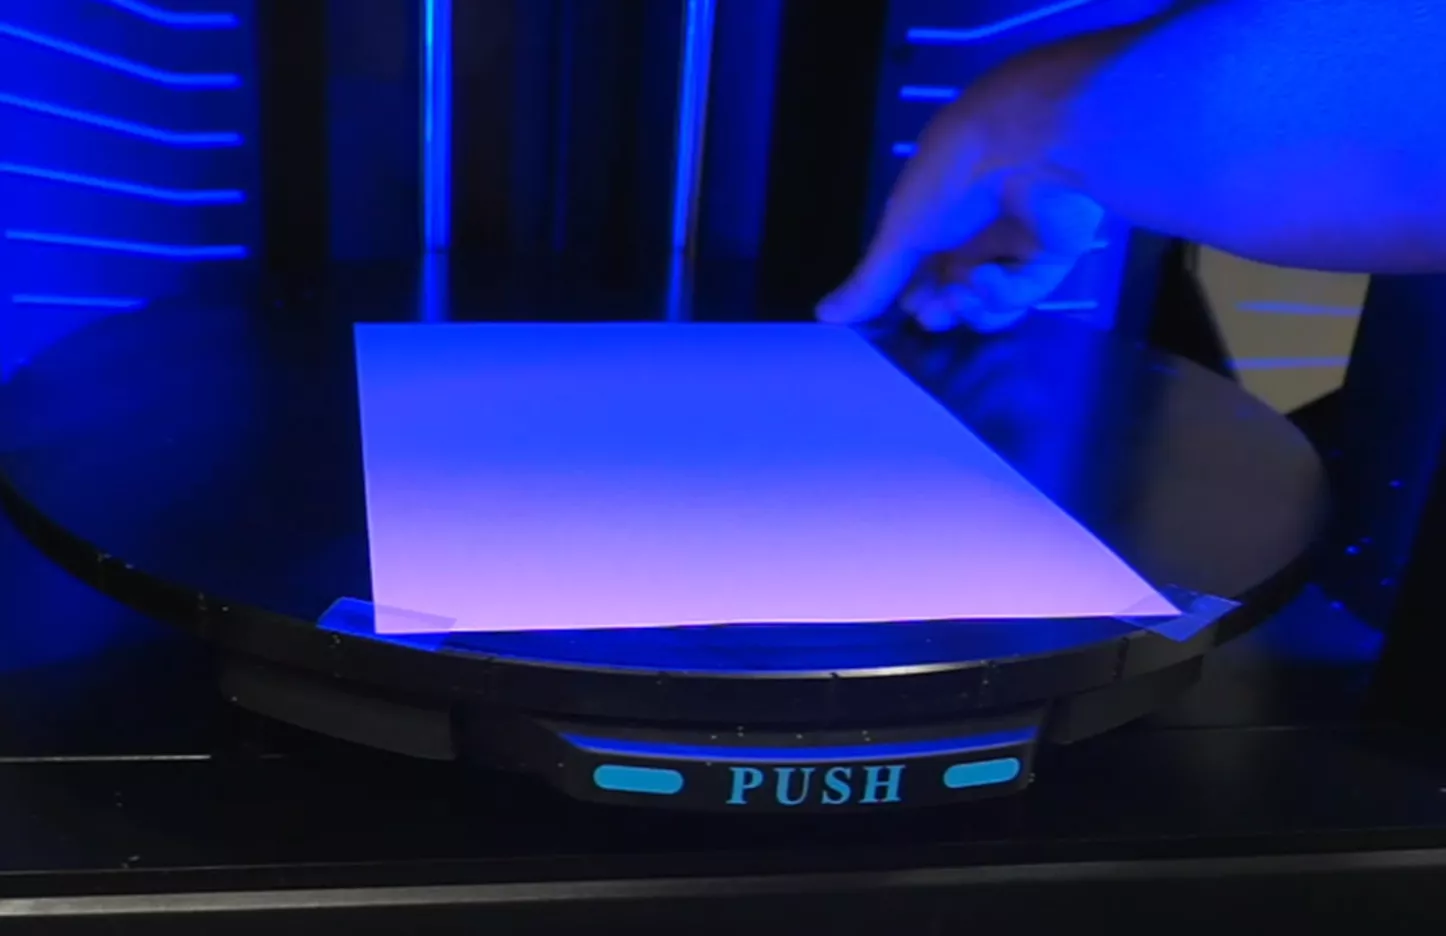
You don’t need to press it down firmly (in fact, it is a little easier to remove if you only press the tape down lightly). Once the paper is taped down, shut the door, tick the checkbox on the wizard, and press the advance button.
The printer will now spin up the print surface and print single lines of material from each nozzle (enough to show if it is clogged). This process takes around 8 minutes.
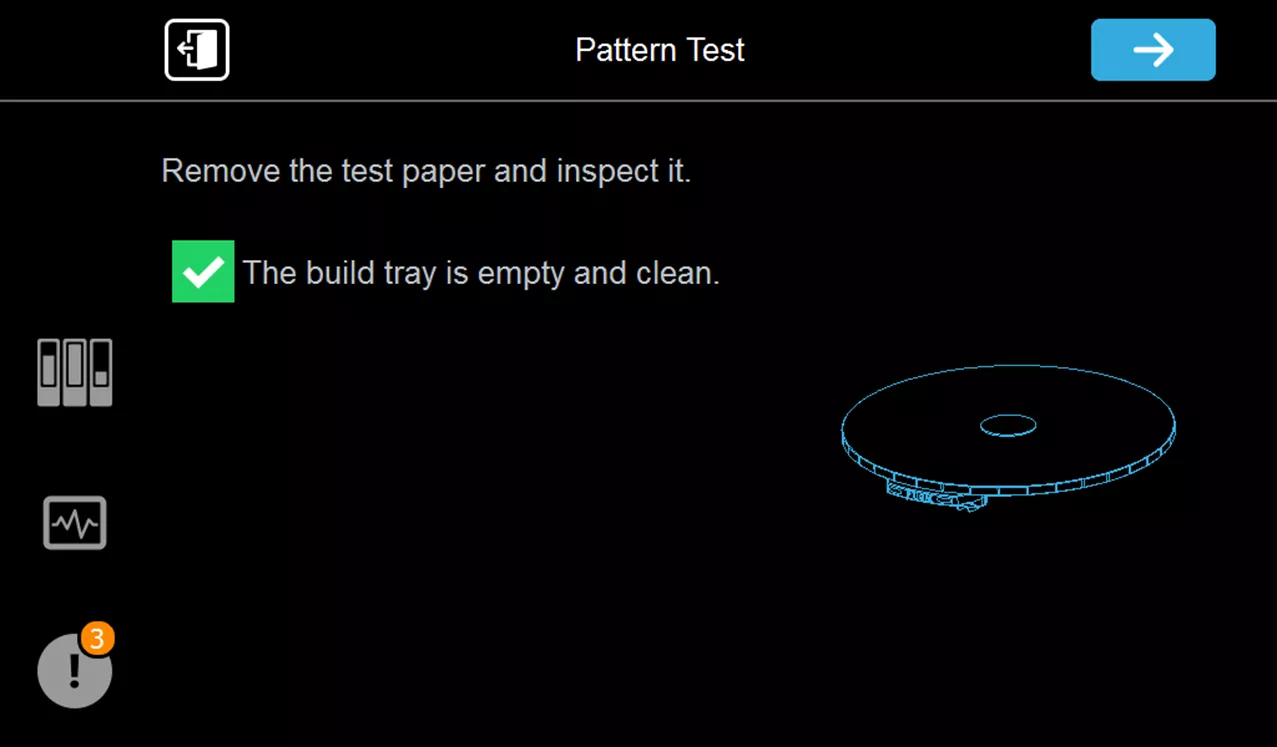
When finished, the door will unlock. Remove the paper from the tray, being sure to remove all the tape. After tapping the checkbox (indicating the task is complete) and advancing the wizard, enter the number of missing nozzles in each column to help the printer be more efficient when printing.
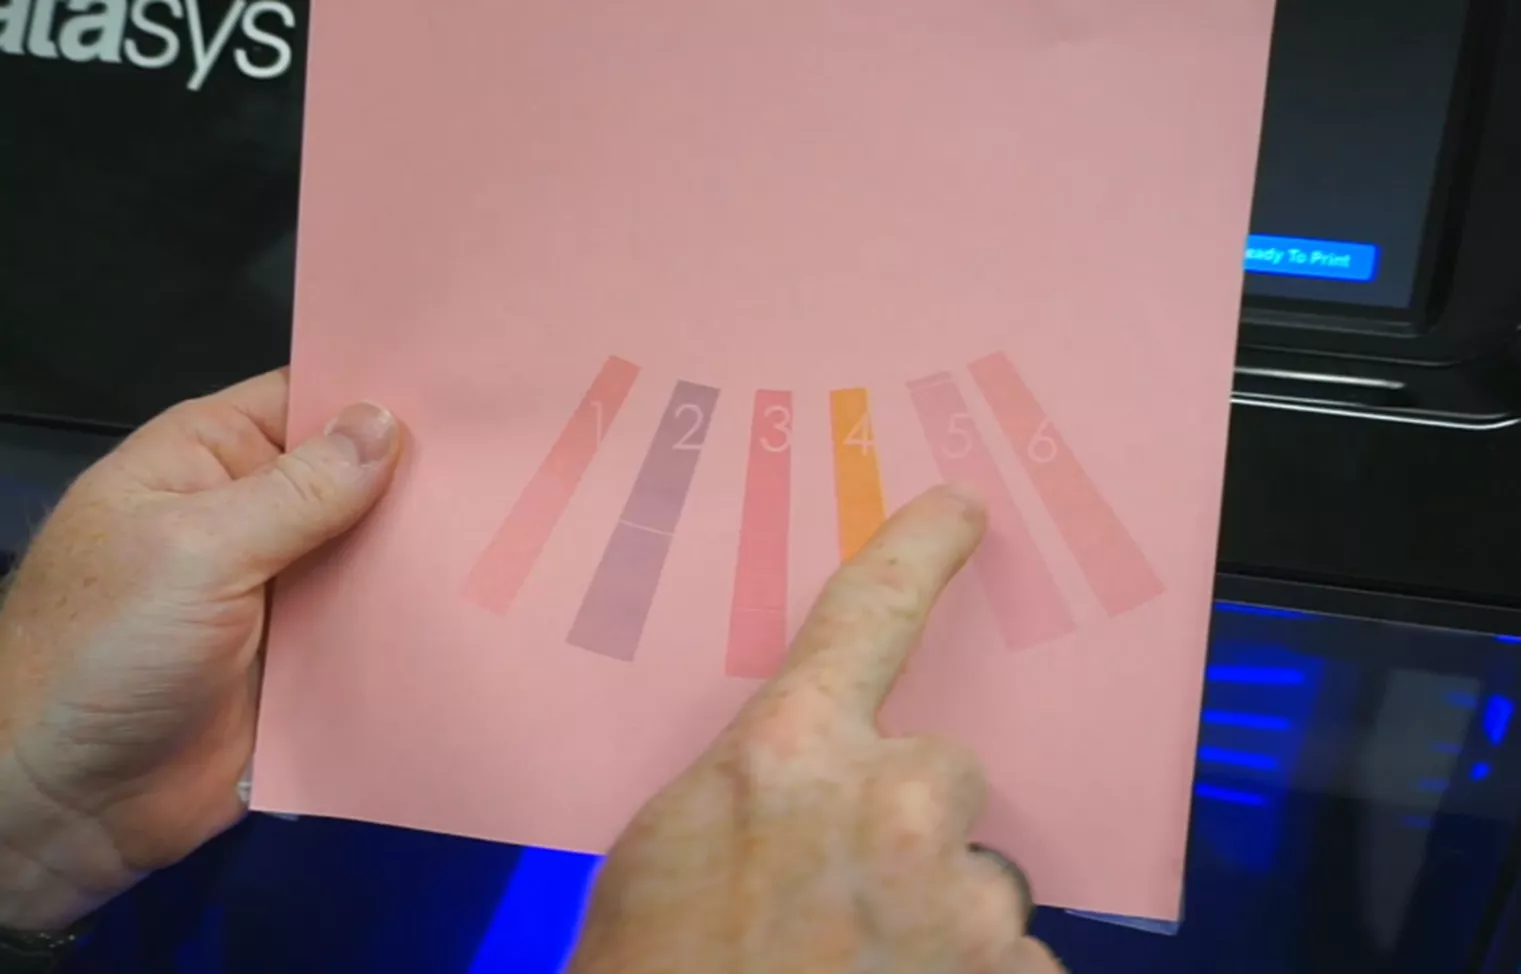
Reading the Pattern Test
To read the pattern test, look for lines or gaps in the patches. In this example, you can see a gap in patch number two (in the middle) and five (near the top, not where my finger is pointing).
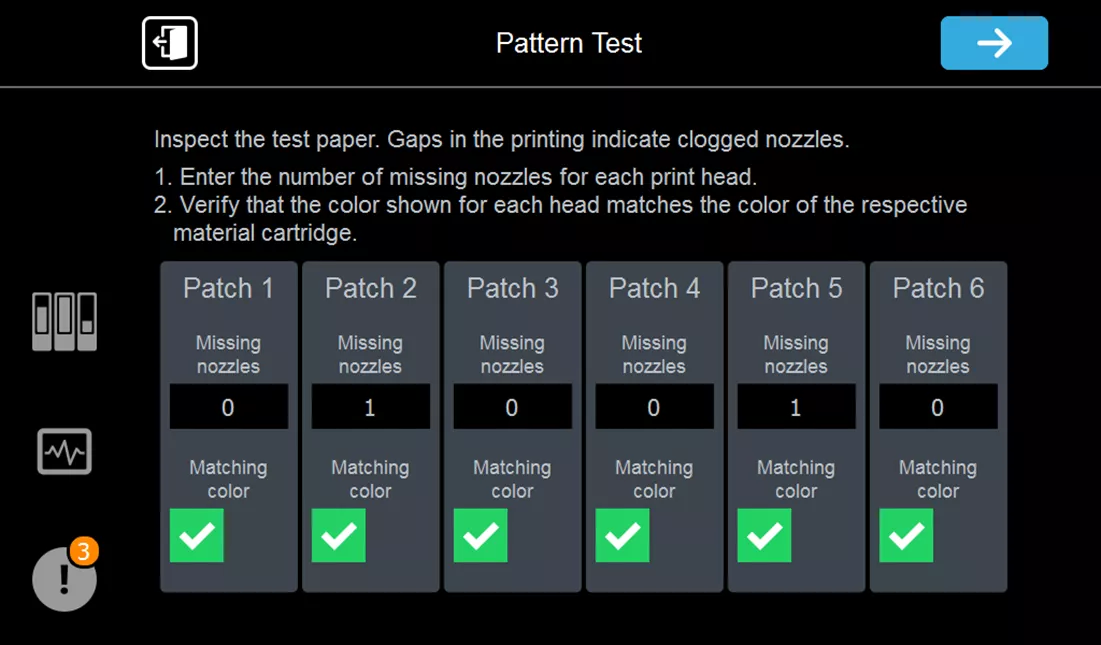
As you find gaps in the pattern test print, tap the number box and enter the number of missing nozzles identified. Do this for each of the patches and advance the wizard.
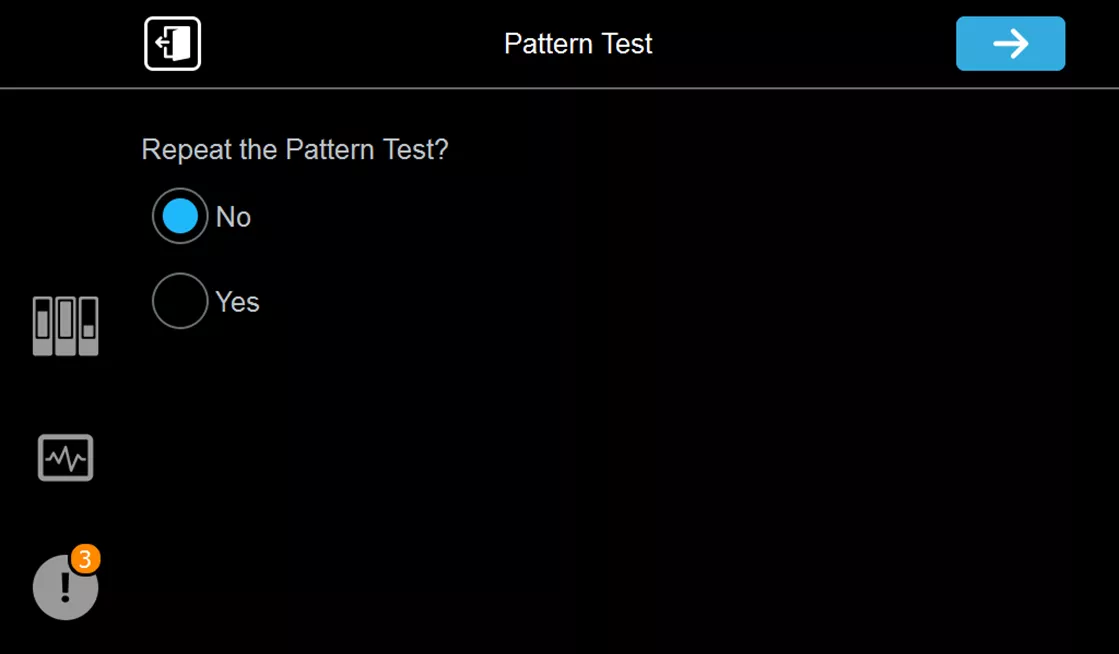
I will now choose No and then advance the wizard.
A confirmation screen will appear. Tap the advance button once more to finish.
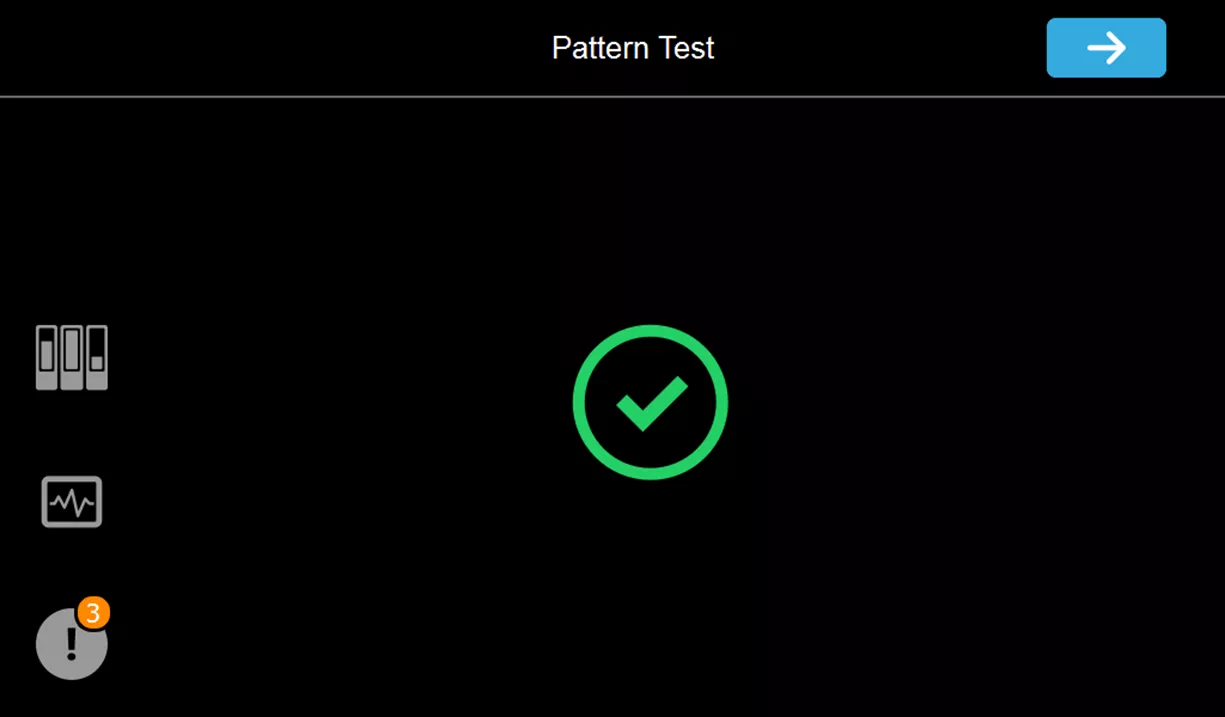
And there you have it. That concludes running a pattern test on J3 and J5 model 3D Printers from Stratasys.
Note: If you still see a lot of missing nozzles, especially more than the 15 total or 5 in a group, clean the print heads and run the test again to see if that helps clear it up. I typically clean up to 3 times before considering the nozzles to be permanently clogged. If that is the case, please reach out to your support team.
![]() To view these steps in action, check out our YouTube video that walks through the process.
To view these steps in action, check out our YouTube video that walks through the process.
Need Supplies?

Visit the GoEngineer online store for materials, consumables, tips, build sheets, and more.
Related Articles
Ultimate Guide to PolyJet: Applications, Advantages, History, & More
Scan-to-Print Workflow: Tips to Optimize 3D Printed Food Models
GoEngineer 3D Printing Services: Stronger than Ever
3D Printing in Healthcare: Redefining Surgical Outcomes

About Joseph Miller
Joseph Miller is a 3D Printer Technical Support Specialist based out of Atlanta, Georgia. He earned his Bachelor’s degree from Brigham Young University in 2008 and a Master’s degree from Capella University in 2013. Joseph has been working in the Additive Manufacturing industry for over 12 years and has been part of the GoEngineer family since 2019.
Get our wide array of technical resources delivered right to your inbox.
Unsubscribe at any time.