Reusing Wires in SOLIDWORKS Electrical Across Multiple Projects
In SOLIDWORKS Electrical, certain items are shared across the program, while others, like Wire Styles, are specific to the project they were made in. This can cause extra work if you frequently use the same wire styles across some or all of your projects. However, there is a way around this. By creating your commonly used wire styles and saving them in a custom template, you can avoid recreating styles and instead have them readily available for any future projects. In this guide, we go over the steps to create the wire styles and the custom template.
Creating Custom Wire styles
The first part of this process is creating your wire styles. This is accomplished in the Wire Style Manager located under Electrical Project > Configurations dropdown menu > Wire Styles.
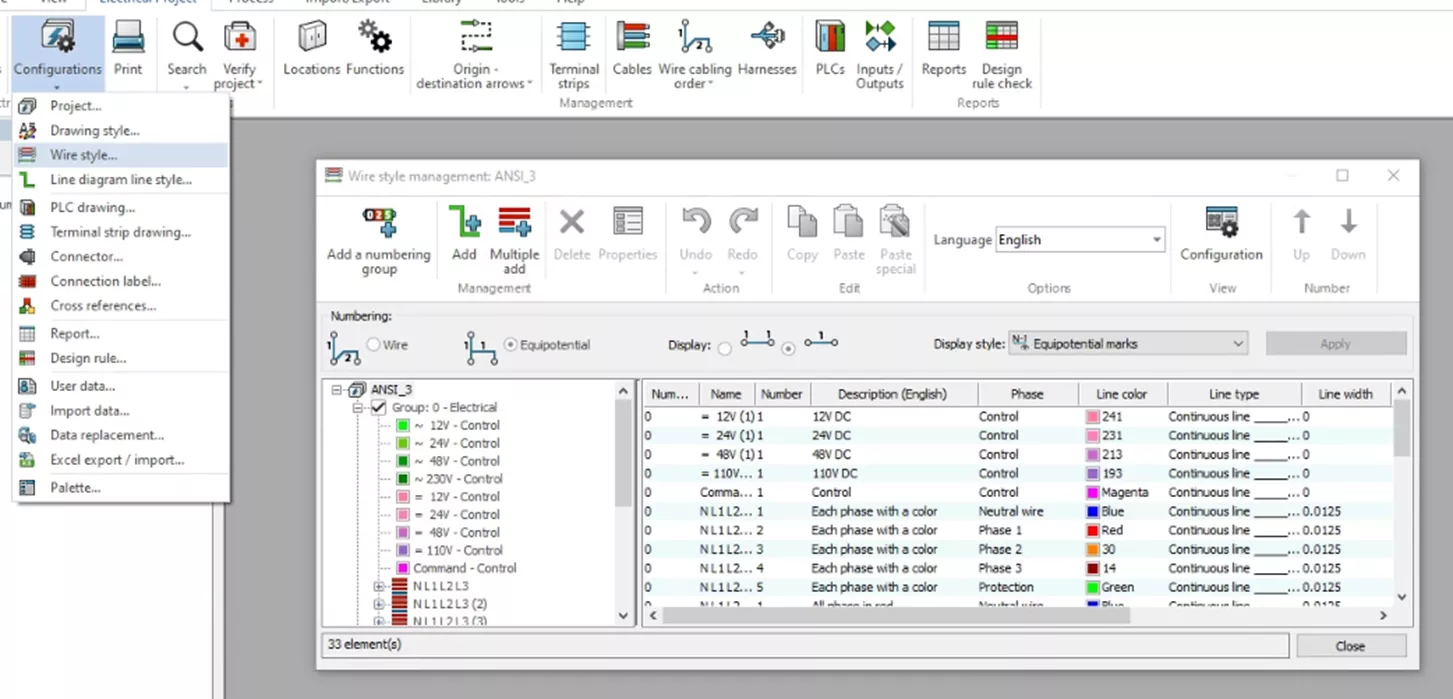
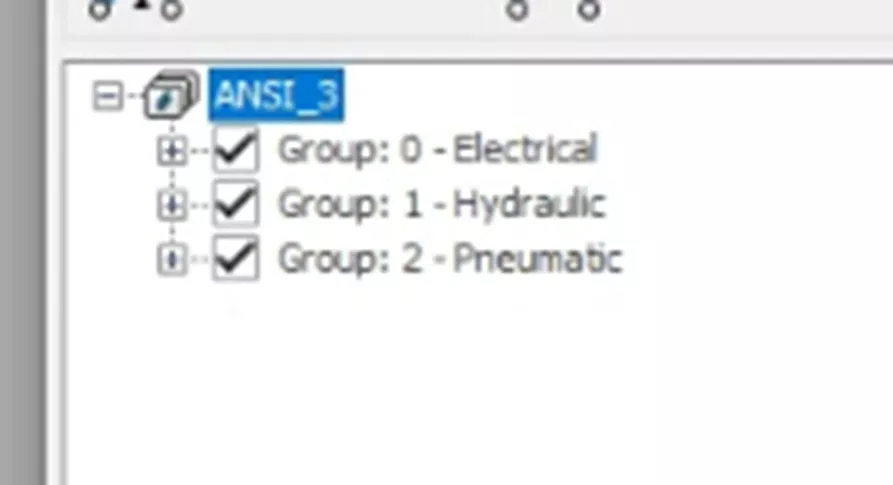
Once in the Wire Styles Manager, you will see the three default groups.
- Group 0: Electrical
- Group 1: Hydraulic
- Group 2: Pneumatic
While these are great starting wires, they may not match what you need. For this example, let's create our own group.
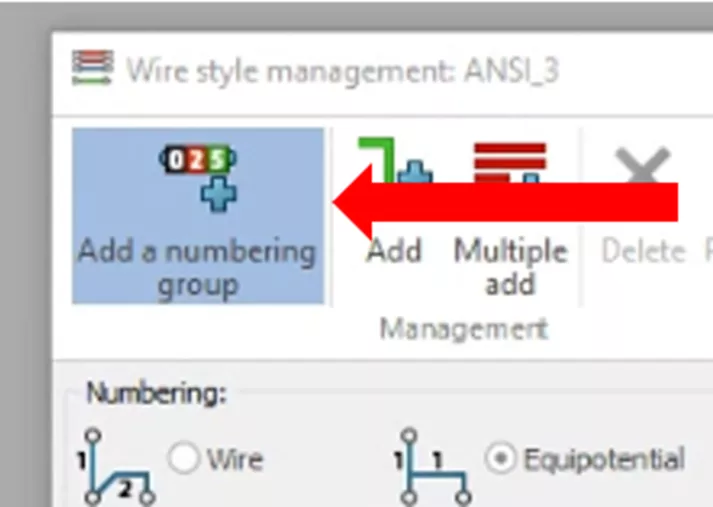
Select Add a numbering group.
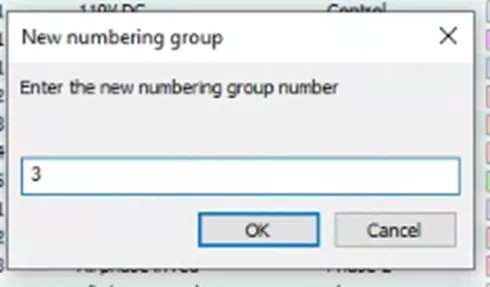
The next number is based on the number of groups that already exist and will be listed by default. Accept the number given or type your desired group number, then click OK.
Right-click on the newly created group from the tree and select Properties.
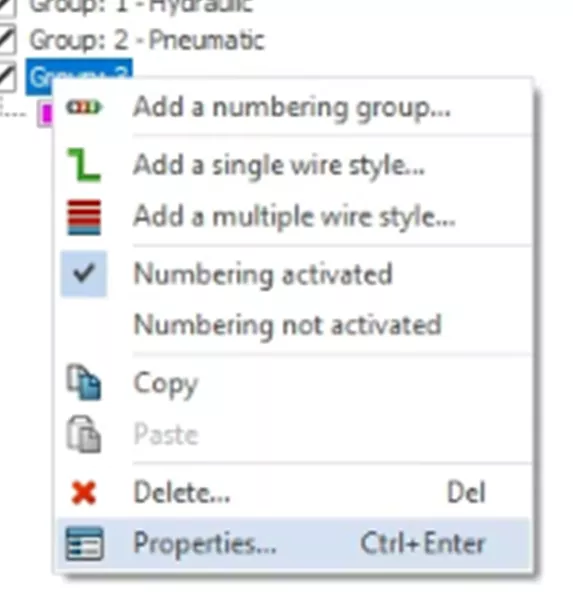
Type the name of the group in the Description field. Click OK to close the dialog.

Now that you have the group created, the next step is to create the wires. One wire is created for you by default, but it can be modified if needed.
Once modified, you can copy this wire as many times as you need and then modify it further to create the rest of your wires. We will be doing a similar workflow here but we will manually create the first wire.
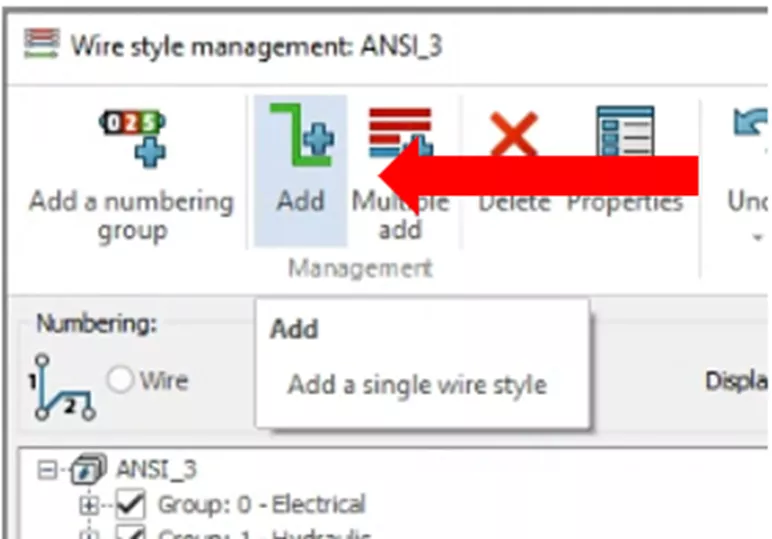
Click Add to create a single wire or Multiple Add to create multiple wires.
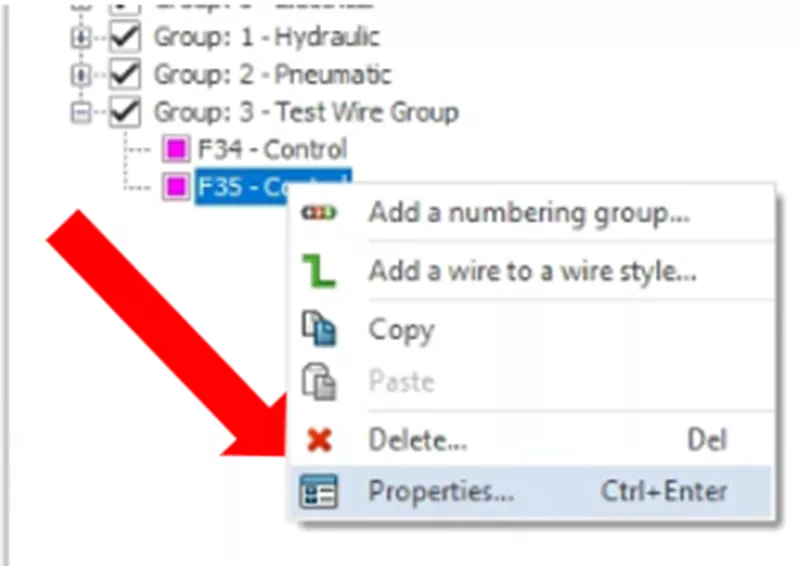
Configure the wire by right-clicking on it and selecting Properties...
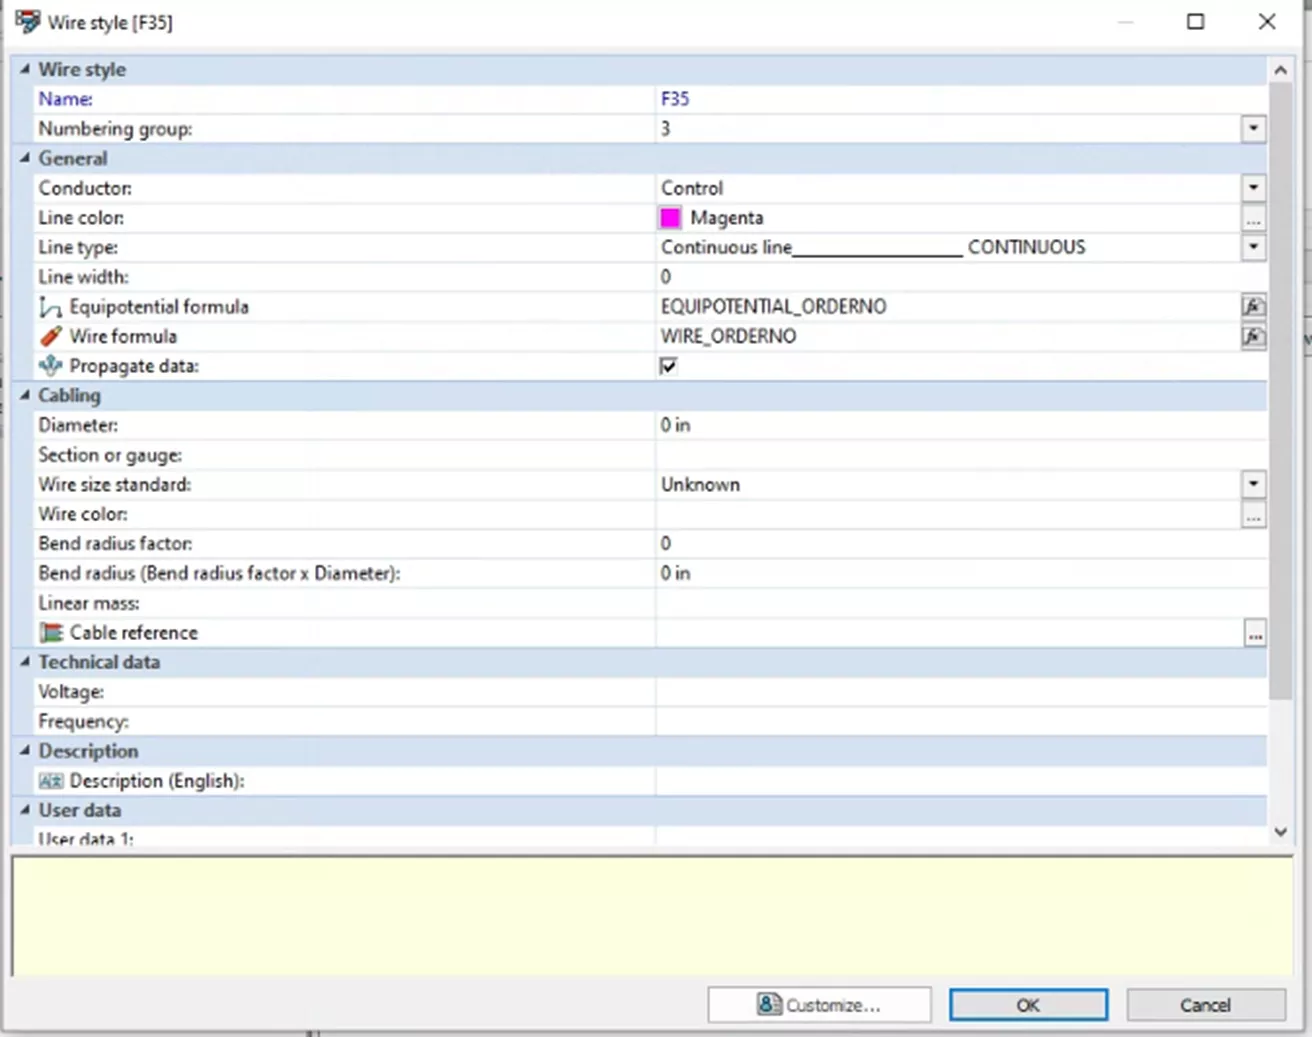
Here, you can specify a number of settings such as mark formulas, line types, color, and diameter. Make your changes and click OK to accept them.
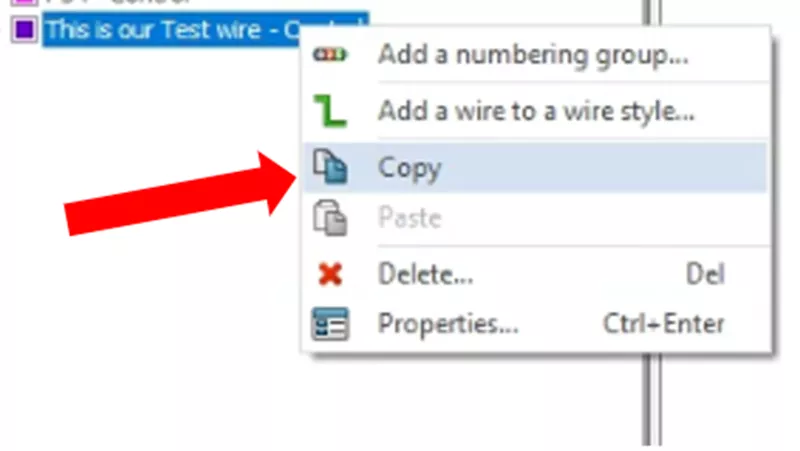
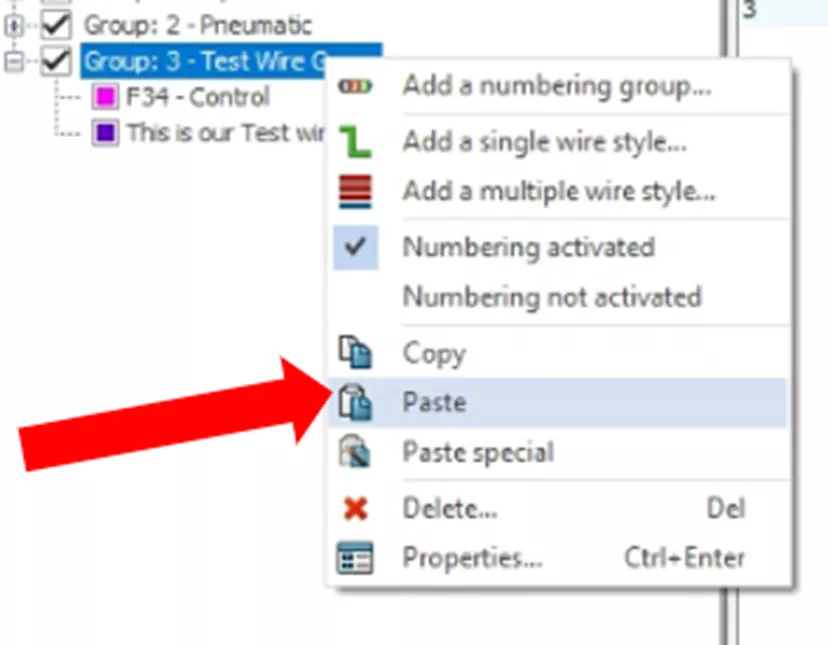
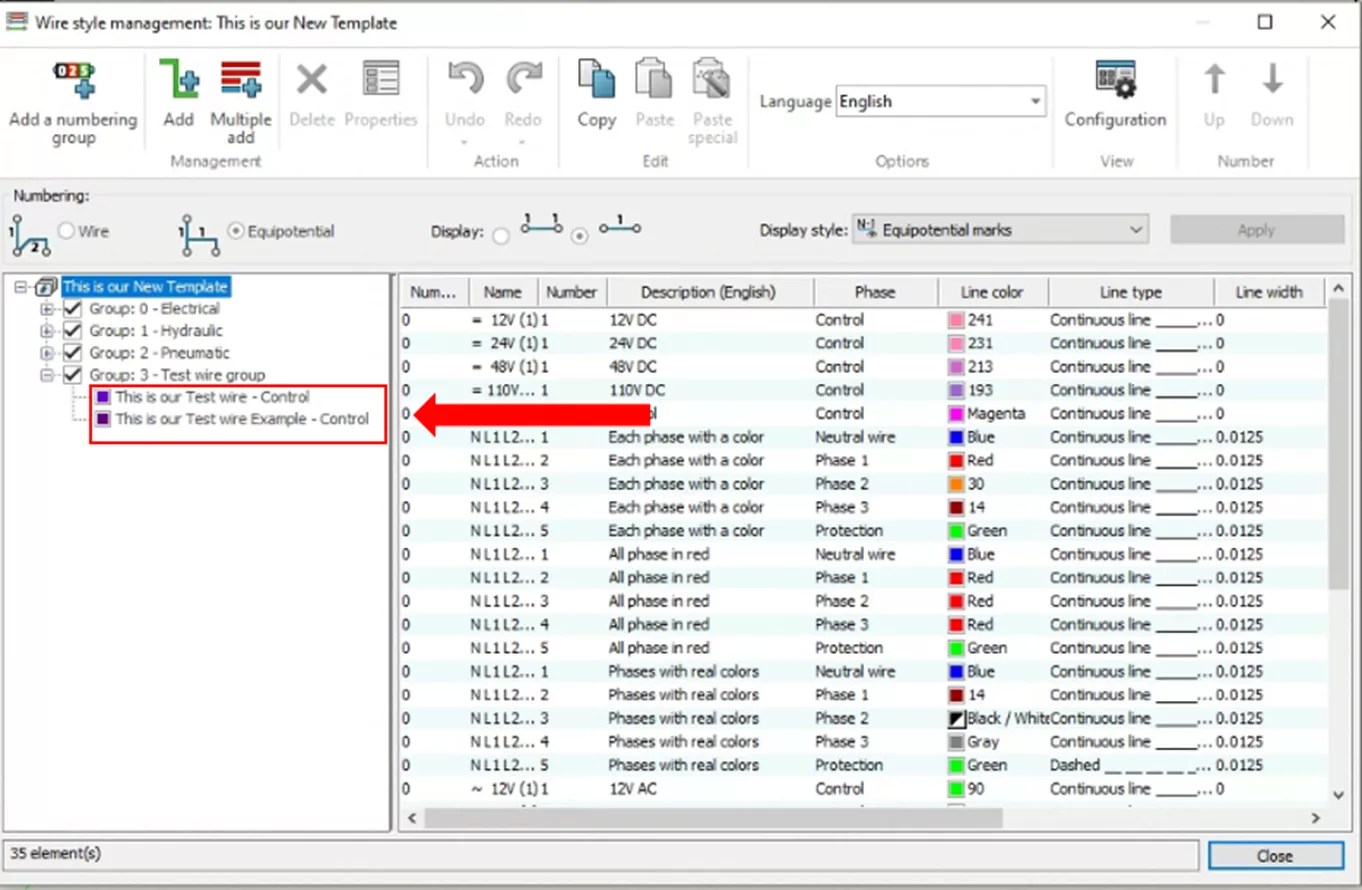
Once your first wire style is created, you can use copy and paste to create copies of this wire style to modify as needed. Simply right-click on the wire style and select Copy, then right-click on the group and select Paste.
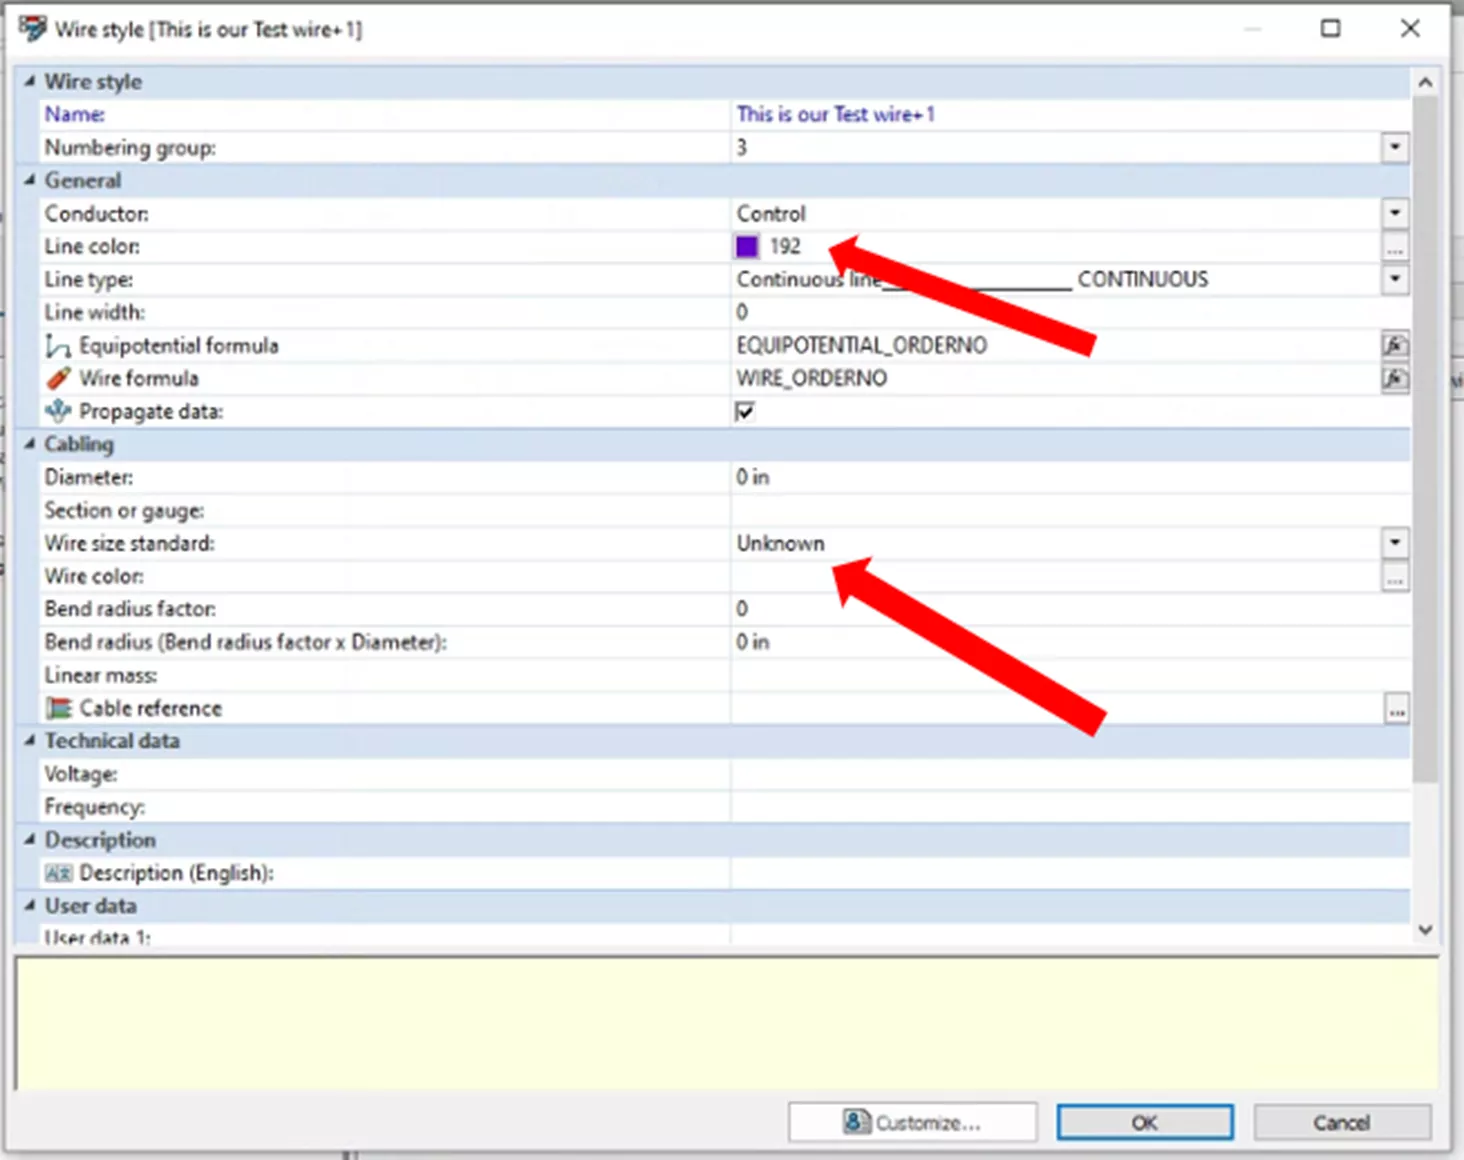
You will see a new wire style show up with a “+1”. This can be modified by changing the name in the properties.
While making these changes, notice that there is an option for Line Color and an option for Wire Color.
Line Color represents the on-screen color. Wire Color represents the actual purchased/installed wire color.
Once all wires have been created, select Close on the Wire Style Manager.
Copying Wire Styles
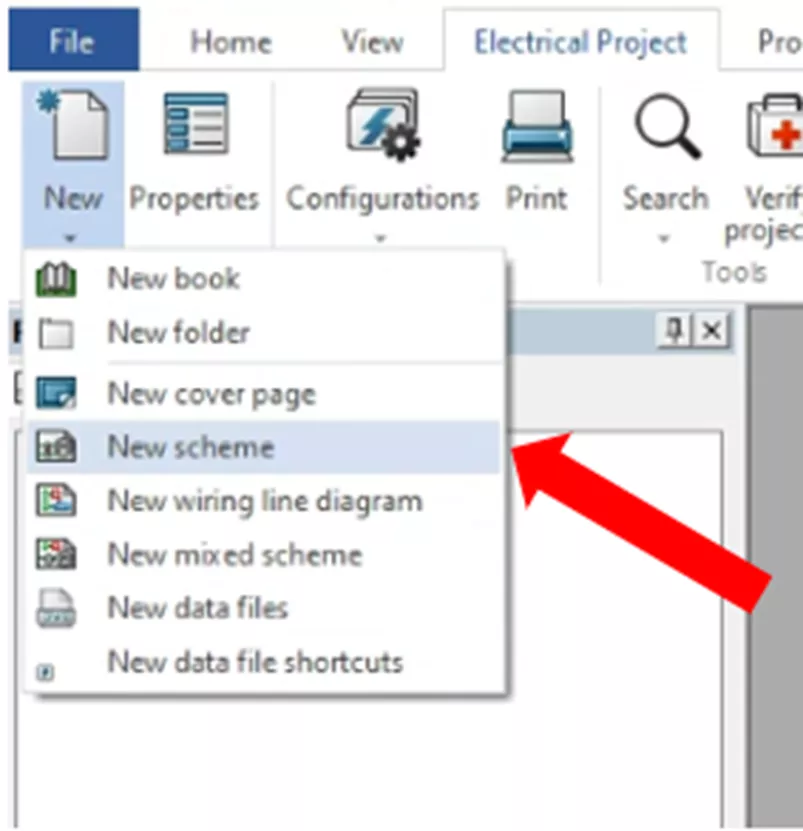
When you're finished creating your wire style, you must prep them to be copied to your custom template. In the Electrical Project tab, click the dropdown for New, and select New Scheme.
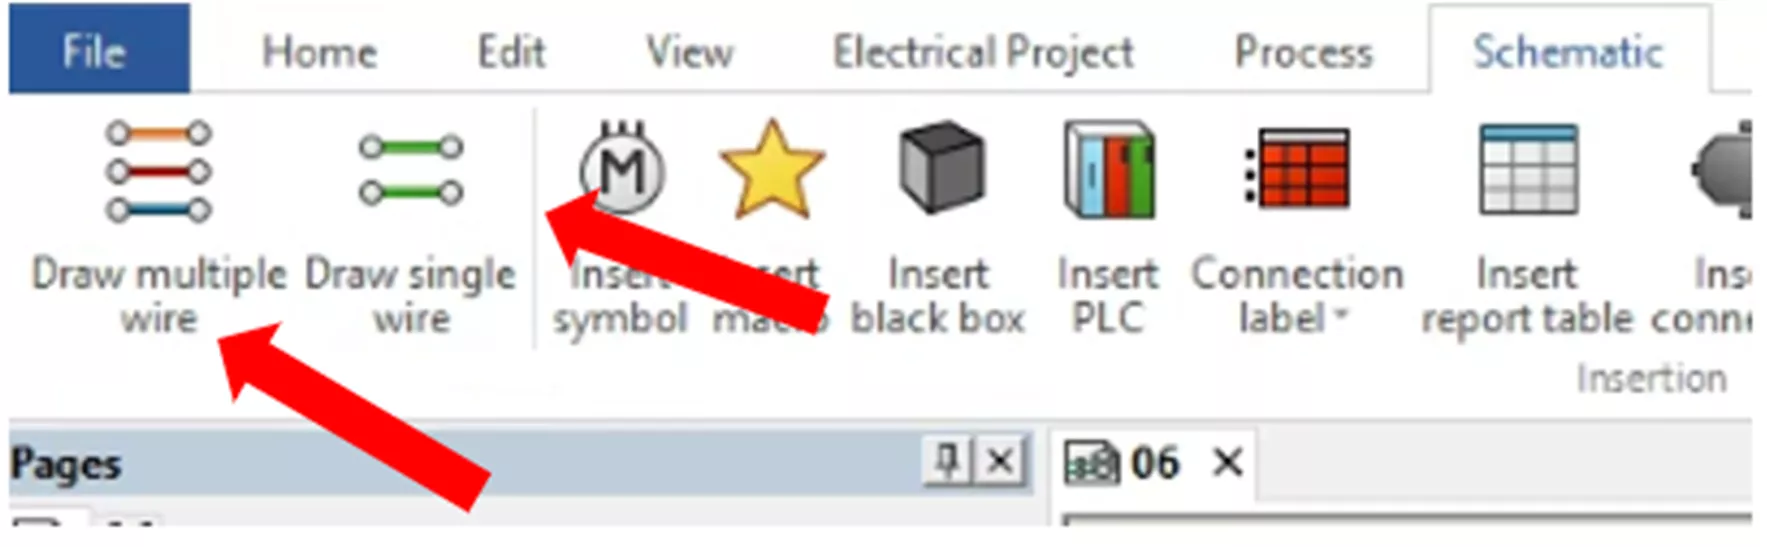
Draw a segment of all of the wires you wish to copy to your template. Do this by going to the Schematic tab and selecting either Draw Single Wire or Draw Multiple depending on your wire style.
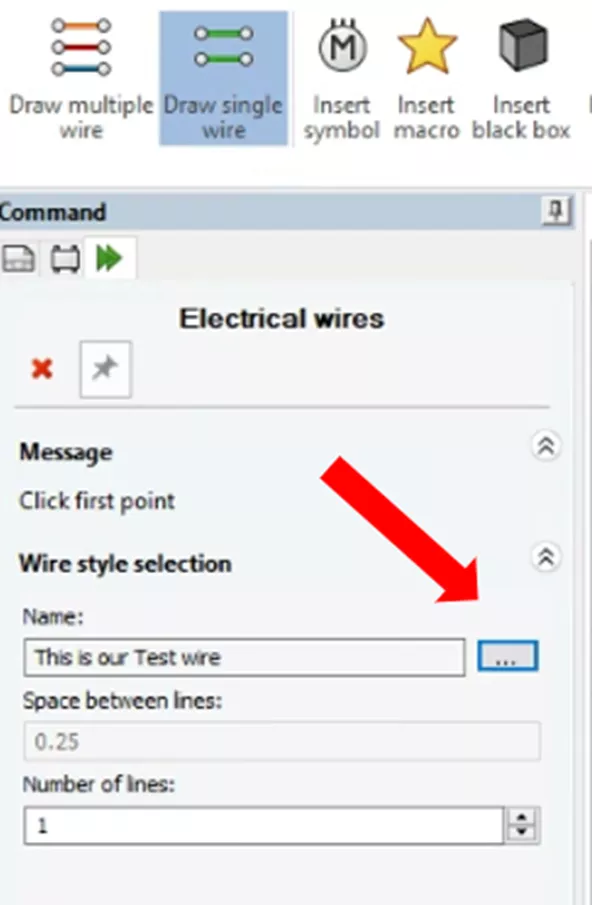
Select the “…” next to the name section in the Electrical Wires menu.
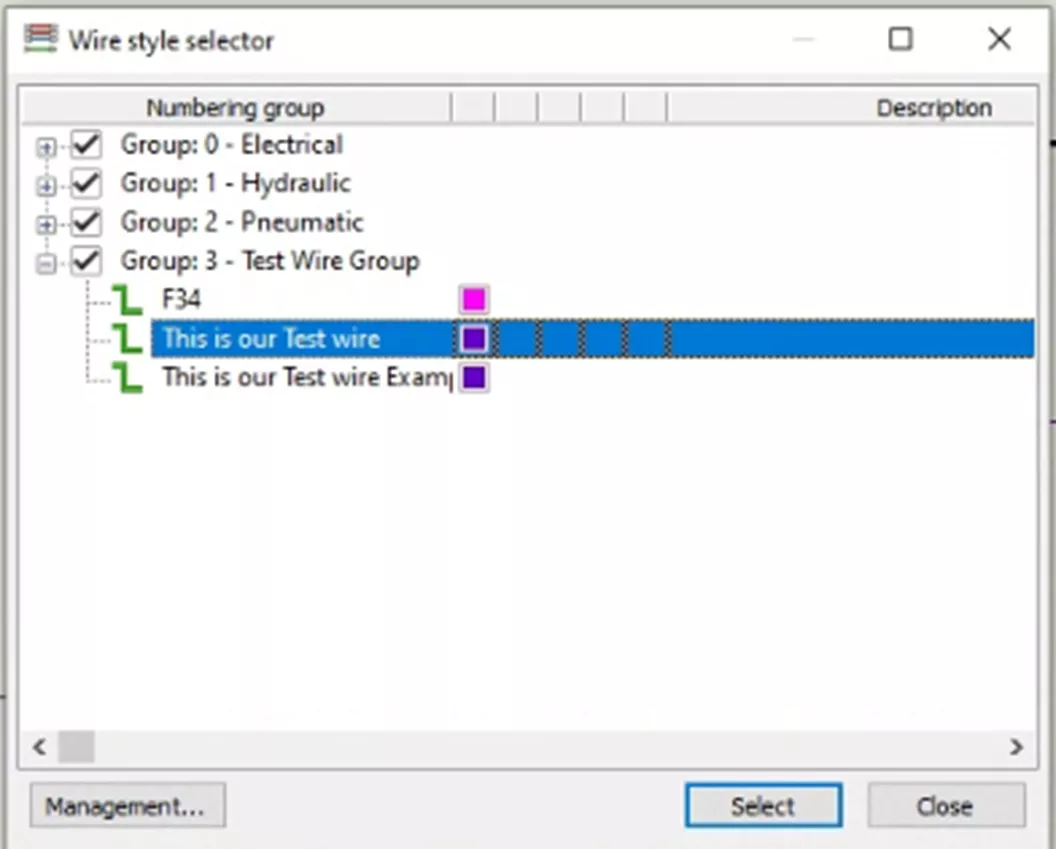
This will bring up the wire selector where you can choose your style. Hit Select.
Once all wire styles have been drawn, you are done with this Scheme and you can leave it open for the time being.
Creating a Project Template
Now that your wire styles are configured and ready to be copied, the next step is to create a custom template. First, go to the Home tab, open the Electrical Project Manager, and select New.

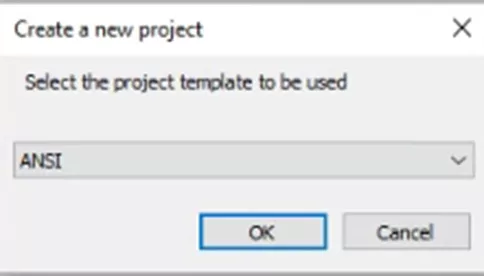
Select one of the existing project types that best matches your project type. Hit OK.
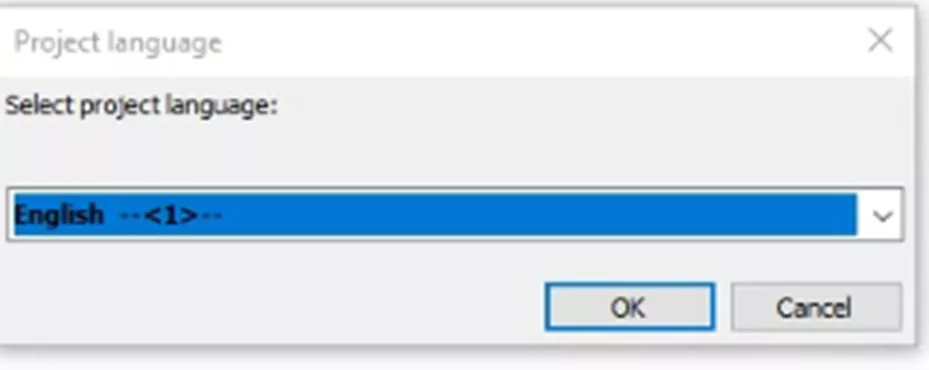
Select a language.
Name your template.
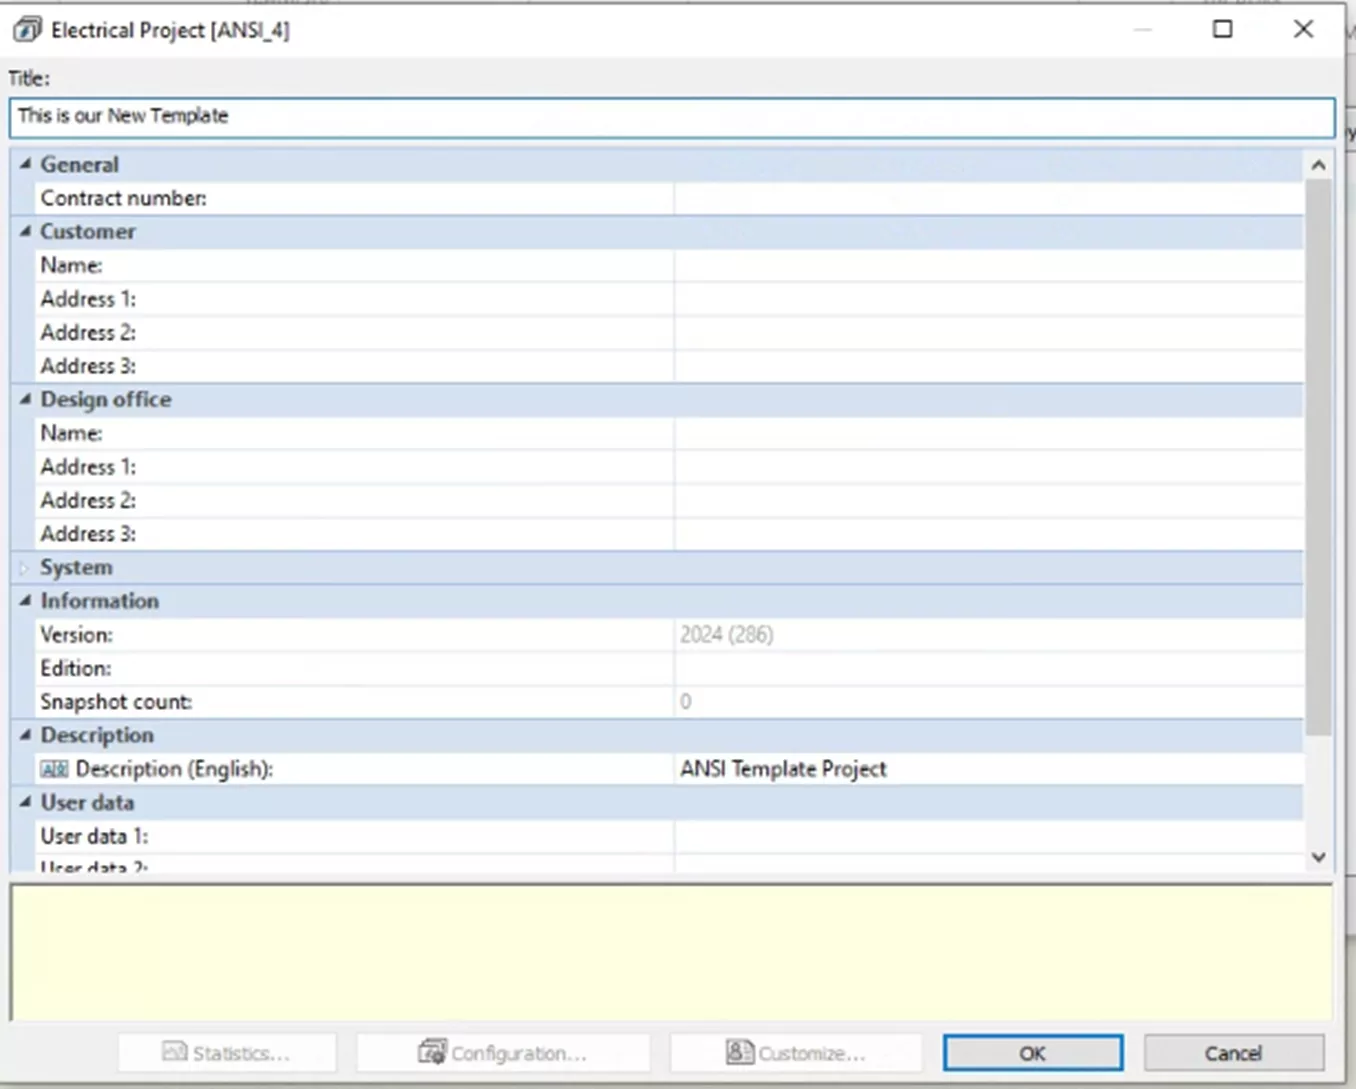
After you've verified the information entered is correct, select OK. Remember that this is a template for future projects, so you will want to keep the information entered as minimal and generic as possible. Your project should open automatically. Using the same process as described above, create a new scheme for pasting purposes.
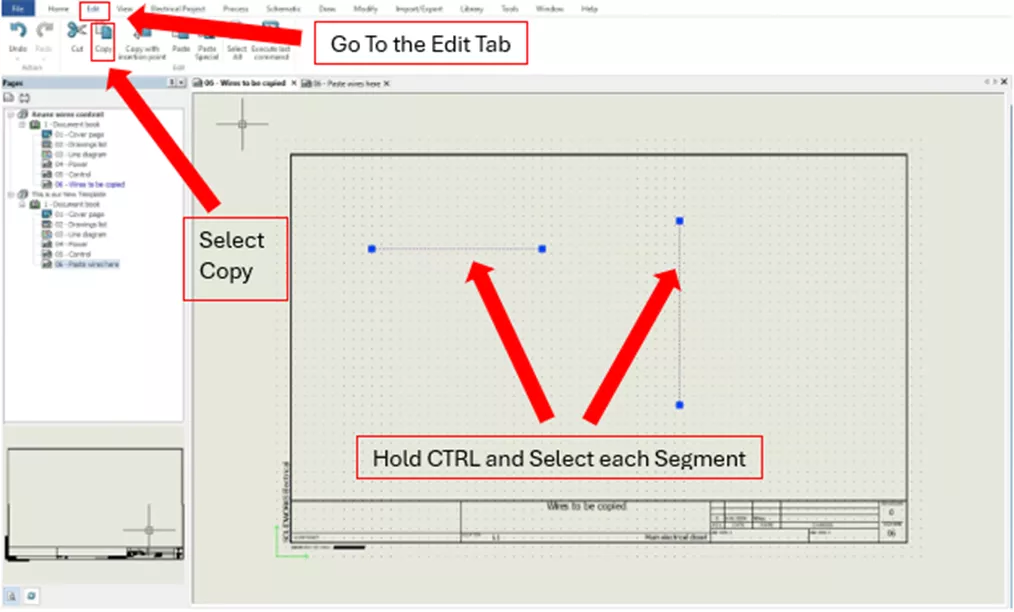
You are now ready to copy your wires to the new project template. Going back to the project you made your custom wires in, select the wire segments you drew on the Scheme (hold down the CTRL button and left-click on each wire segment). Once everything has been selected, go to the Edit tab and select Copy.
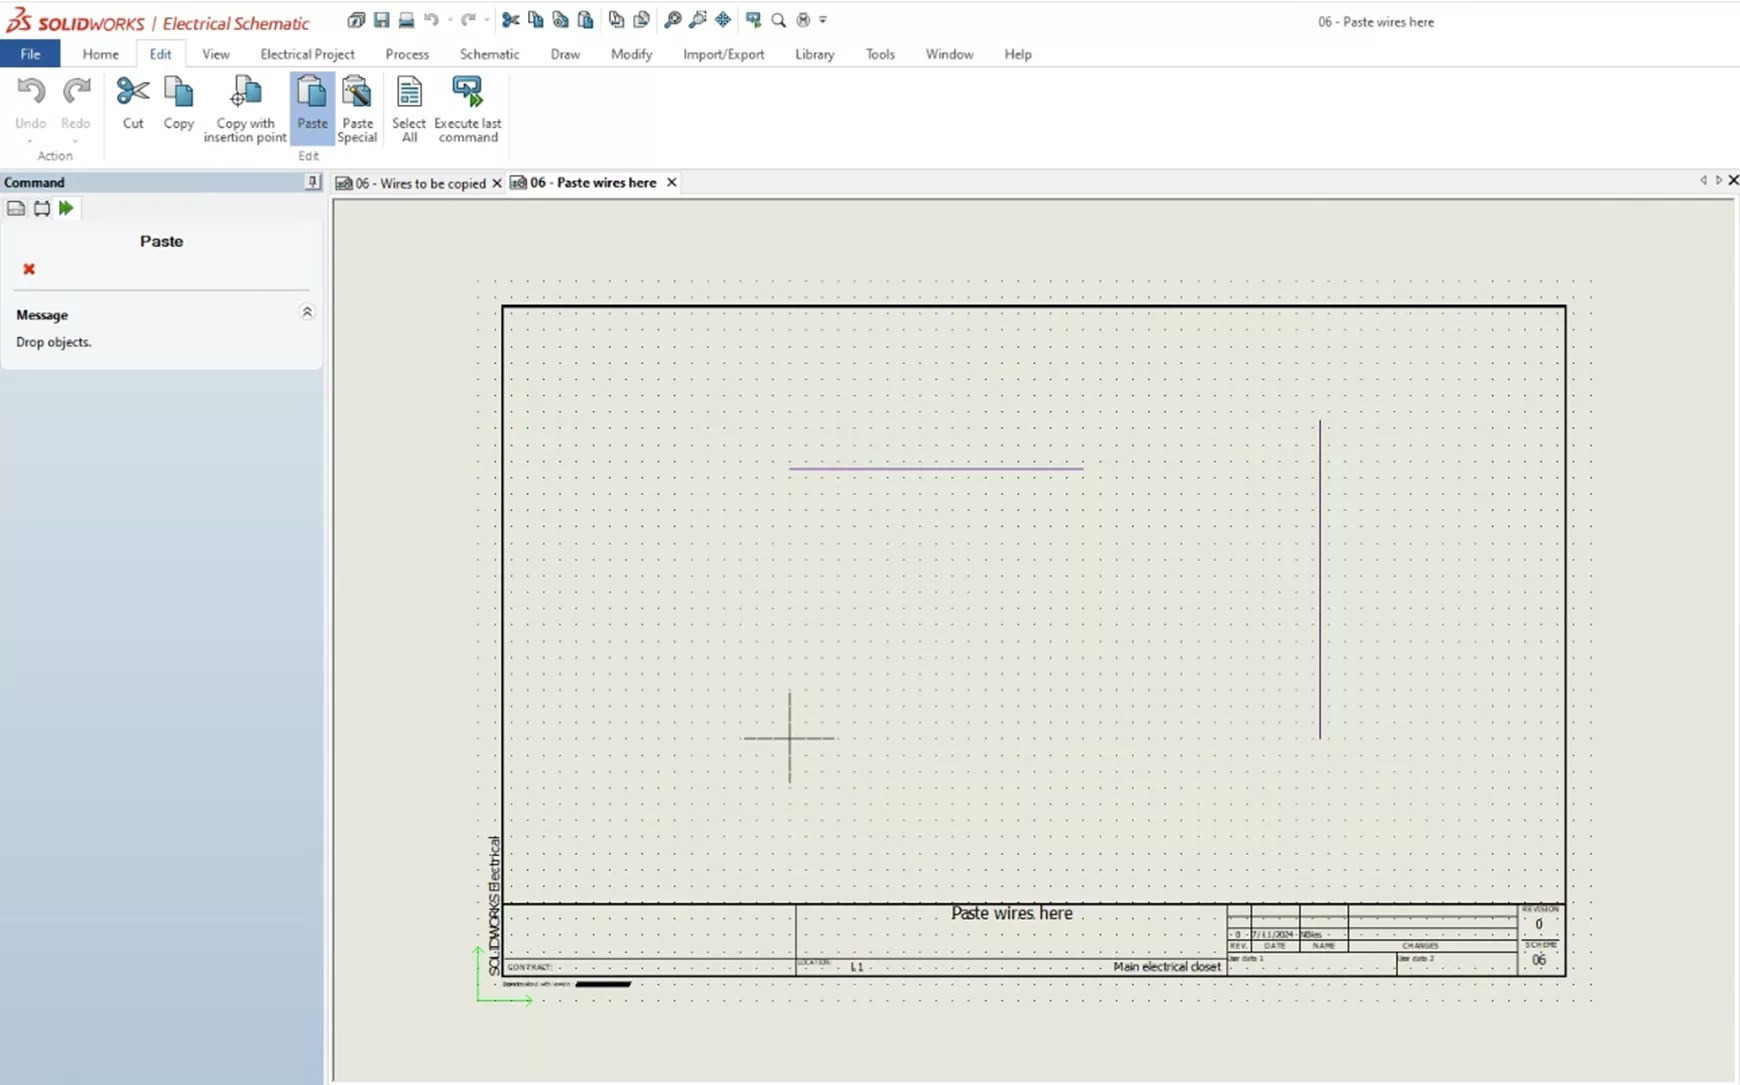
Once the wires have been copied, go to your Custom Template and the new Scheme you made. Following a similar process used to copy, go to the Edit tab and select Paste.
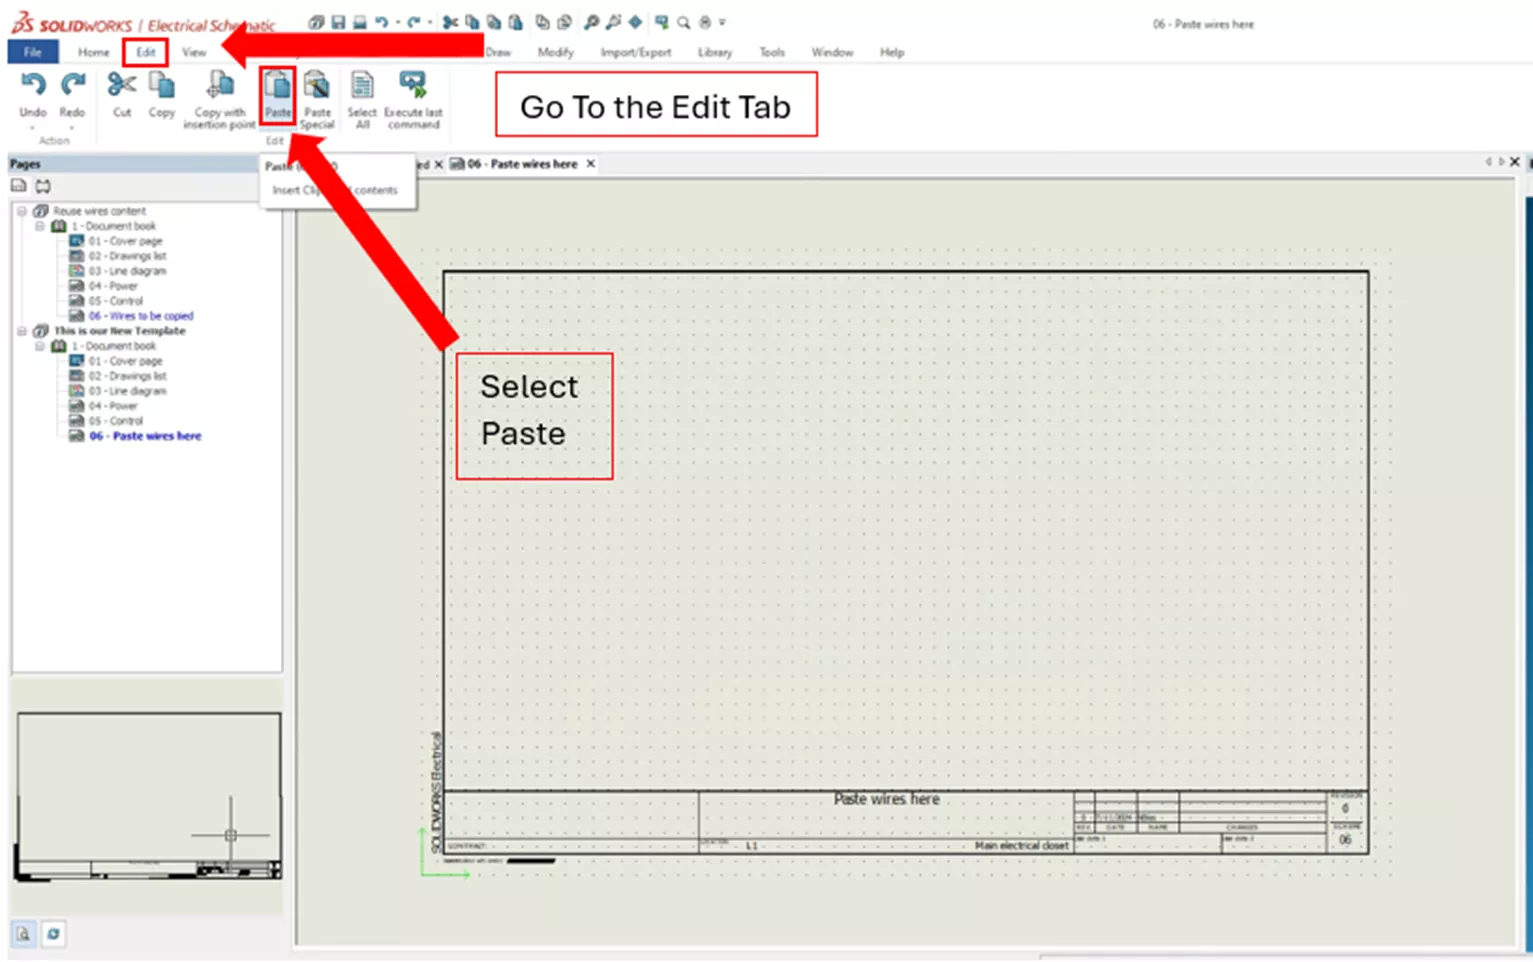
After selecting Paste, the Paste menu will open and allow you to drop the wire segments on the scheme. In this instance, placement doesn’t matter, so, I will place them in the center of the page.
With the wires placed, you need to verify that the wire styles have been added. Go to the same location you created the wires in. Go to the Electrical Project tab > Configurations dropdown > Wire Styles.
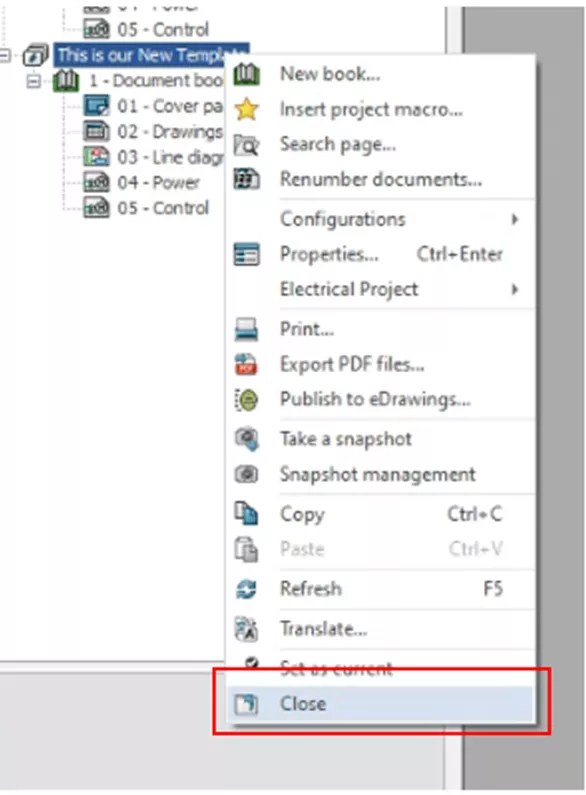
Once you have confirmed the wire styles have been added, you can delete the schemes that were used to create and copy the wire segments as well as the scheme the wire styles were pasted to. With those schemes deleted, you close the projects that you have open by selecting the project from the pages pane, RMB, and selecting Close.
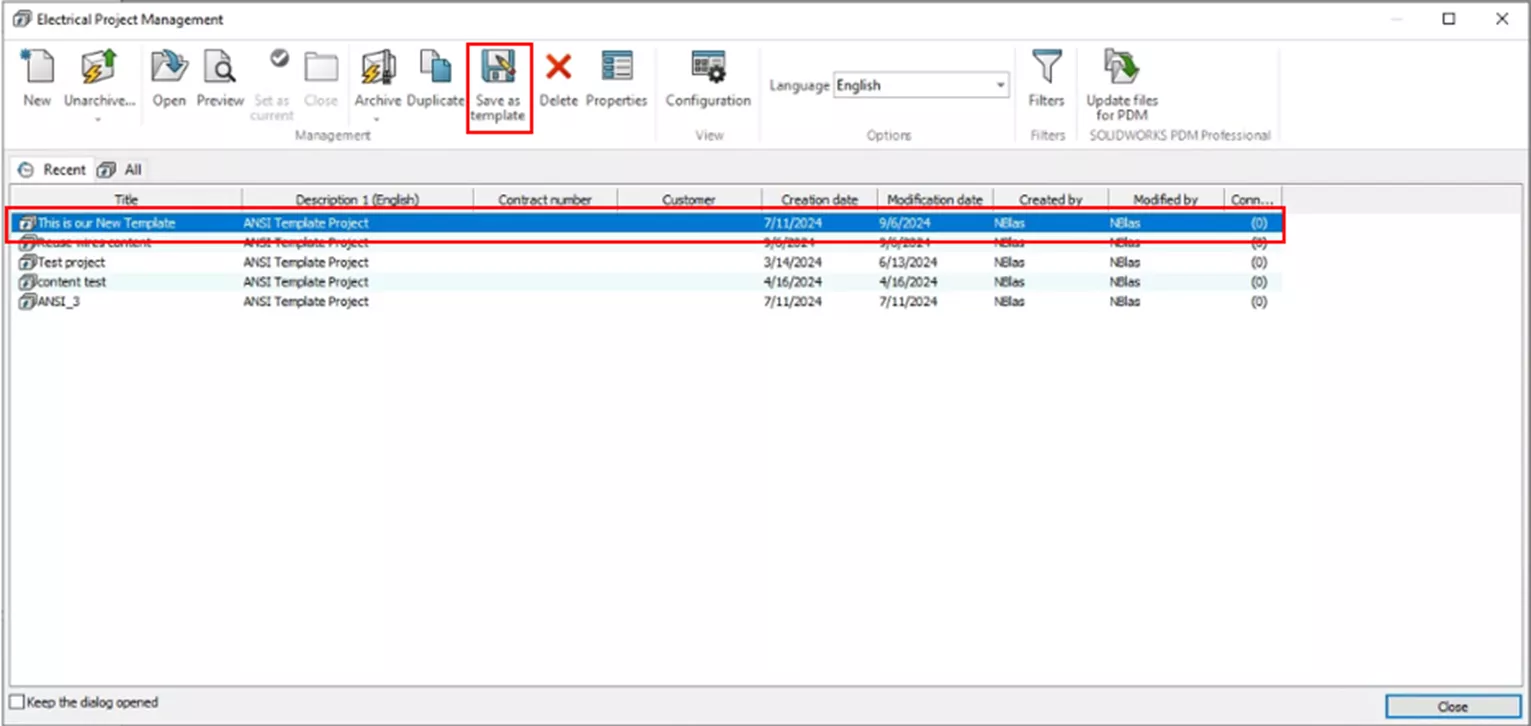
The final steps to create your custom template with your custom wires is to open the Electrical Project Manager, select the project you made to be the Template, and then select Save As Template.
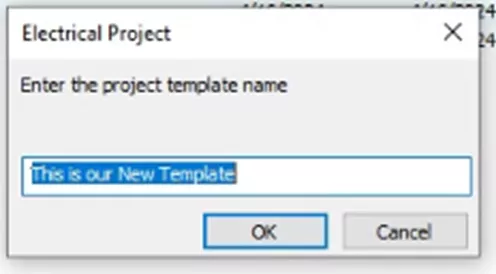
Enter the template name and select OK.
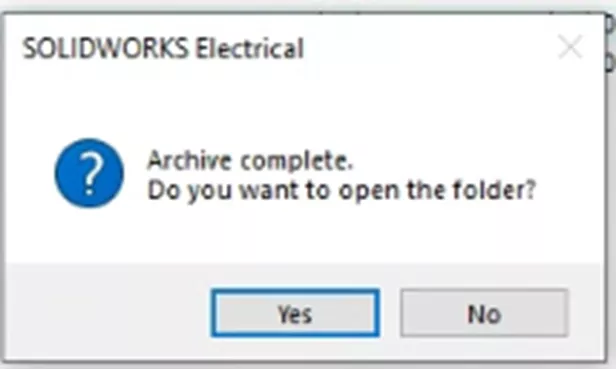
This will create and save you new template with the custom wires. You will be prompted that an Archive was saved for the new template, and you are given the option to open the file location. You do not need to do this. Select No.
If GoEngineer is your VAR and you have questions or run into any issues with this guide, please reach out to Technical Support. Good Luck with your electrical projects!
Editor's Note: This article was originally published in July 2017 and has been updated for accuracy and comprehensiveness.
Learn More About SOLIDWORKS Electrical
Why Won't my Wires Route in SOLIDWORKS Electrical - Part 1
Why Won't my Wires Route in SOLIDWORKS Electrical - Part 2
How to Add a PLC to your SOLIDWORKS Electrical Project
SOLIDWORKS Electrical Terminal Block Connections
![]()
About Nathen Blas
Nathen Blas is a SOLIDWORKS Technical Support Engineer based out of our Headquarters in Salt Lake City, Utah. He earned his Bachelor’s degree in Mechanical Engineering at the University of Utah in 2018 and joined the GoEngineer family that same year.
Get our wide array of technical resources delivered right to your inbox.
Unsubscribe at any time.