SOLIDWORKS Magnetic Mates Explained
In SOLIDWORKS, Magnetic Mates are predefined connection points that will snap to other magnetic mates. They utilize a “ground” plane, a plane or face that dictates the shared plane that components reside on.
Magnetic Mates can be used in a variety of ways; most commonly for layout. They can also be utilized for assembly configurations to swap out components; magnetic mates can make this process very efficient.
Suggested Article >> Introduction to SOLIDWORKS Mates: Standard, Advanced, & Mechanical
How to Use Magnetic Mates
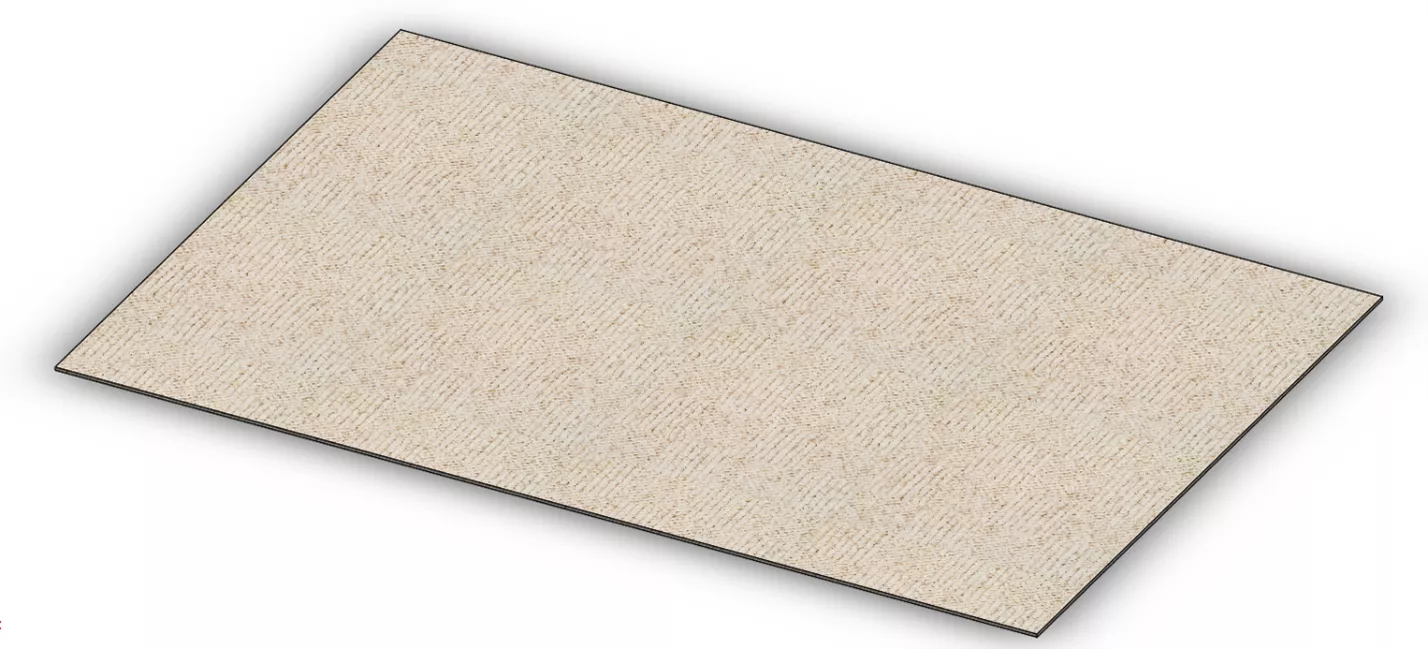
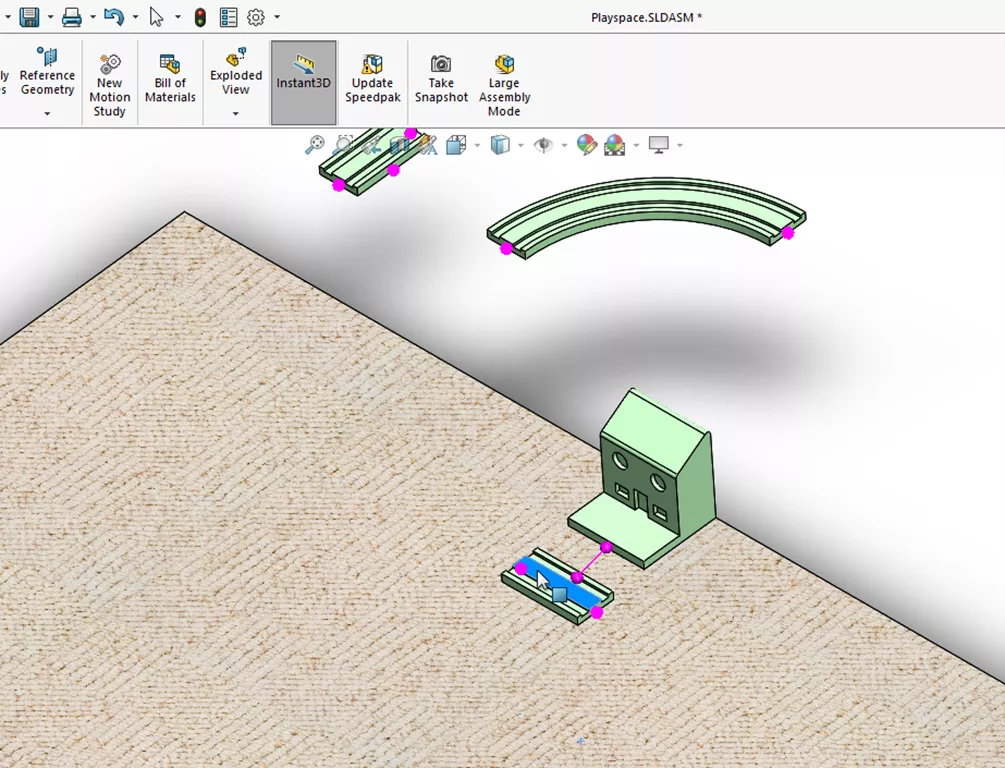
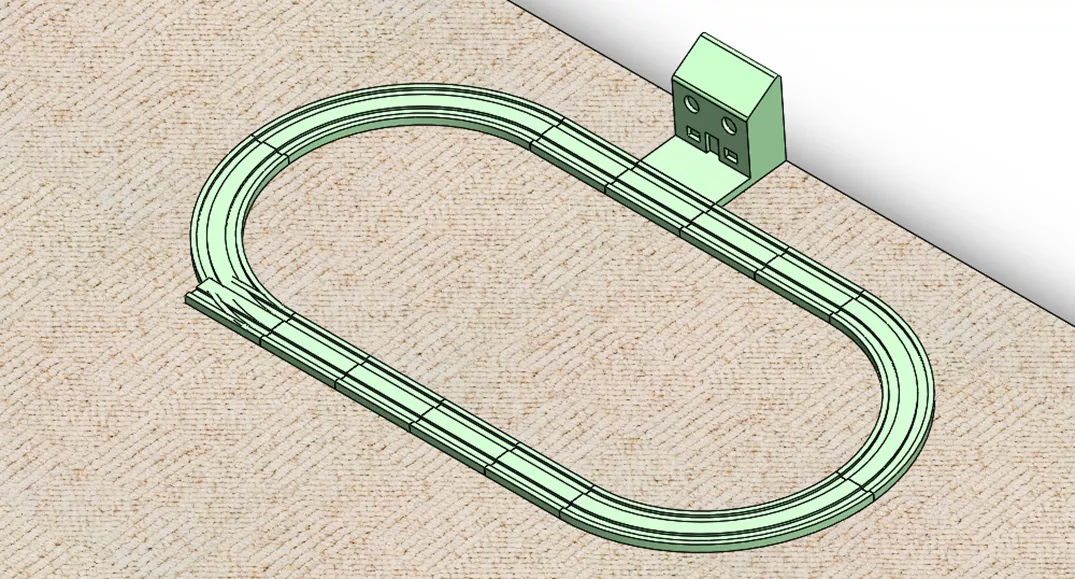
The example CAD model below is a play-space for toy train tracks.
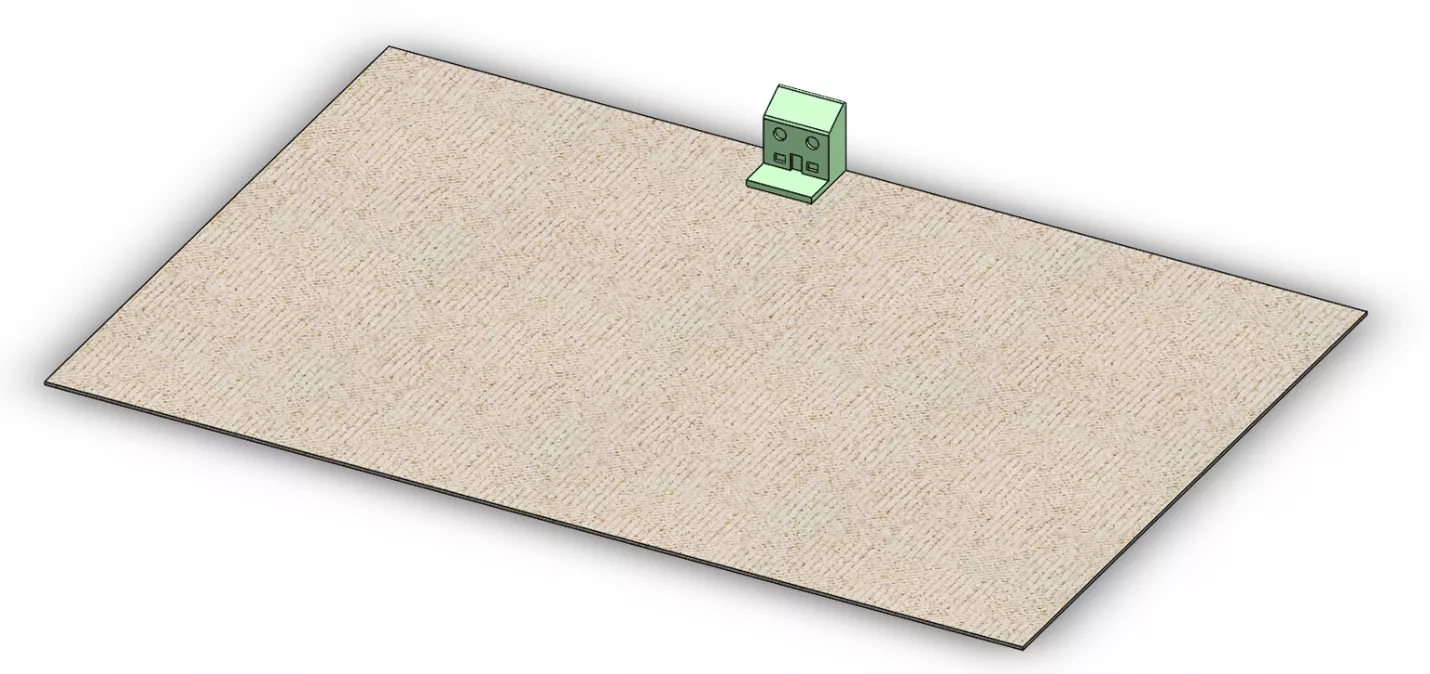
First, we’ll add our train station, using basic coincident mates to fix it to the top of our play-space and back.
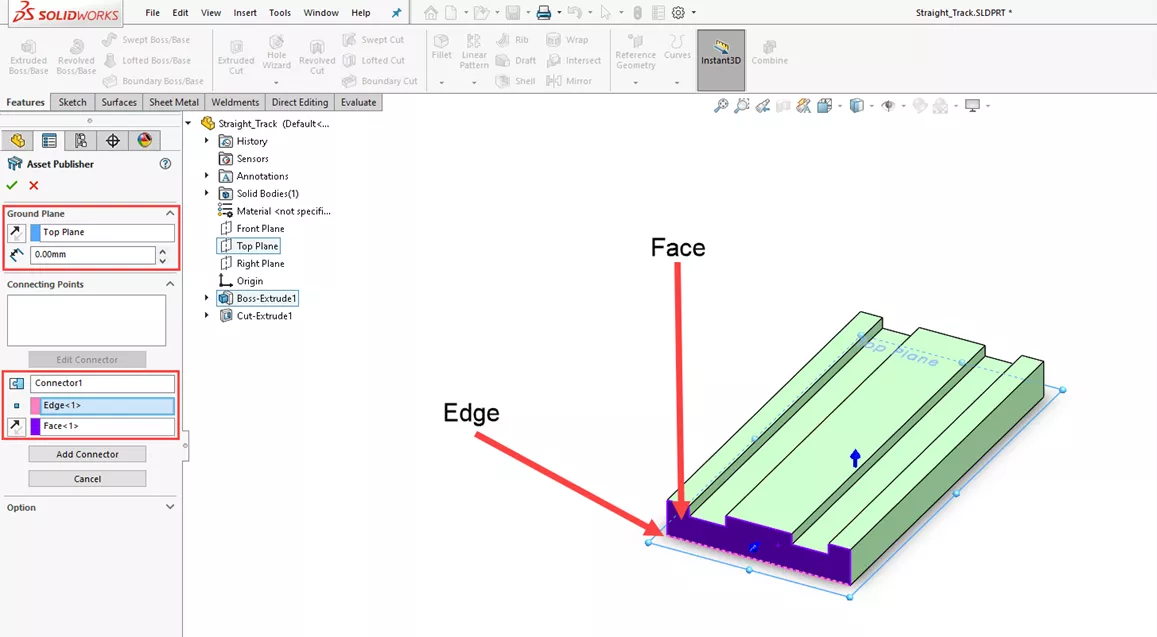
Now, opening up our straight piece, we can create the connection points for the magnetic mates. Navigate to the Tools menu and select Asset Publisher. (Shown below)

In the Asset Publisher, we must define the Ground Plane for our component. For this part, that will be the top plane. Next, we must define one of our connection points.
First, select an edge that will hold the point, then select a feature to define the direction, like the face in the example below.
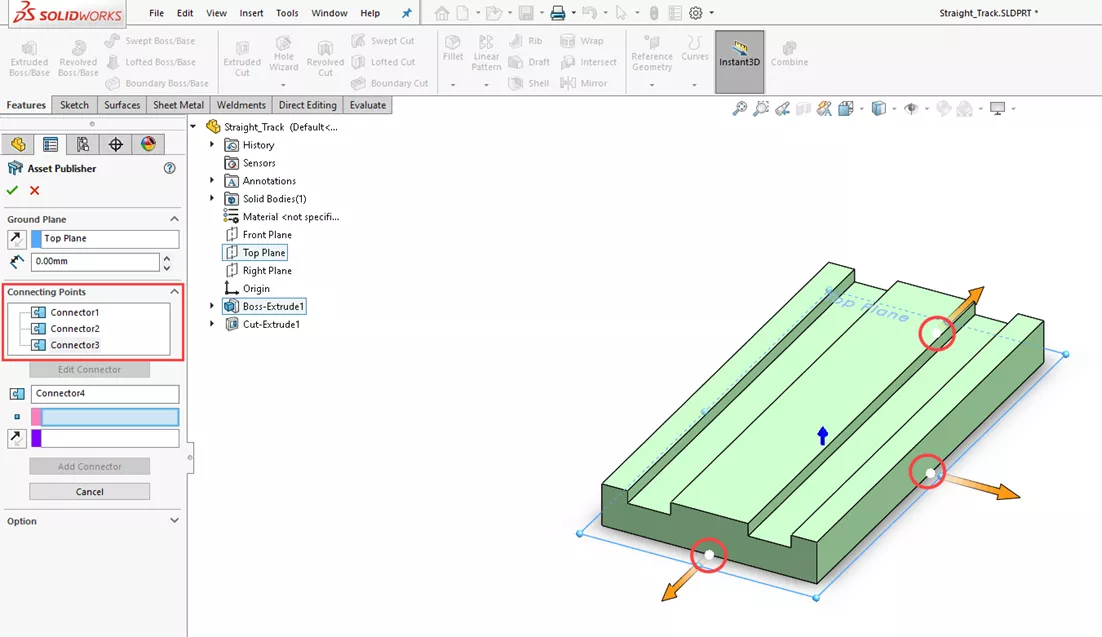
To finish the connection points, repeat the process two more times for the side and back. Once complete, we have the three connection points. (Shown below)
Let's return to the play-space, adding in the completed straight and curved pieces. We can now start setting up our tracks.
By using a simple CTRL+drag on the straight piece, we can make a copy and bring it close to the Station piece. As we drag a component with connection points, they are displayed and all the possible points to make a connection with are visible as well.
Bringing our piece close to the station, which has a single connection point, a link is made between the connections. Releasing the part will snap the straight piece to the station, creating the first magnetic mate.
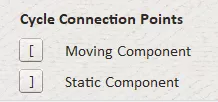
If the connection points don't match as desired, use the bracket keys (i.e., "[" or "]") to cycle through connection points for both the moving component and the static component.
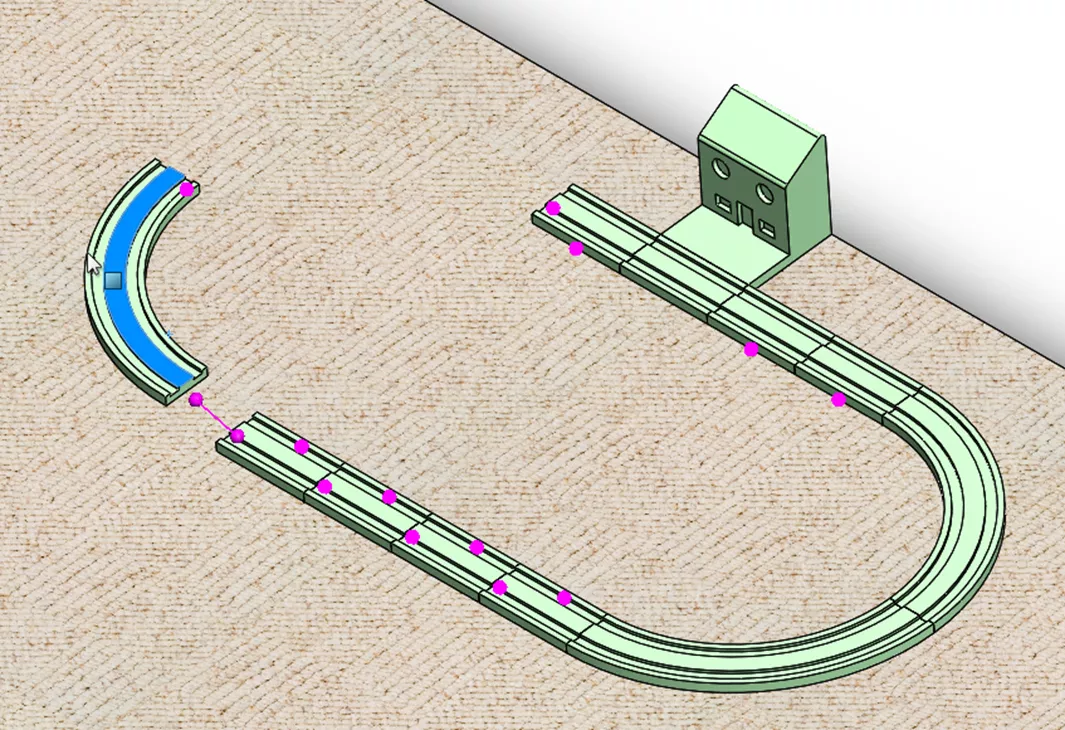
We can continue to add and snap the straight pieces together and then snap two curved pieces to begin creating a loop. Now, instead of bringing in more pieces, we can use a linear pattern to finish out the straight pieces.
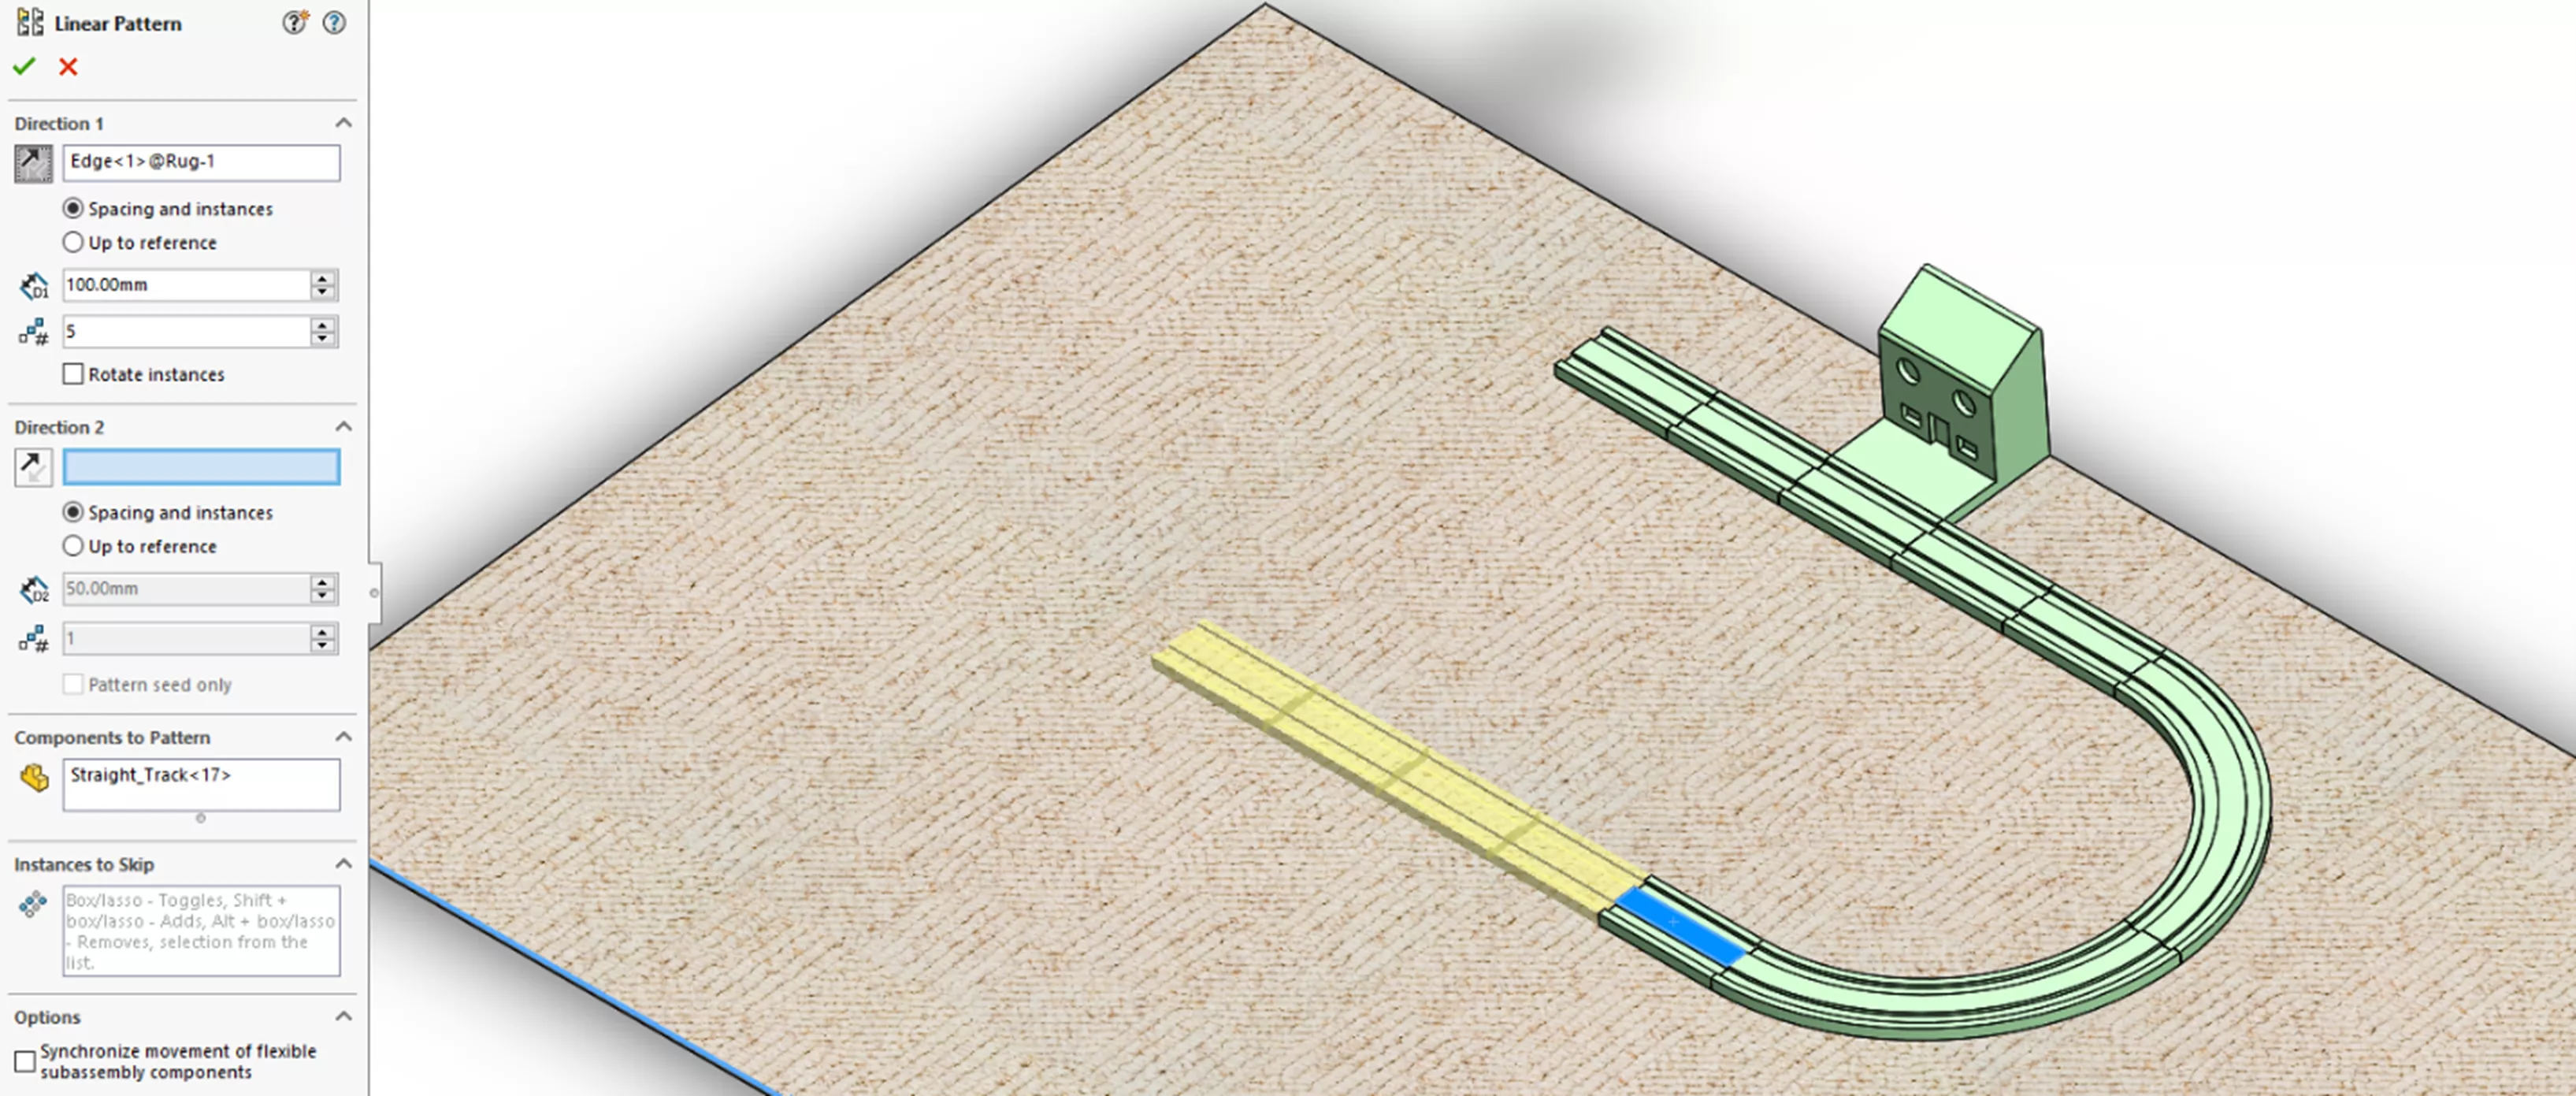
The connection points are still usable with the patterned components.
If changes are made to the linear pattern, like adding in another instance, we’ll need to manually drag the curved pieces back out to the last instance. (Shown below)

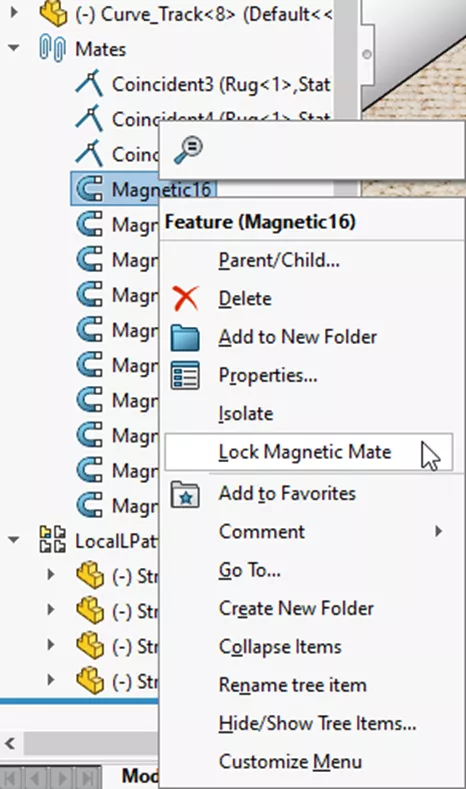
Currently, dragging the components around breaks the magnetic mates. To lock the mates down, expand the Mates folder, right-click on the desired magnetic mate, and select Lock Magnetic Mate.
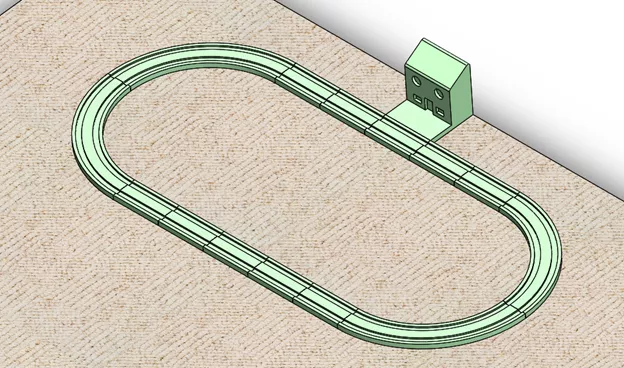
We can now add any additional pieces to complete the toy train loop.
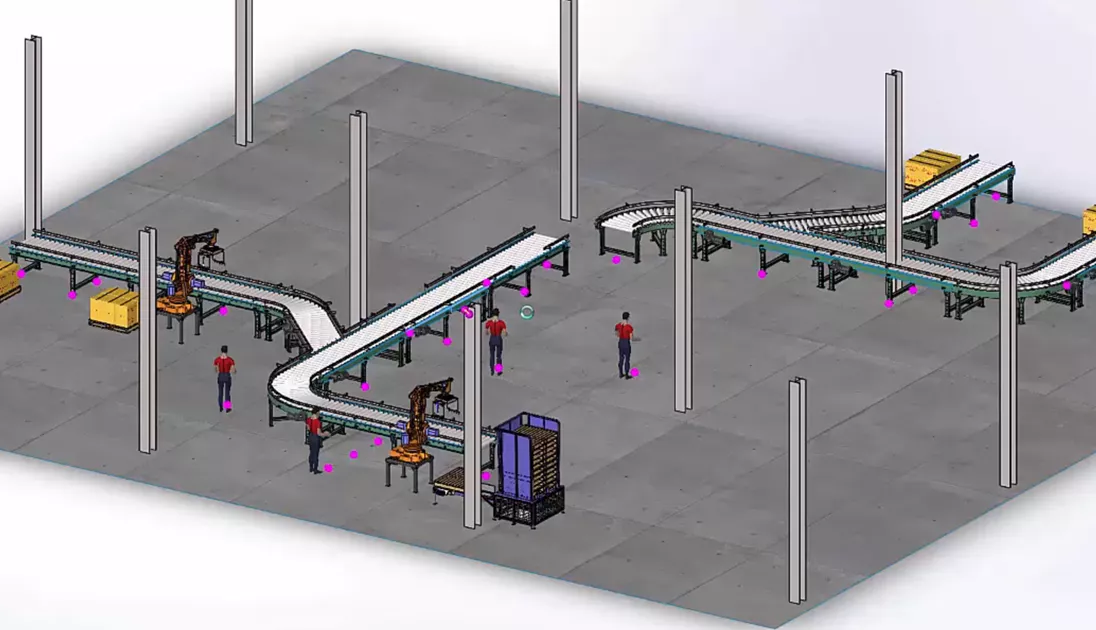
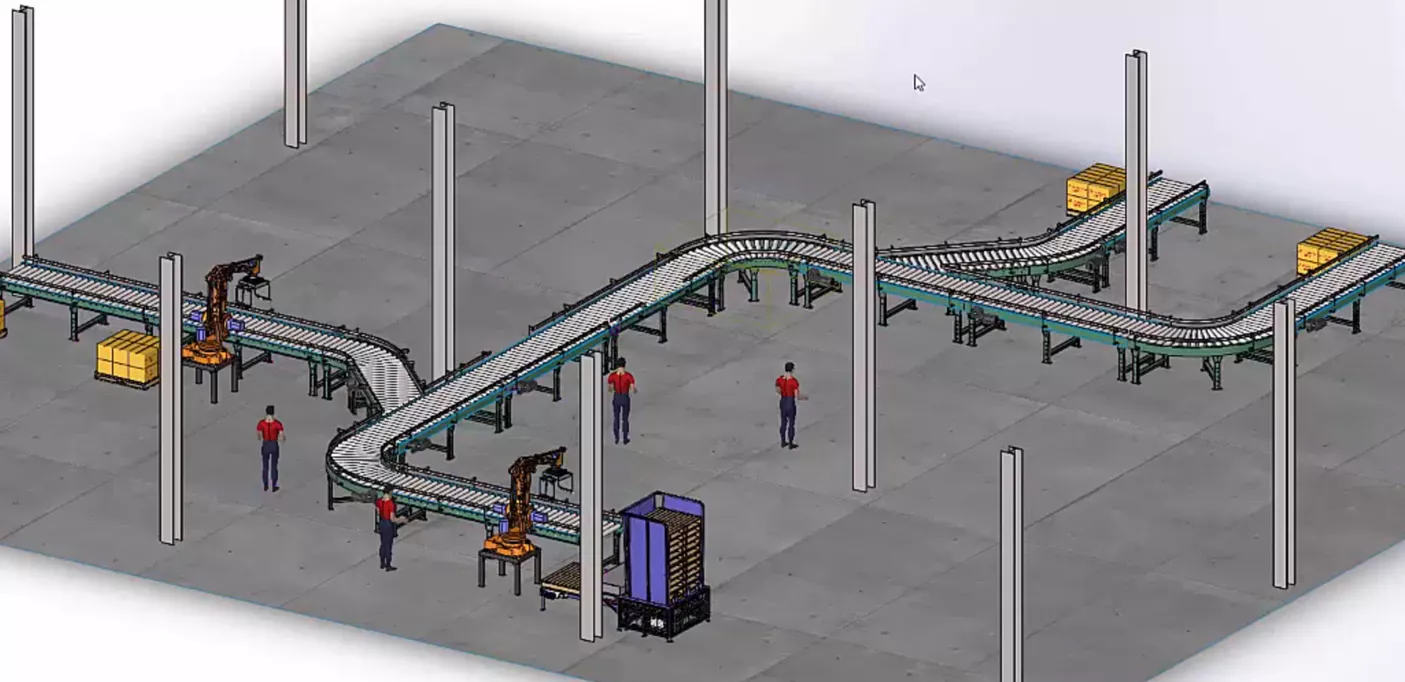
Taking this concept to another level, we can apply it to factory floor or conveyor layouts.
These types of layouts can be very large assemblies if the subassemblies and components are fully realized. SpeedPaks can be used to keep the data manageable. In the example below, we've kept the graphics data, but only the geometry data needed for our magnetic mates is included.
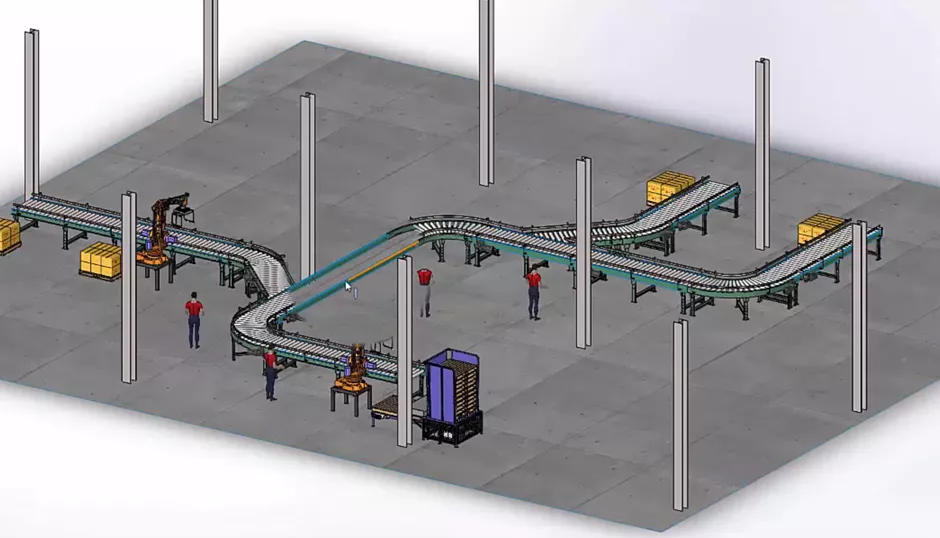
Utilizing SpeedPaks and magnetic mates, we can keep this layout running smoothly while still being able to move and mate the conveyors.
SOLIDWORKS Training
Learn more about using magnetic mates in the official SOLIDWORKS Assembly Modeling Training Course. Both self-paced and in-person training options are available.

More SOLIDWORKS Tutorials
Recover SOLIDWORKS Part, Assembly, & Drawing Templates
SOLIDWORKS Fit Spline Explained
SOLIDWORKS Configuration Publisher: Custom Dropdown Menus
SOLIDWORKS Configuration Publisher: Create Configuration Tables
SOLIDWORKS Tutorial: Edit, Create, & Convert Style Splines

About Ben Potter
Ben Potter is an Elite Application Engineer at GoEngineer. He has been a SOLIDWORKS user for several years and is a Certified SOLIDWORKS Expert. He enjoys video games, D&D, and working out.
Get our wide array of technical resources delivered right to your inbox.
Unsubscribe at any time.