Add Mixed Display Styles in SOLIDWORKS Drawings
In this tutorial, we discuss Display States, a powerful option in SOLIDWORKS that allows users to draw attention to specific components or a subassembly in a drawing. A Display State is used any time changes to the graphics of the model (e.g., colors, appearances, display styles, etc.) are desired.
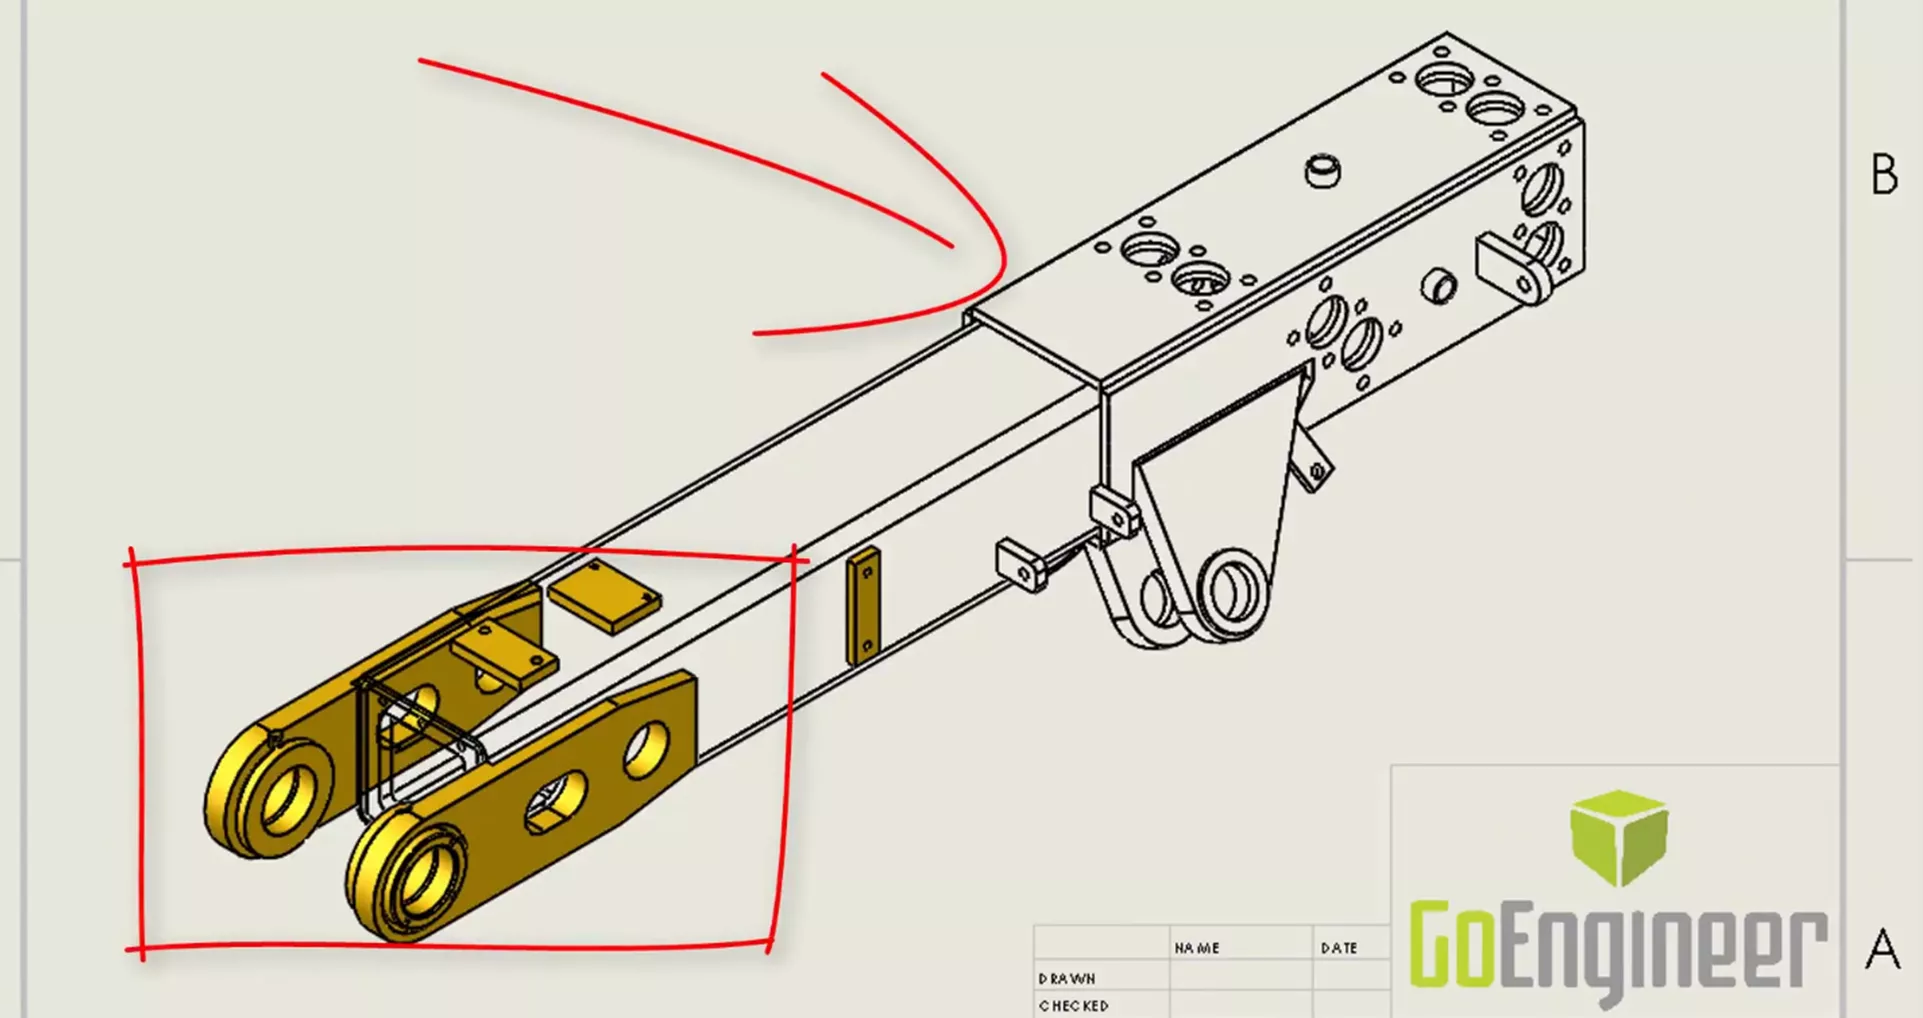
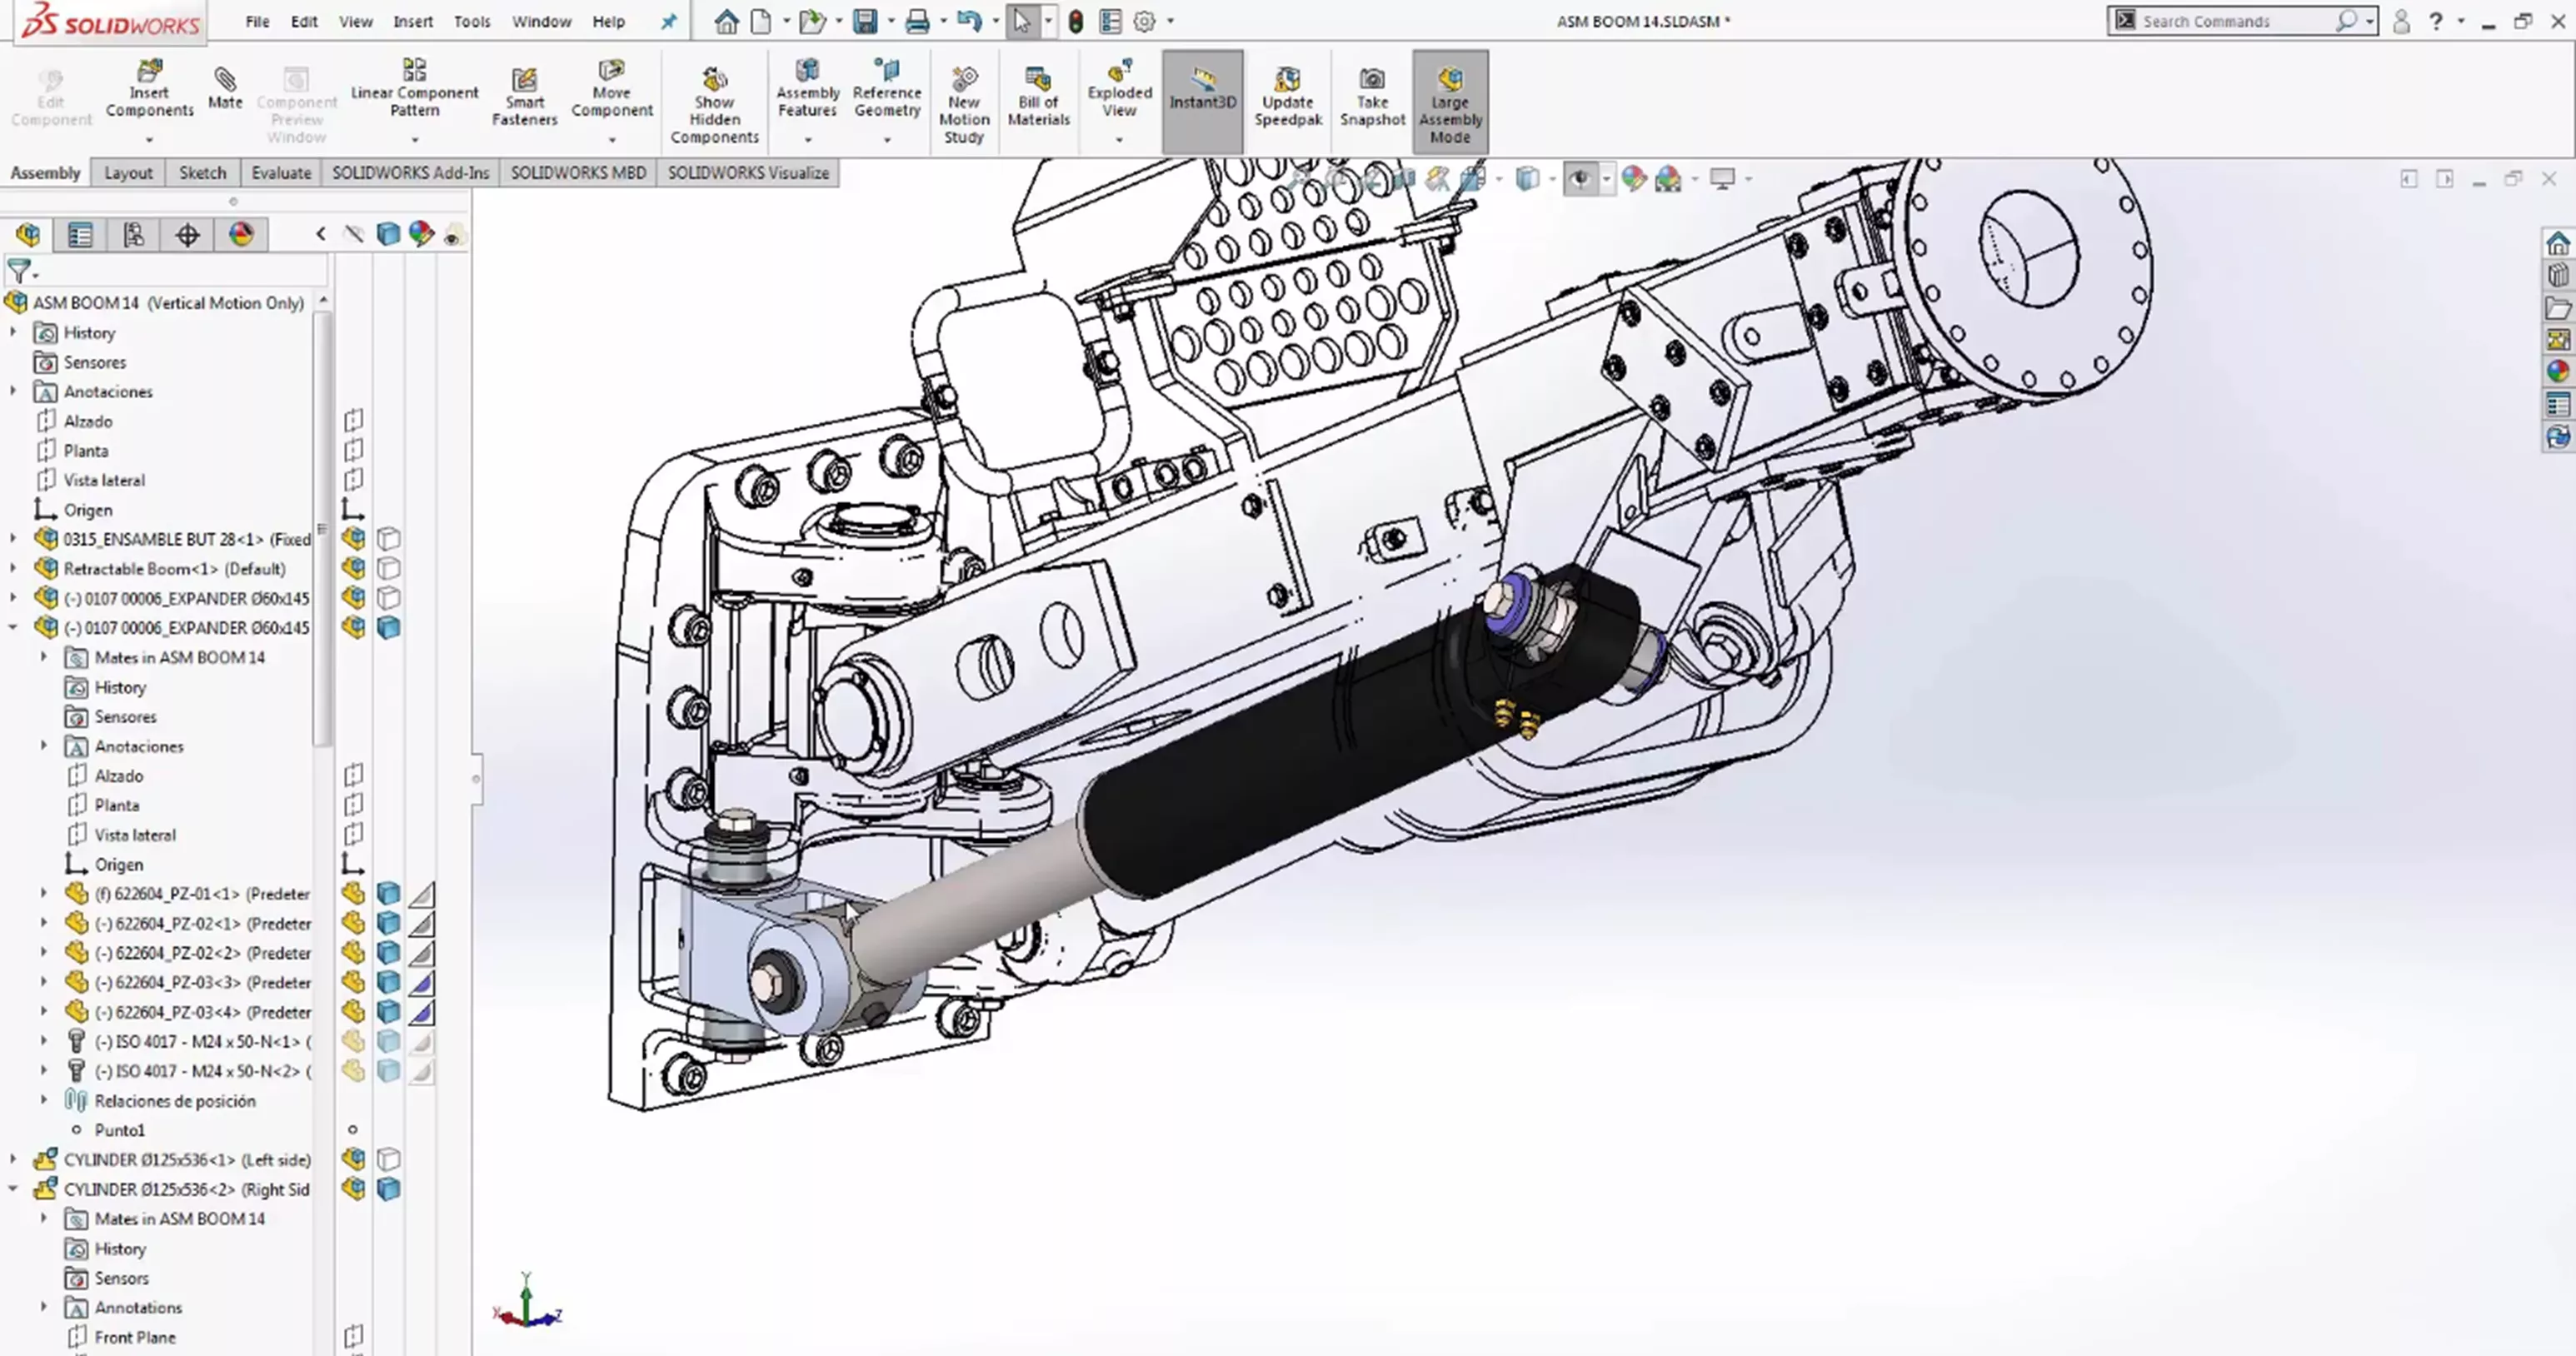
In the image below, some of the components in this assembly are Shaded with Edges while the rest of the components have Hidden Lines Removed. This can be achieved by setting individual components to have different display styles.
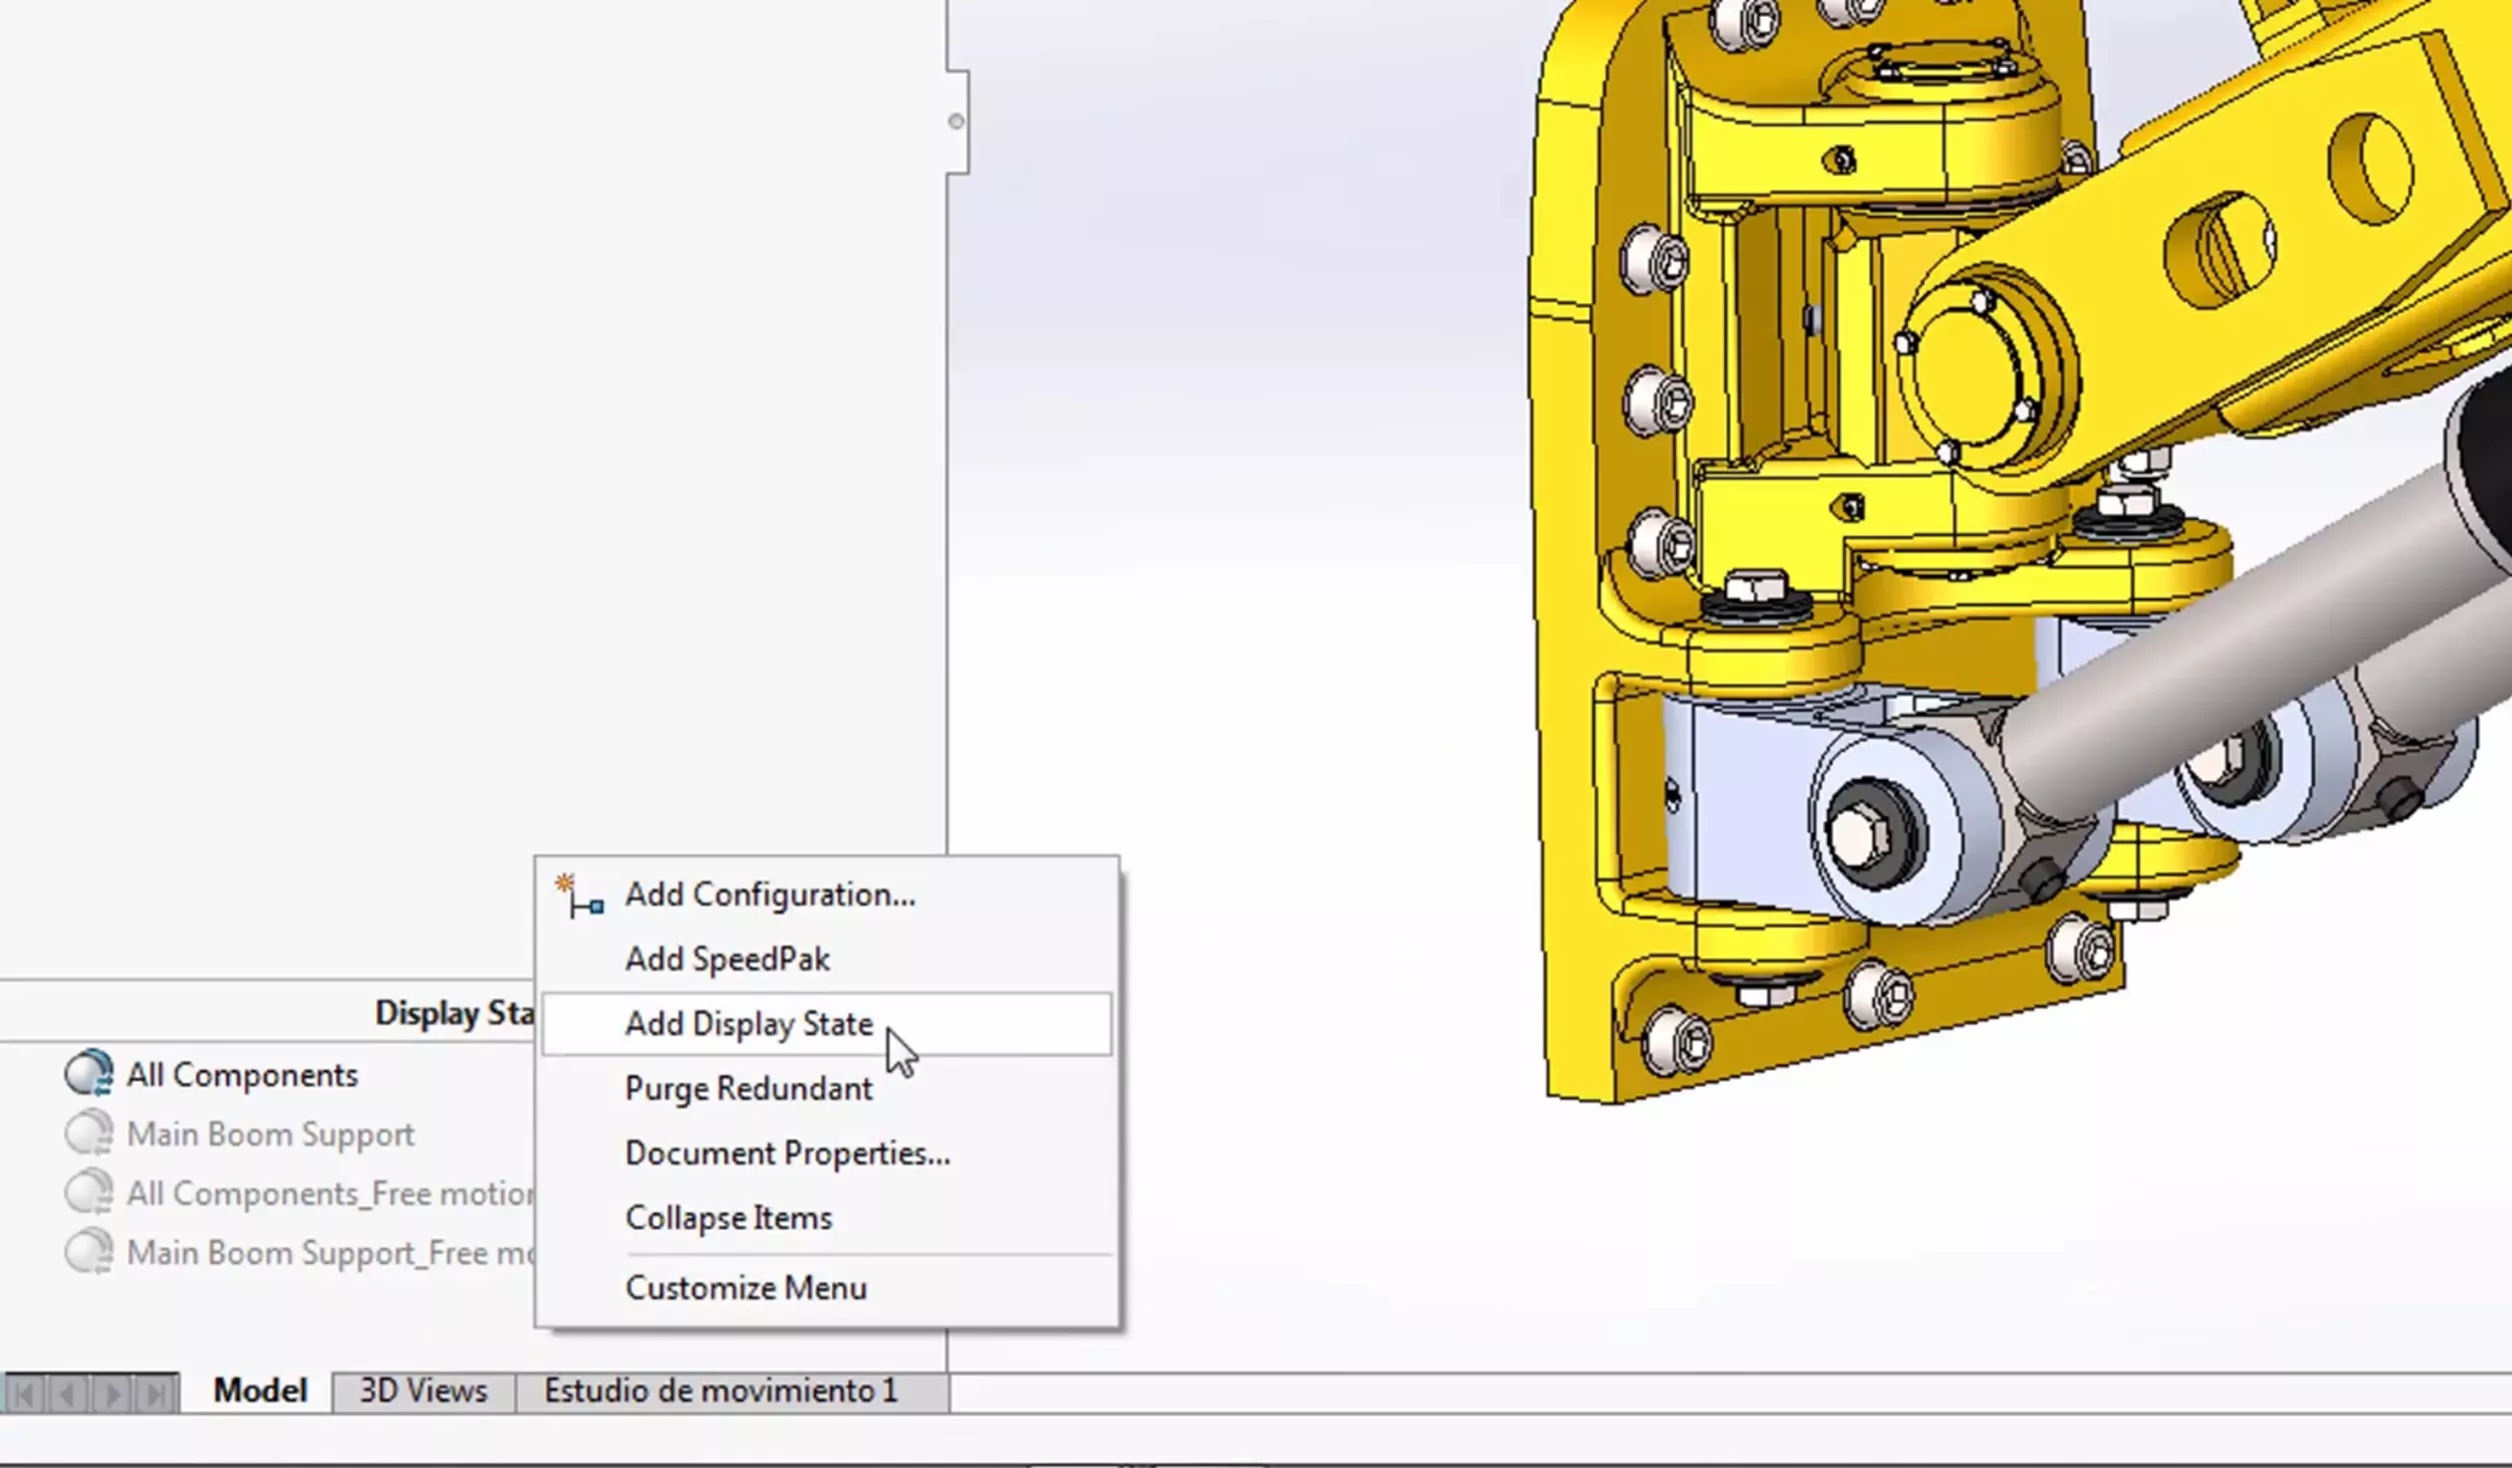
To achieve this, head over to Display States (located at the bottom of the ConfigurationsManager) in the assembly and add a new Display State. In this example, we will name our Display State “mixed display states”.
Remember to set this as the active Display State.
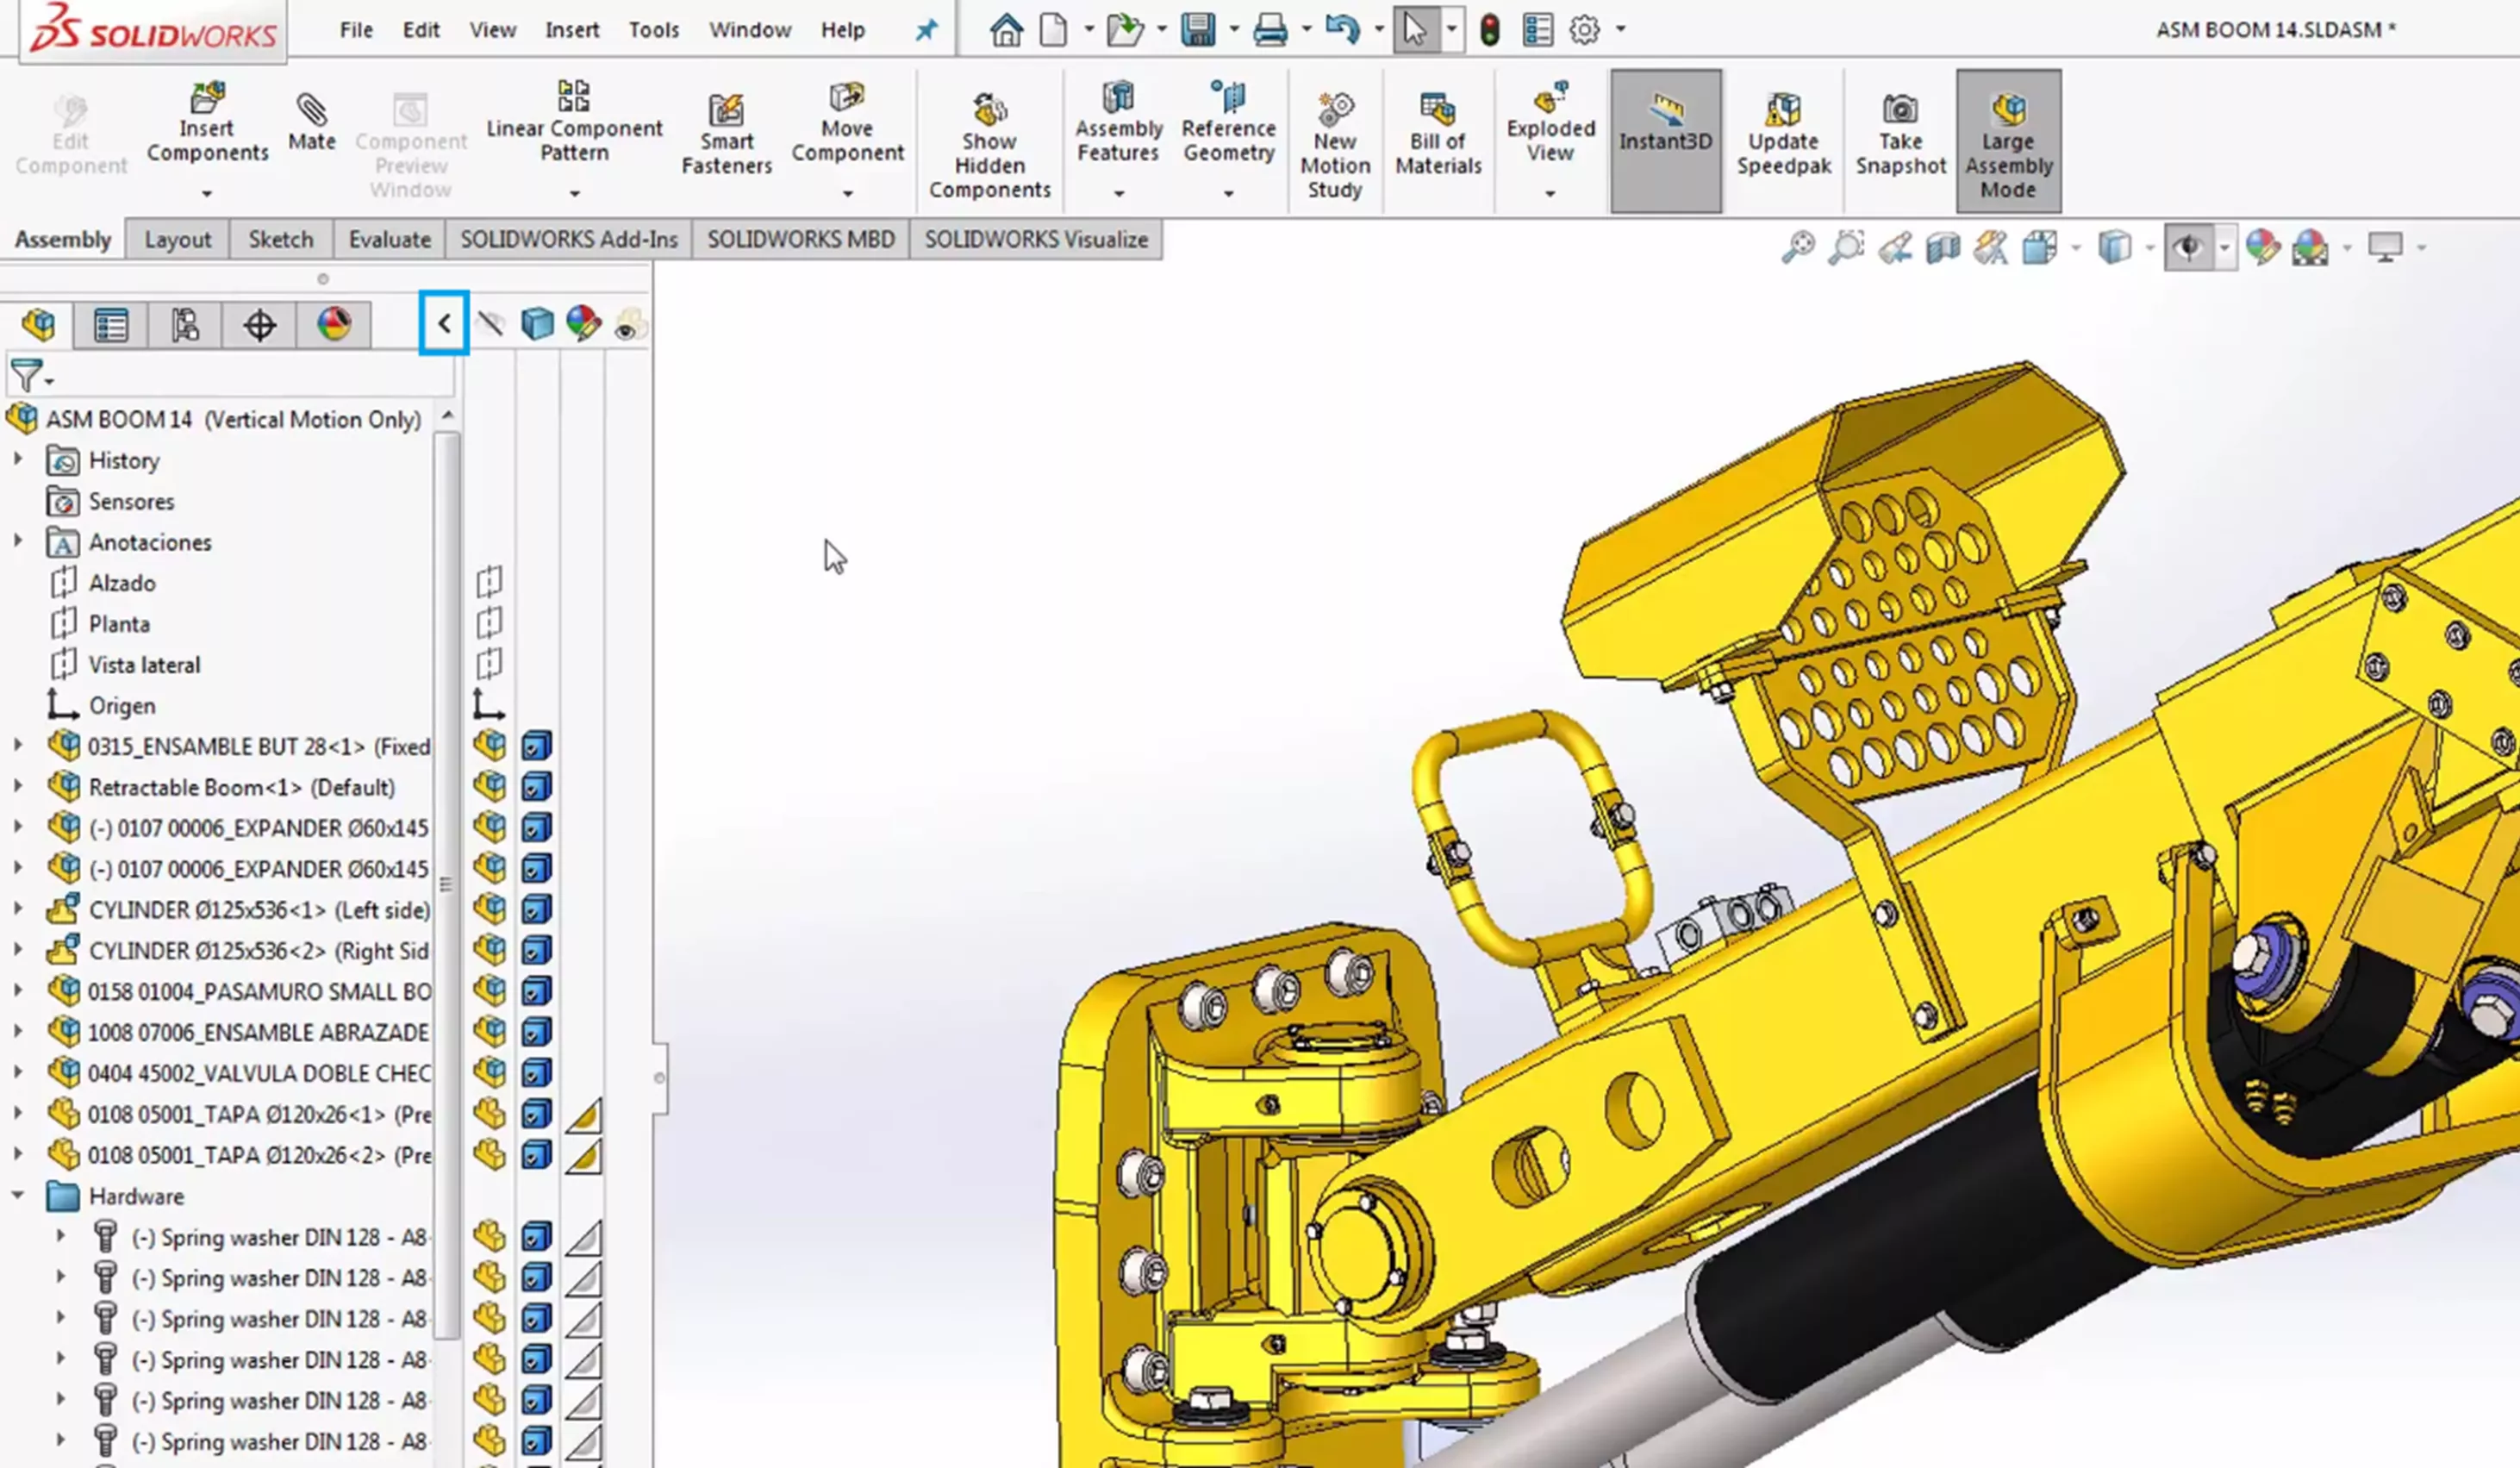
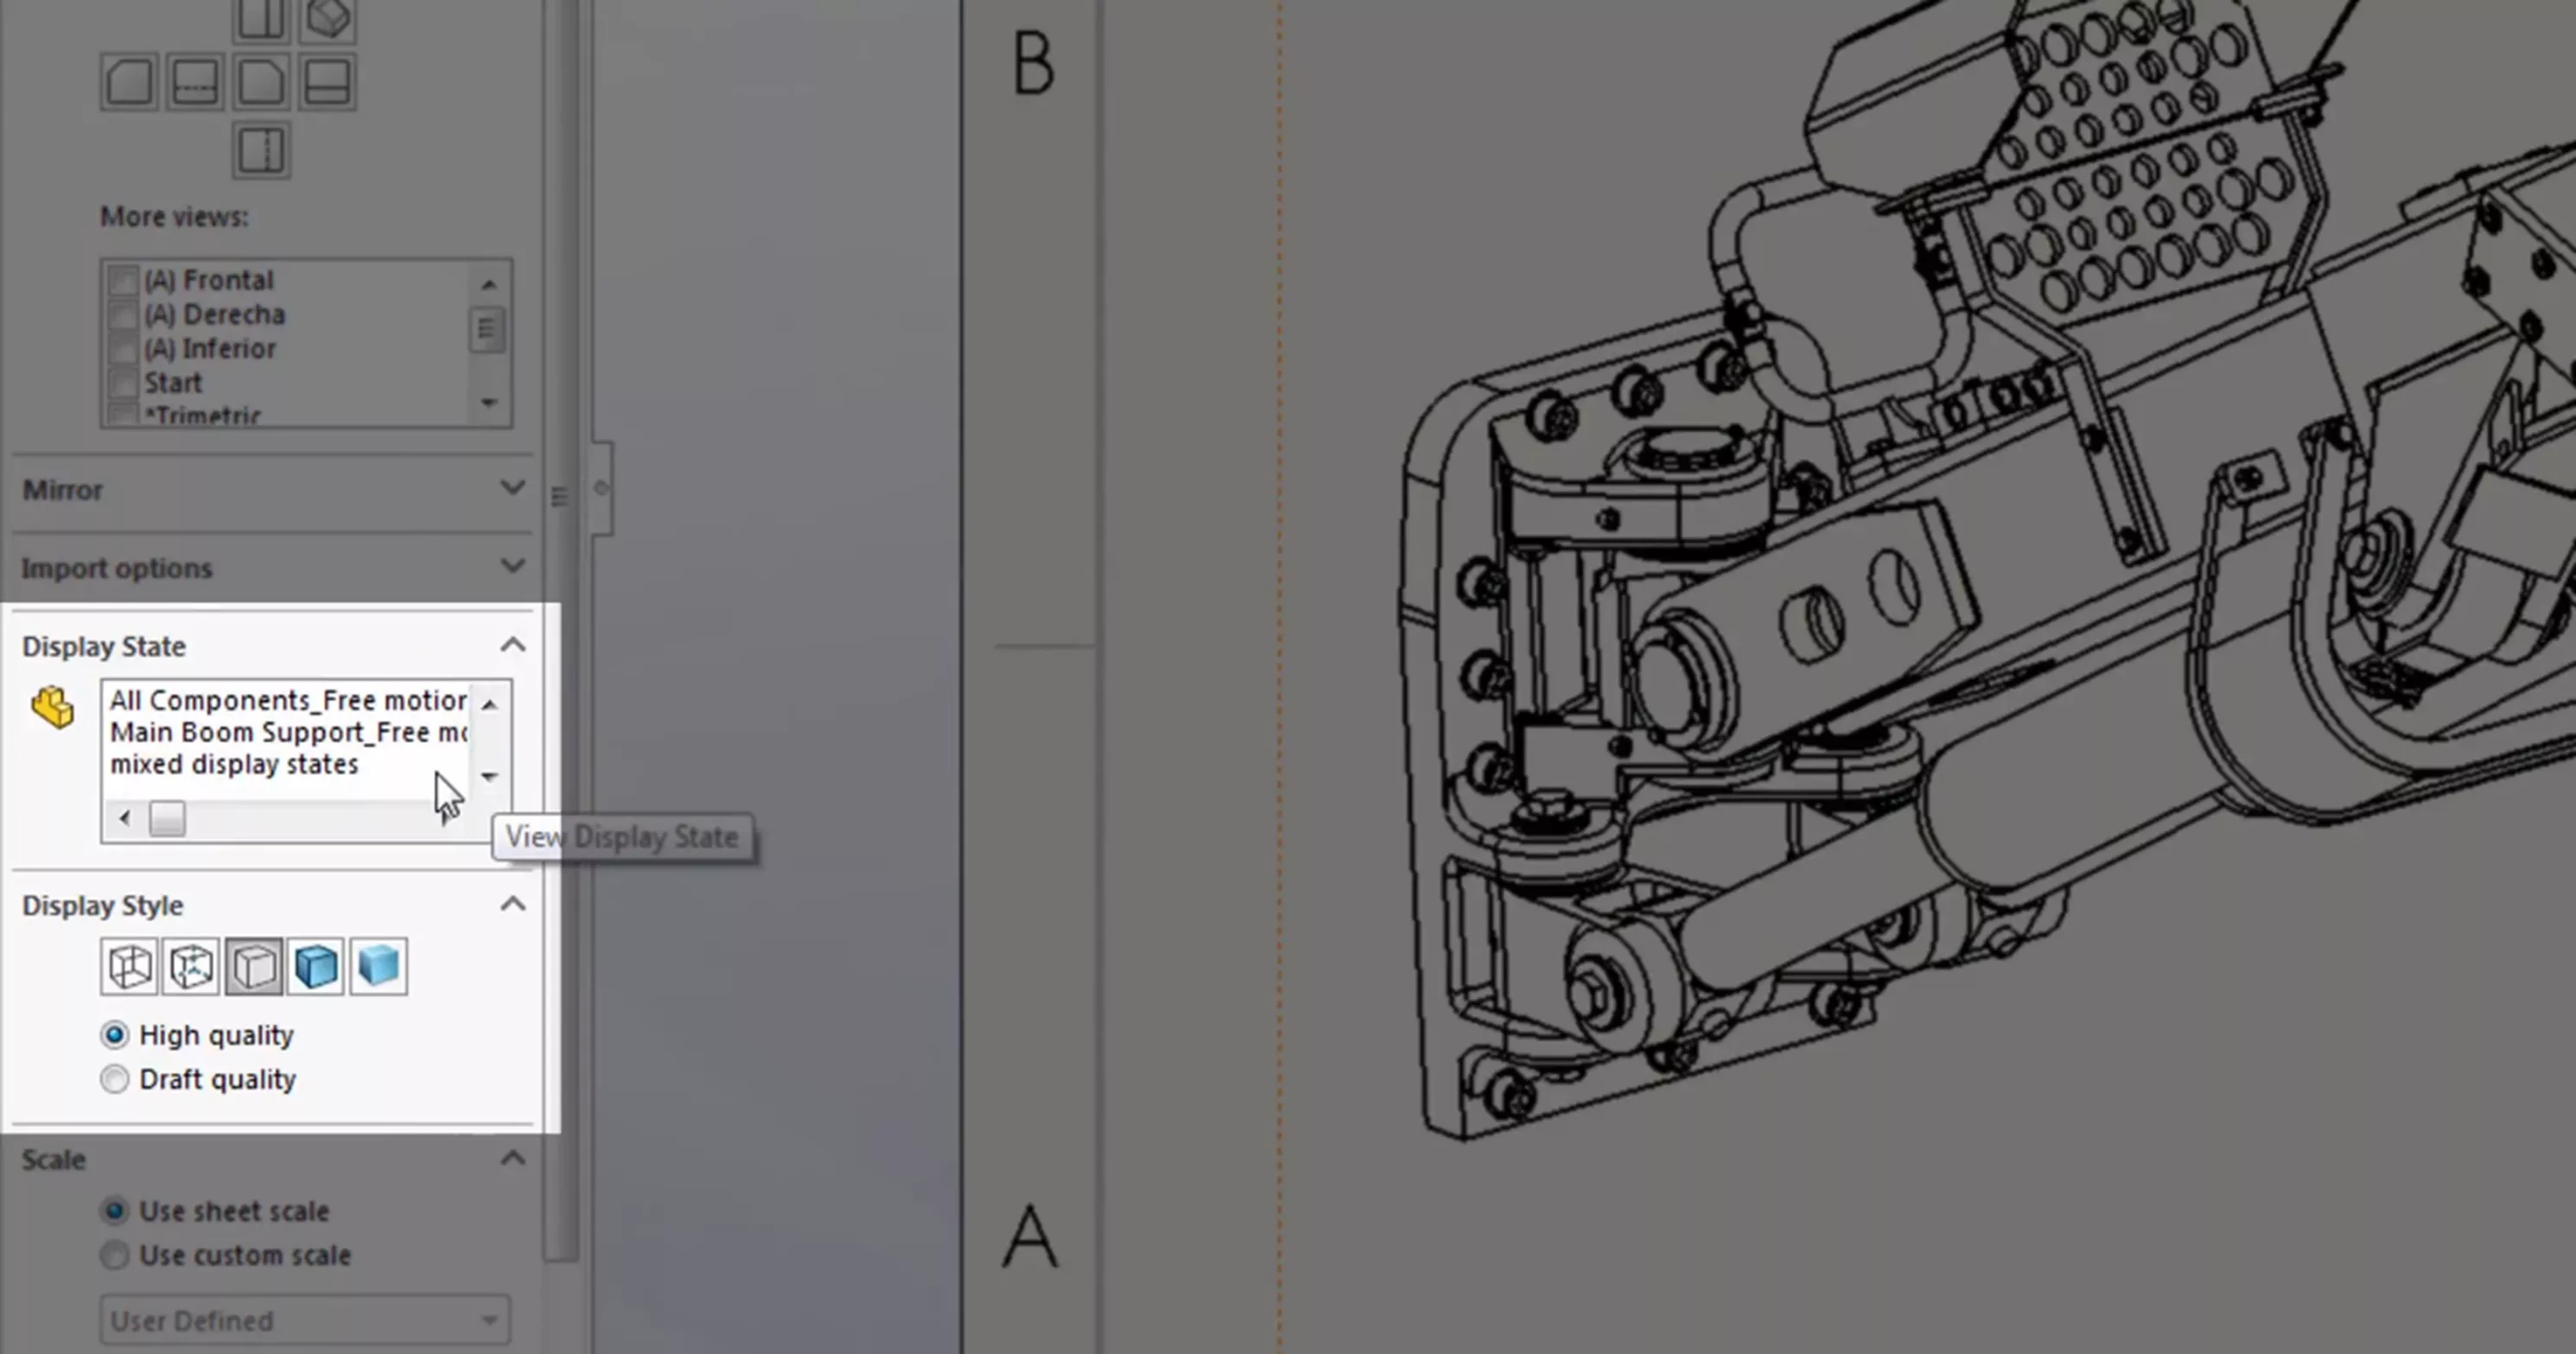
Once we have our Display State added, over in the assembly tree, click the arrow as outlined in blue in the picture below. This opens more options for components in our assembly.
The first column hides components and bodies, the second column allows the display style to be overridden, the third column shows any appearances that have been applied, and the last column sets the transparency of components. For this exercise, we are going to be focusing on the second column.
Next, select all components, right-click on the Display Style icon in the Display Style column, and select Hidden Lines Removed. This will override the display style for each component.
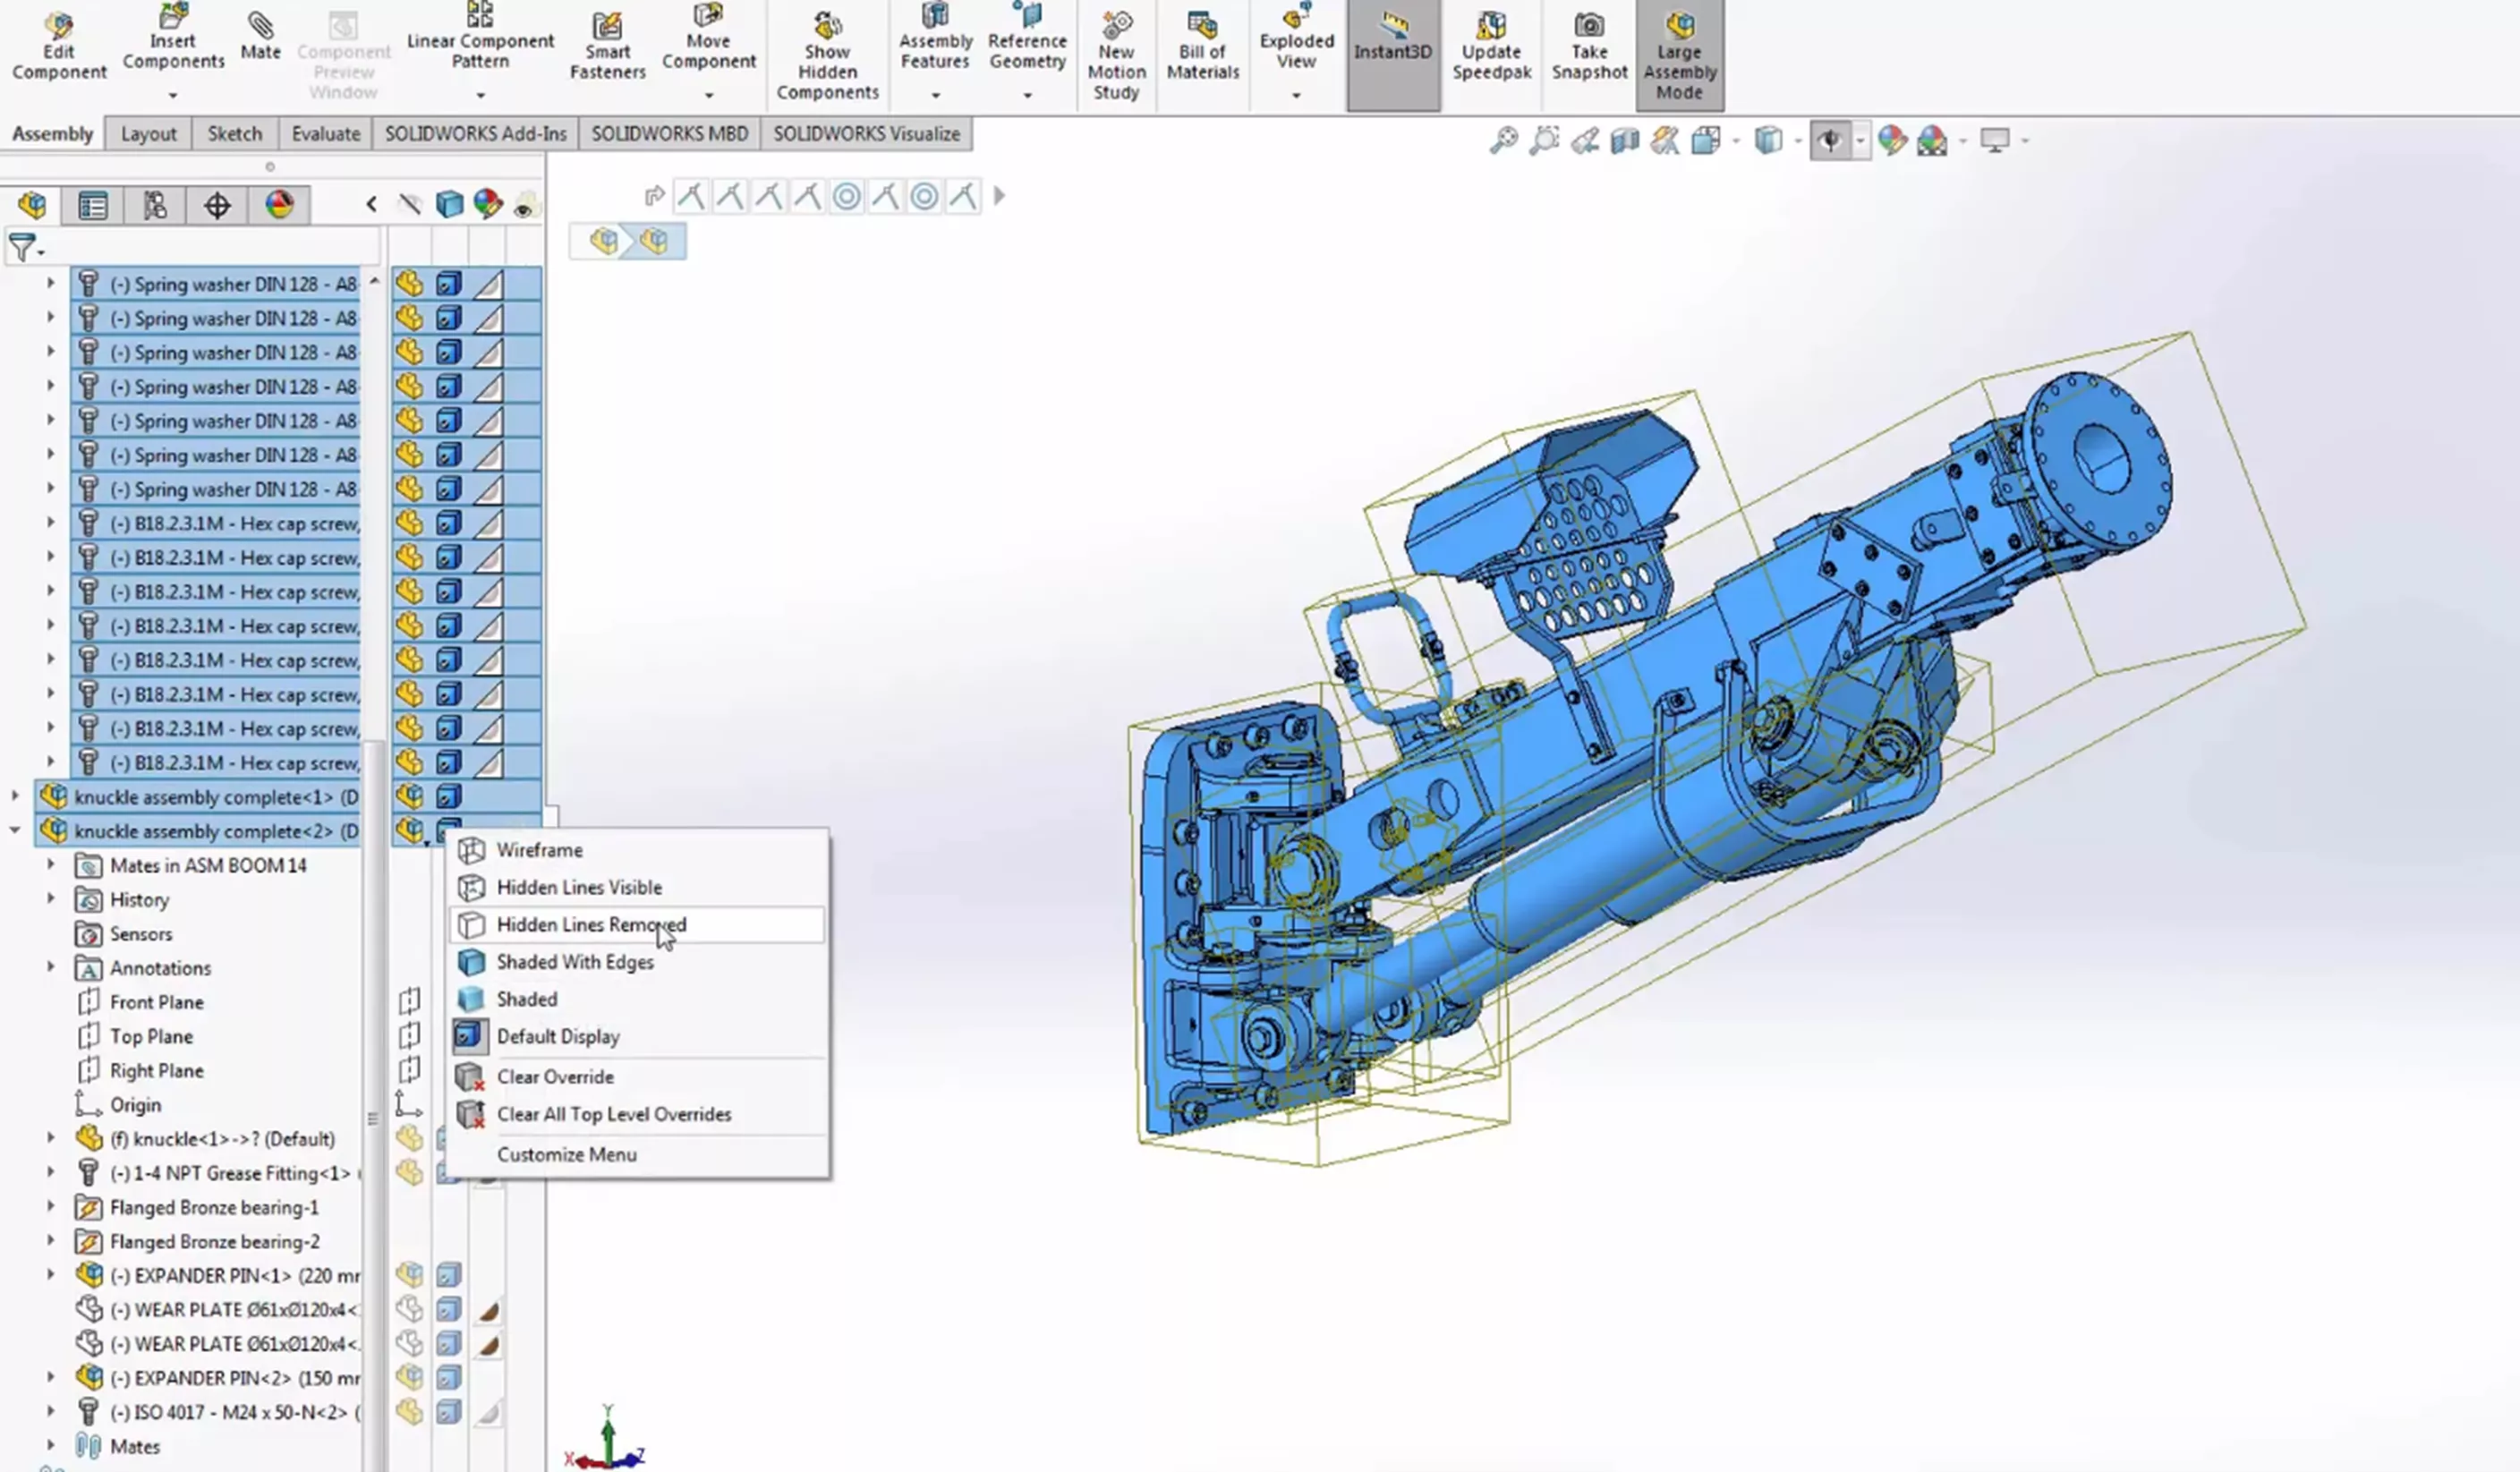
Now we will select only the components we want to draw attention to in our drawing and change these back to Shaded with Edges (the same process we used with all components).
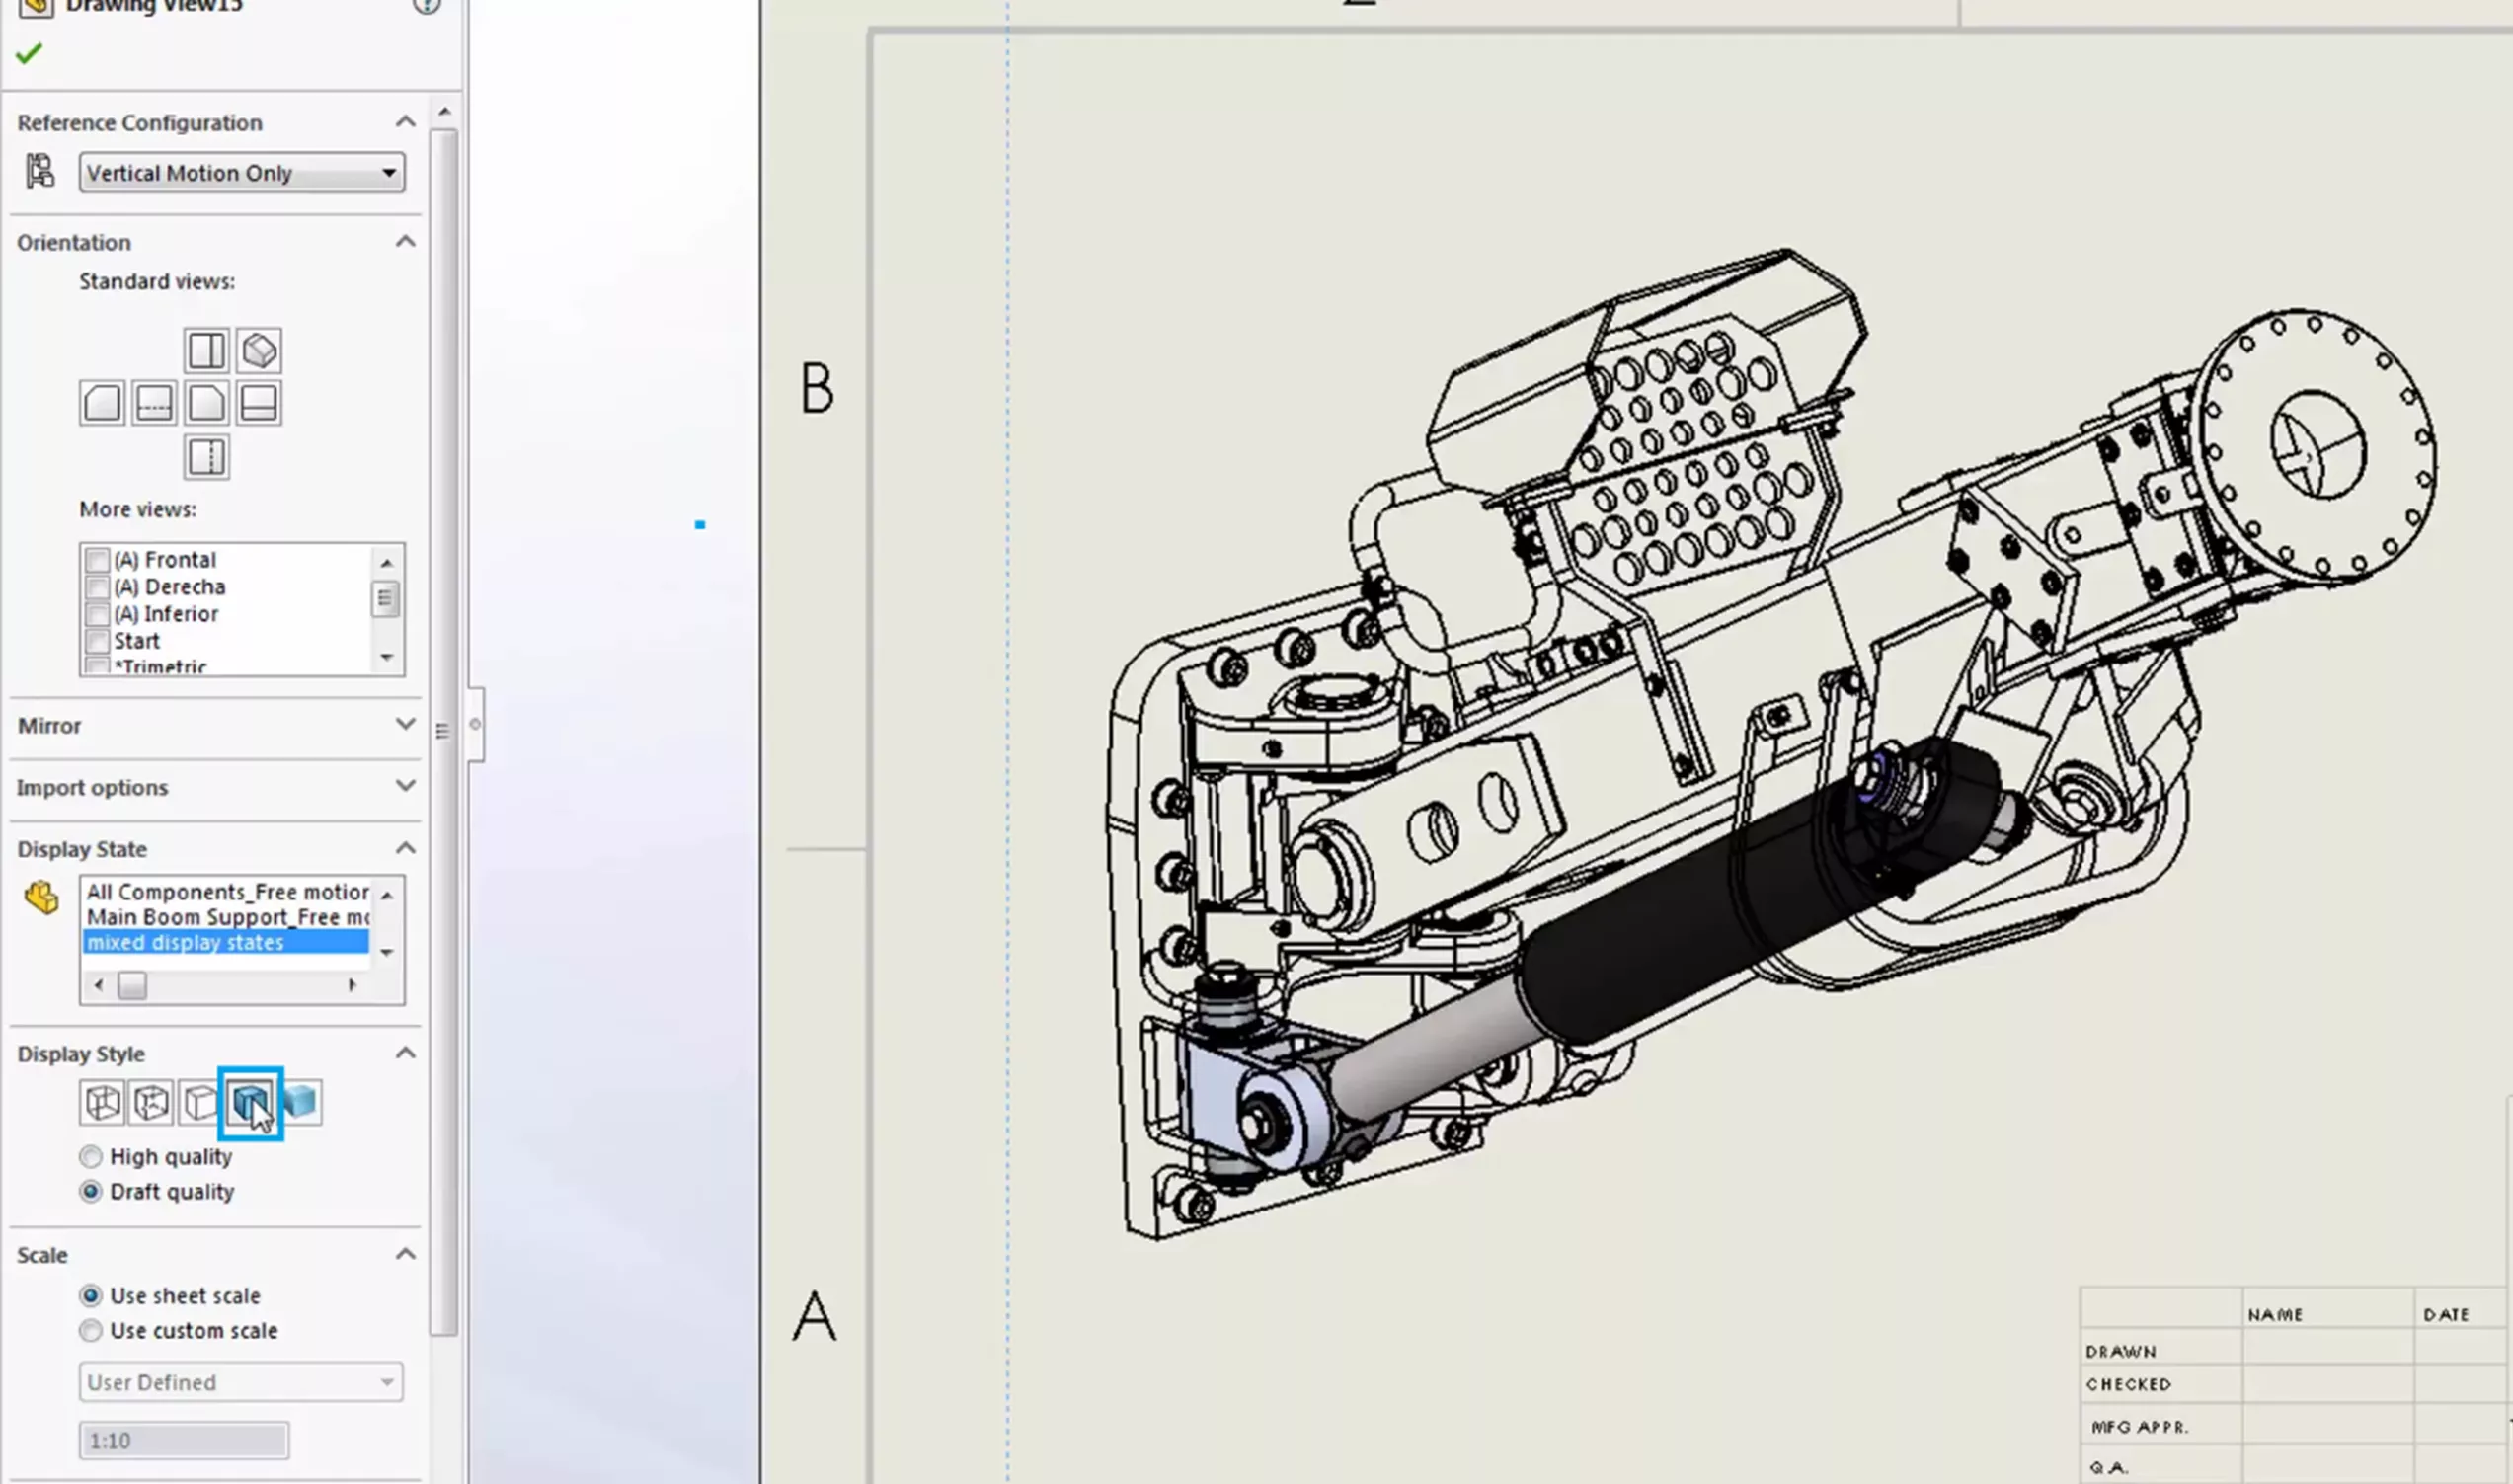
With our mixed Display State completed in our assembly, we will now open our drawing of the assembly. We need to select the view and change the Display State to the Display State we created, “mixed display states”.
You’ll notice nothing seems to have changed. Our drawing is still showing as default with hidden lines removed because we still need to change our Display Style for the drawing view. Below Display State, select Ehaded with Edges as the Display Style. This will update our drawing view and the mixed Display State we created will now show properly in our drawing.
To recap, we created a new Display State named “mixed display state” and set it as our active Display State in our assembly. We then changed the display mode for our assembly components in our assembly. Once this was complete, we changed our Display State in our drawing view. Lastly, we set the Display Style to Shaded with Edges.
![]() Want to learn more? Check out this YouTube video for a demonstration using mixed Display States in a drawing view.
Want to learn more? Check out this YouTube video for a demonstration using mixed Display States in a drawing view.
I hope you found this tutorial helpful. Check out more SOLIDWORKS tips and tricks below.
More SOLIDWORKS Tutorials
Why and How to Use Display States in Drawings: SOLIDWORKS Tutorials
Creating Multiple Parts from One Part File
4 SOLIDWORKS Part Modeling Tools That Are Time Savers
Dangling Relations in SOLIDWORKS Sketches Explained
![]()
About Kenny Bacon
Kenny Bacon is a SOLIDWORKS Technical Support Engineer at GoEngineer.
Get our wide array of technical resources delivered right to your inbox.
Unsubscribe at any time.