What It Really Costs to 3D Print Surgical Guides In-Clinic (and How Long It Takes)

Table of Contents
Guided implant surgery is now routine for many dental practices, but most still rely on a lab to print their surgical guides. Sending the planning files takes seconds. The lab, however, still has to print, finish, and ship the guide, which usually adds two to three days of production and another two to three days in transit. When a courier is delayed, or a package arrives after hours, the patient already booked for surgery is the one who ends up waiting.
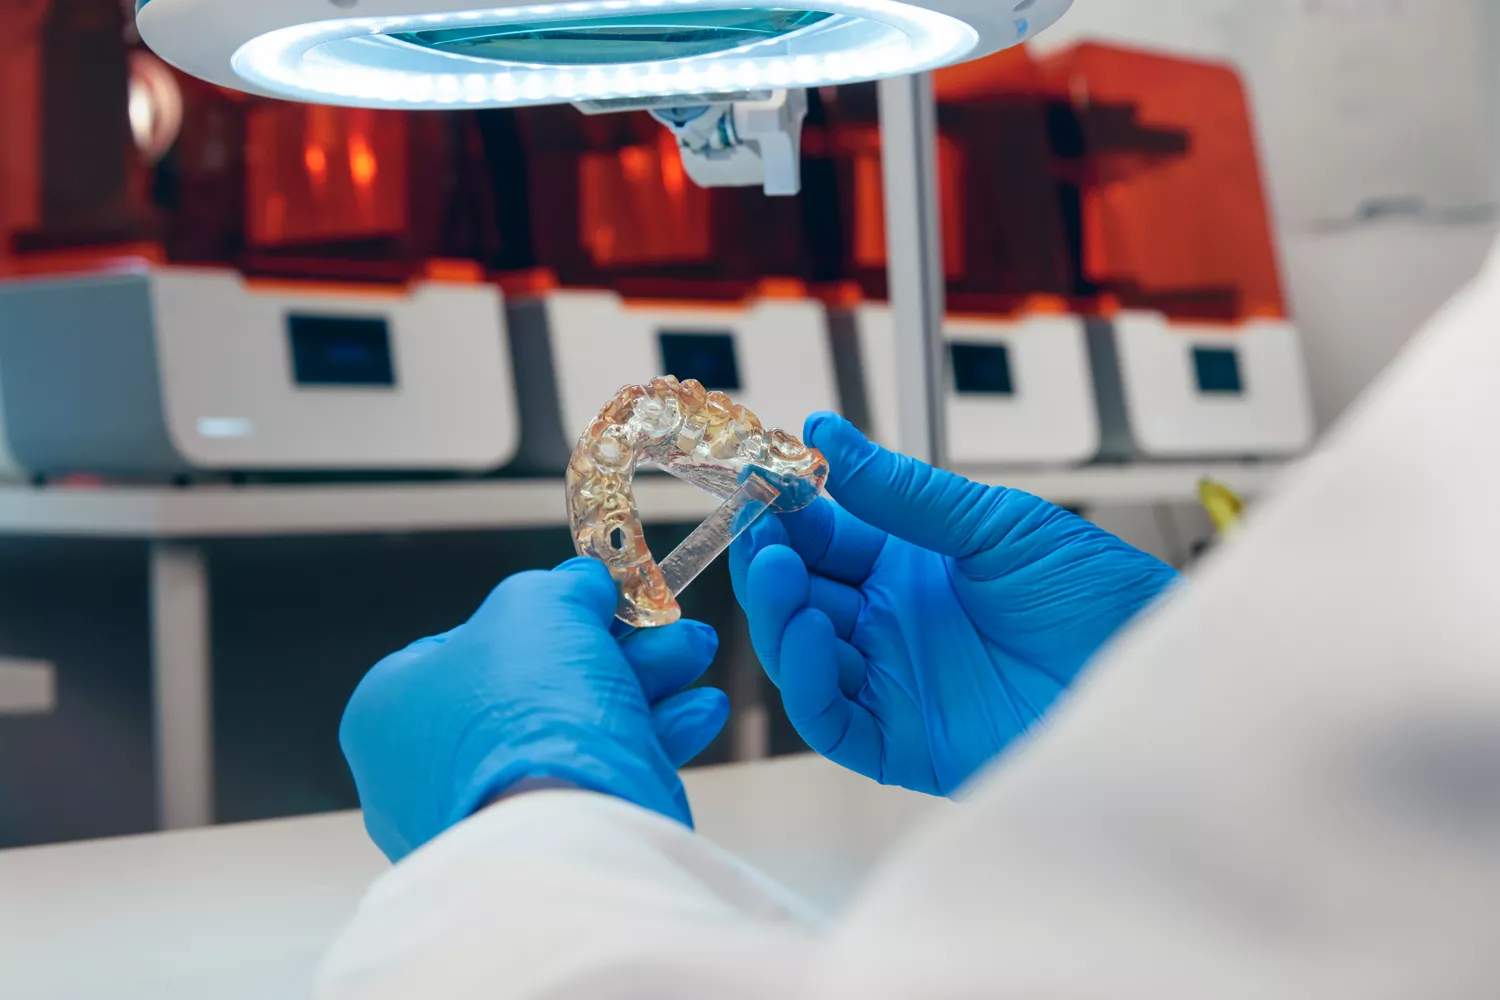
In a recent webinar hosted by the aNu Planning Center, GoEngineer’s Richard Cromwell showed how a clinic can print the same guide in-house on a Formlabs Form 4B for about $3.39 in resin, compared with the $65 to $99 a lab typically charges. Together with aNu implant planner Michael Bradley, he walked through the full process, from the CBCT scan to a finished guide with the sleeve installed.
This article covers the key takeaways from the session, including the cost comparison, the scans planners need to design an accurate guide, each step of the print workflow, and answers to the questions attendees asked. Watch the full recording below.
In-clinic vs. dental lab: cost and turnaround
For the case shown in the webinar, printing the surgical guide and model in-clinic came to about $6 in materials. Outsourcing the same two parts to a lab would typically cost between $90 and $130.
| Item | Printed in-clinic (Form 4B) | Outsourced to a dental lab |
|---|---|---|
| Surgical guide | About $3.39 in resin | $65–$99, printed and shipped |
| Model | About $2.61 in resin | $25–$30 |
| Guide sleeve | Purchased directly and reusable after sterilization | Often marked up by around 20% |
| Turnaround | Same day, in about three hours | 2–3 days to produce, plus 2–3 days to ship |
| Hands-on time | About 20 minutes, most of it routine work | None, but your schedule depends on the lab’s |
A one-liter cartridge of Formlabs Surgical Guide Resin costs about $249 and prints more than 70 guides. Many dental labs print on the same class of Formlabs equipment, so you can expect comparable quality when you bring the work in-house.

Accurate guides start with good scans
A printed guide is only as accurate as the scans it was designed from. During the webinar, Michael walked through what aNu’s planners look for before they design a guide:
A clean CBCT, out of occlusion
The CBCT should be clean and taken with the patient out of occlusion. Planners align the intraoral scan to the bone volume using the cusps of the teeth, so heavy scatter or patient movement during the scan makes accurate placement much harder.
A full-arch intraoral scan
The intraoral scan should cover the full arch. aNu designs guides from molar to molar whenever possible, because partial guides are more likely to shift during surgery.
2 to 5 mm of gingiva
The scan should capture 2 to 5 mm of gingiva above the teeth. This gives the planner room to extend the guide, add fixation pins, or build a more stable base when teeth are missing.
No artifacts, holes, or saliva
The scan should be free of artifacts, holes, and saliva. Anything the scanner picks up, including a lip or cheek, becomes part of the guide.
Once the doctor approves the implant position on a short review call, the planner designs the guide and adds inspection windows so the doctor can confirm it is fully seated. The files are then sent back with a surgical report that includes a drill sequence specific to the implant system and the patient’s bone density.
The in-clinic printing workflow, step by step
Richard printed the guide aNu designed on a Formlabs Form 4B, a masked stereolithography (MSLA) printer. Earlier laser-based systems like the Form 3B trace each layer, while the Form 4B cures an entire layer at once, which makes it significantly faster. Here is how the process works from file to finished guide.
 Step 1
Calibrate the sleeve fit
Before printing your first guide, print the set of test sleeves aNu provides in Surgical Guide Resin using the default support settings. After washing and curing them, check which sleeve fits your bushings best. That gives you an offset value you only need to determine once and can reuse on every future guide order.
Step 2Prepare the file in PreForm
Formlabs’ PreForm software includes a dental workspace with presets for each indication. Selecting the surgical guide preset applies the correct resin and layer height, then automatically orients, supports, and lays out the part. You can still adjust the supports or orientation manually if needed. Before you print, a summary panel shows the estimated print time, material use, and cost. For this guide, the estimate was about 43 minutes.
Step 3Set up the printer
Insert the resin tank, attach the build platform, and load the resin cartridge. The Form 4B calibrates itself, so there is no manual calibration step. It also heats and mixes the resin automatically and monitors each build with an internal camera and sensors. Because the resin is delivered from a sealed cartridge, your staff has very little contact with uncured material.
Step 4Wash the parts
Once the print finishes, transfer the build platform directly to the Form Wash, which lowers the parts into agitated 99% isopropyl alcohol (IPA) for about five minutes. When the cycle ends, it lifts the parts out and closes the lid to keep the IPA from evaporating. After the parts dry, flex the build platform to release them.
Step 5Post-cure the guide
Place the guide in the Form Cure and select Surgical Guide Resin. The unit has preset time and temperature settings for each material. It heats to the correct temperature and then exposes the part to UV light from all sides to bring it to its final material properties.
Step 6Remove supports and polish
Use flush cutters to clip the supports at their contact points rather than pulling them off, which can leave small divots in the guide. We recommend wearing safety glasses for this step. Smooth any support marks with standard dental polishing tools. If you want a more translucent finish, you can polish further with pumice and a rag wheel.
Step 7Install the sleeve
Using a microbrush, apply a small amount of Surgical Guide Resin inside the sleeve hole. Press the sleeve into place, brush away any excess resin, then cure the margins with a UV pen or dental curing light to lock the sleeve in position.
Total time
In total, the guide and model required about 2 minutes of file preparation, 2 hours and 10 minutes of print time, and roughly 55 minutes of washing, drying, curing, and finishing. Only about 20 minutes of that is hands-on, so your team can focus on other work while the printer runs.
If you need more capacity, the Form 4B can print up to six surgical guides in a single build. Some clinics also add a second printer, so one can run Surgical Guide Resin while the other runs model resin, cutting total time roughly in half.
Questions from the webinar
How soon after I send my scans can I print the guide?
It can be the same day. aNu can usually plan a single-implant case within an hour or two of receiving the files, followed by a short review call with the doctor. A patient scanned at 9:00 a.m. could have a printed guide that afternoon. More often, clinics print the guide the following morning, which can still save a week or more compared with a typical lab turnaround.
How do you secure a guide on a patient with few or no teeth?
The planner can design holes for fixation pins into the guide. The pins anchor into cortical bone, so the guide stays in place during surgery, which is especially helpful for full-arch cases. This is another reason to capture plenty of gingiva in the intraoral scan, since the planner needs that tissue to position the pins.
Why did the guide change color?
Surgical Guide Resin naturally shifts from a translucent yellow to a translucent orange during UV curing. The color returns to a light, translucent yellow after the guide is autoclaved.
What are the recommended sterilization settings?
For a pre-vacuum steam sterilizer, use 132°C (270°F) for 4 minutes. For a gravity displacement autoclave, use 121°C (250°F) for 30 minutes. In either case, include a 20- to 30-minute dry cycle to help maintain the guide’s dimensional accuracy. If you prefer liquid disinfection, you can soak the cured guide in 70% isopropyl alcohol for up to five minutes, since longer exposure can begin to degrade the part.
Can the Form 4B use third-party resins?
Yes. The Form 4B is an open system, so you can create custom print profiles for third-party 405 nm resins. It also includes built-in presets for popular dental materials from other manufacturers, such as Keystone’s KeySplint resins for night guards and splints.
How much faster is the Form 4B than the Form 3B?
For surgical guides, the Form 4B prints about four times faster than the Form 3B, and some other materials print up to nine times faster. The Form 4B’s resin tanks, which are replaced over time, also cost about a third less.
Should I print guides at 50 or 100 microns?
We recommend 100 microns. Formlabs’ testing showed a negligible difference in accuracy between 50 and 100 microns for surgical guides, and 100 microns prints faster. The surgical guide preset in PreForm applies this setting automatically.
What else can I print to justify the investment?
Beyond surgical guides and models, the Form 4B can print night guards, temporaries, denture teeth, denture bases, and removable partial dentures. Night guards in particular have become a major application, and some of the dental labs we work with have added printers specifically to keep up with demand.
Getting started with in-clinic printing
Bringing surgical guide printing in-house is a real change to your workflow, and you don’t have to figure it out on your own. For more than 30 years, GoEngineer has helped customers adopt new technology successfully, and our dental team works with clinics to choose the right equipment, get set up, and train their staff.
- Learn more about the Formlabs Form 4B and Form 4BL dental printers.
- Shop Formlabs Surgical Guide Resin on the GoEngineer store.
- Watch for the next two webinars in our series with the aNu Planning Center, including a session on capturing CBCT scans that are ready for planning the first time.
Have questions about your own workflow?
Contact our dental team, and we’ll walk you through it, from choosing the right equipment to getting set up and training your staff.

About GoEngineer
GoEngineer delivers software, technology, and expertise that enable companies to unlock design innovation and deliver better products faster. With more than 40 years of experience and tens of thousands of customers in high tech, medical, machine design, energy and other industries, GoEngineer provides best-in-class design solutions from SOLIDWORKS CAD, Stratasys 3D printing, Creaform & Artec 3D scanning, CAMWorks, PLM, and more
Get our wide array of technical resources delivered right to your inbox.
Unsubscribe at any time.